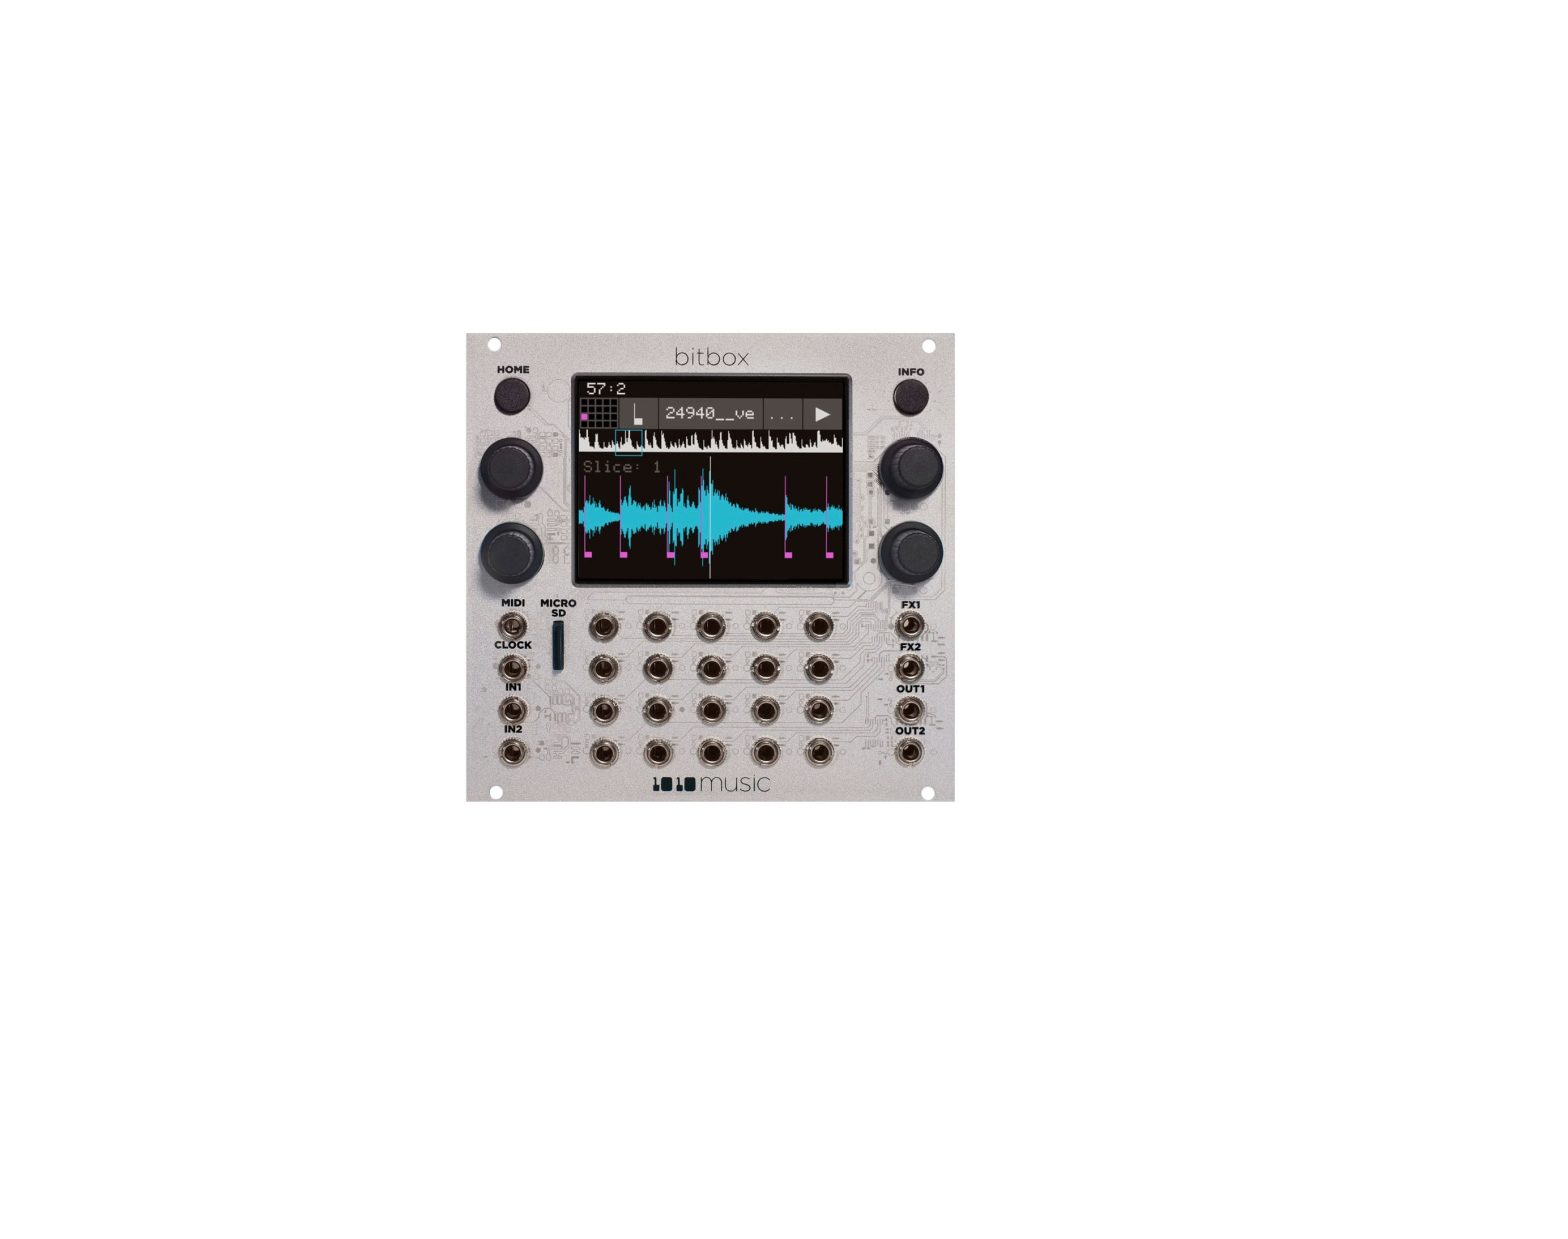
1010music Bit box MK2 1.0
This guide will give you a high-level introduction to bit box mk2. To learn more of the details of how this module works, download the user manual or watch tutorial videos from https://1010music.com/mk2docs. Find community, support, wish lists, and firmware updates on our forum at https://forum.1010music.com.
Setup
- Insert the micro SD card into the MICRO SD slot, with the notched edge away from the screen.
- Turn off your Eurorack and use the ribbon cable to connect the module to power:● Attach to the module with red edge of the ribbon cable on the left side of the module when module is held with power socket on top edge of module.● Attach to the Eurorack +12V power supply, with the red edge of the cable aligned with pin 1 or the -12V pins on the power supply bus.
- Mount the module into the rack and then power it up. After boot up, the bitbox mk2 displays the Pads screen with a grid of WAV files loaded from one of the presets provided on the microSD card.
Inputs and Outputs
The following connections will get you started:
OUT1 and OUT2: To hear the module, use mini TS cables to connect to leftand right channels of your mixer or speakers.IN1 and IN2: To record audio, use mini TS cables to connect to left and right audio signals.CV Triggers: To trigger a sample, use a mini TS cable to connect to a CV Gate source.MIDI: To trigger pads or play them pitch shifted via MIDI, use a mini TRS cable to connect to a MIDI controller. TRS A and B are both supported. Use the included MIDI adapter to connect to MIDI 5 PIN DIN.
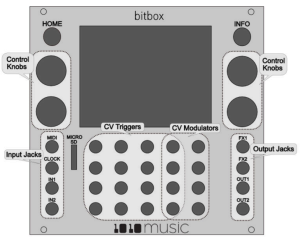
Control bitbox mk2 using the two black buttons, the four knobs, and the touchscreen. Push the HOME button to cycle between the Pads and Menu screens. Push the INFO button to view more detail about the selected element. Turn the knobs to select elements and assign values. On the touch screen, you can use tap, pinch and stretch gestures to select items, trigger pads, push buttons, zoom in or zoom out. Touch the tabs across the bottom of some screens to access more parameters.
Pads
When you push the HOME button, bitbox mk2 displays the Pads screen with the grid of 16 pads. Turn the lower right knob to swap between the EXT display, the Velocity Slider and the Actions Menu along the right side of the screen. The top left corner displays the clock in measure : beat format. The grid labels show you abbreviated names for the WAV files loaded into the pads. The pink pad is selected. A blue bar at the bottom of the pad shows the play progress. A white bar here shows that a pad is armed and waiting for the quantization break to start playing. Muted pads will have a red bar across the top.
Bitbox mk2 supports the following pad modes:
| Icon | Pad Mode | Description | ReversePlayback | BeatSynch | Set LoopPoints |
PlaySlices |
 |
Sample | Use to play single notes or drum hits. | ||||
| Sample – multi-sample mode | Spread a folder full of wav files across the keyboard to get more realistic instrument pitch shifting or to map different sounds to each key on the keyboard. | |||||
 |
Clip | Use for synchronized loops and quantized playback, e.g. drum loops and guitar tracks. | ||||
 |
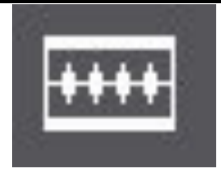
Slicer | Use with a WAV file with different sections that you want to trigger independently. | ||||
 |
Granular | Generate new sounds from your samples. The sample is played back in small portions about 10 to 200ms in length, called grains. | ||||
| New Rec | Use to start recording a new WAV file or clear a WAV from a pad. | |||||
| New Multi | Use to start recording a new set of WAVs for use in multi-sampling. |
To Play PadsThere are three ways to trigger playback of a pad:
- Touch a pad to play the corresponding WAV file.
- Plug a gate signal into the corresponding input jack sockets. The array of input jacks map 1:1 to the array of pads on screen.
- Plug a MIDI controller into the MIDI input jack socket and play MIDI notes. The pads respond to input from any MIDI channel on notes C2 (MIDI 36) through G2 (MIDI 43) by default.
To Load and Configure a Pad:
- Touch a pad in the grid or turn a knob to select a pad. The pads that have WAV files loaded will have text labels.
- Press the INFO button. If the pad was empty, the Load and Record screen will be displayed. If the pad already had a WAV file assigned, the Waveform screen will be displayed.
- If you are on the Load and Record screen, touch Load in the top menu bar. If you are on the Waveform screen, touch the name of the Waveform at the top of the screen. You will now be on the WAV file selection screen.
- Turn a knob to select a file or directory. Touch Play to toggle auto-preview of files.
- Touch Load to drill into a folder and to assign a WAV file to the pad. You will now see the Waveform screen.
- Touch the Pad Mode icon to the left of the WAV file name at the top of the screen to display the Pad mode menu. Touch an option to select it. The icon changes to represent the selected pad mode.
- Press the INFO button repeatedly to cycle through the Waveform screen and the Parameter screen. Touch a tab at the bottom of the Parameters screen to access more parameters.
- Turn the control knob nearest to a parameter to select a value for the parameter. Touch options at the top of the parameters screen to change these options.
- On the Main Pad Parameters screen, to the right of the grid icon at the top is the output selection button. Touch this button to display the list of output options. Choose an option to set the stereo or mono output destination for the pad.
- Press the HOME button to return to the Main screen.
To Record a WAV File:
- Plug the recording source into the IN1 and IN2 jacks.
- Touch a pad in the grid on the touchscreen to select it.
- Press the INFO button. If the pad is empty, bit box will display the Load and Record screen. If the pad is already loaded, bit box will display the Waveform screen. If you are on the Waveform screen, press the Pad Mode icon to the left of the WAV file name at the top of the screen and then touch New Recording. You will now see the Load and Record screen.
- Set Rec Mon to Auto or On if you want the input source to play through the output jacks, OUT1 and OUT2.
- Touch the Rec button. Bitbox will start recording. The timing of the recording can be synchronized with the clock by using the Rec Quant parameter. Recording will start when a signal is received if you set the Threshold parameter to On.
- Touch the Stop button. The recording will end. If you configured a recording length, bitbox mk2 will stop recording when the target length is reached. The file will be saved in a folder with the same name as the preset under the Presets folder on the microSD card.
To Mix and Mute Pads:
- Press HOME until you see the Menu screen, then touch Mix. Select a pad, then use a top knob to adjust the level, and a bottom knob to adjust the Pan for each pad.
- Press INFO to activate Mute mode. Active pads will have a green background. Muted pads will be red. Tap a pad to toggle mute on or off for that pad.
Presets
Bit box mk2 stores pad configurations as Presets. A number of demonstration presets are preloaded on the micro SD card.To Save Changes to a Preset:
- Push the HOME button until you see the Menu screen, then touch the Presets button to access the Preset Management screen.
- Touch Save or File then Save As to save changes. Save is disabled if there are no unsaved changes.
To Load a Preset:
- .Push the HOME button until you see the Menu screen, then touch the Presets button to access the Preset Management screen.
- Turn a knob to select a preset, then touch Load to make this the active preset.
| Note:• Bit box mk2 does not automatically save your changes. Any unsaved changes will be lost when you load a preset or power down the module |
Copyright 1010music LLC 2020
 report this ad
References
[xyz-ips snippet=”download-snippet”]