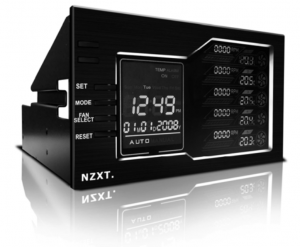
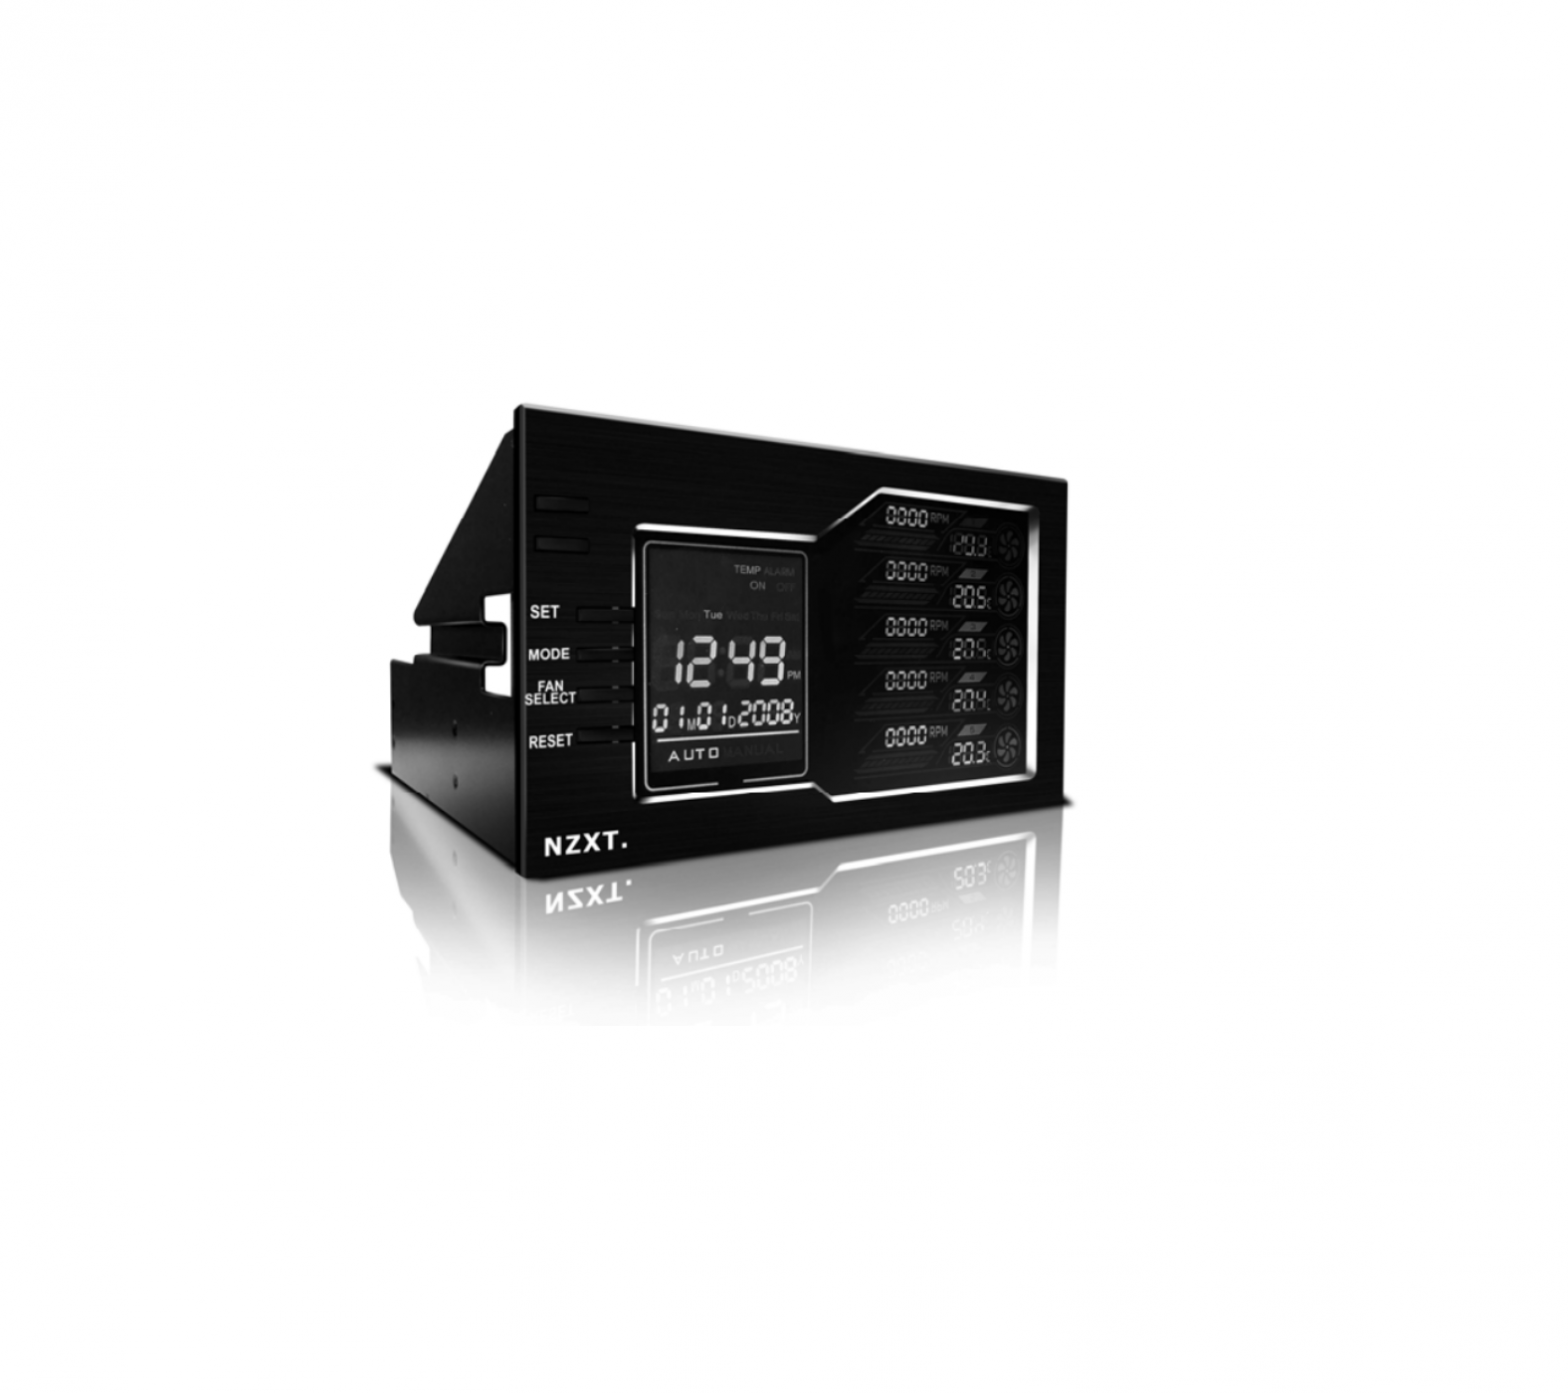
NZXT Sentry LX

Thank you
Dear valued customers,
Thank you for purchasing our product. We are thankful to all our fans for the continuing support, after just four years since entering the computer chassis market with the Guardian in 2003, NZXT is now an established gaming brand and manufacturer of quality hardware in the market today. Since then, we have stayed true to our goal, which was to continuously provide innovative next generation products. With every product, we are still breaking more boundaries and limits. Once again, thank you and all NZXT fans for the support and we hope to bring more amazing products in the coming years.
After you complete your installation, please come by our community forumsat www.nzxt.com/forum and voice your opinions with thousands of NZXT fans from around the world
Sentry LX Specifications
Features
- Dual 5.25” Meter display
- Auto and manual: Leave it up to the automated system to monitor the fans and your temperatures of set the parameters yourself
- 5 Fan control: Control and change the speeds of the fans on the fly, including the ability to turn the fans off
- 5 Temperature probe detection: Constantly watch over the temperatures of your system
- Temperature alarm : Make sure you are notified when your system is overheating
- Calendar System: Big letters show you time, date and day of the week
Setting up the Sentry LX
Before installing the Sentry LX into your system, please first install the provided battery into the back of the Sentry LX. The battery stores the data and settings for the Sentry LX.
Installing the Sentry LX
The Sentry LX requires dual 5.25” bays, simply slide the panel in from the front of your chassis and secure the device via screw less mechanisms or screw. A 4pin power connection is needed to power the Sentry LX, be sure to make this connection before booting up your system.
Setting up the fans and probes
Sentry LX can support up to 5 fans, please make sure the fans on your chassis come with 3pin connections. The Sentry LX also comes with 5 temperature probes.
- Make sure your system is off before making any connections.
- Connect the 3pin connection on the Sentry LX to the fans on your chassis
- Note the stickers on the 3pin connections correspond to the number on the meter display
It is recommended that the user tape the temperature probes near the corresponding fans (i.e. Fan 1 is near Temp 1 probe), this optimizes the Auto mode where the fan is automatically controlled.
Auto/Manual Fan Speed Settings
The Sentry LX controls fans in two modes, pushing the “MODE” button changes between these two:
Automatic Mode: The Sentry LX will adjust the fan speed according to the temperature in your system; this is the best for users who are looking to operate without hassle.
Manual Mode: The Sentry LX gives the users the option to control individual fans and save the settings to memory. Please follow the instructions below.
- Press the “Fan Select” button to initiate fan settings. Pushing the “Fan Select” button continuously will scroll through the connections on the meter.
- Push the “Up and Down Arrows” to adjust the fan speed, note that doing this will set the meter into Manual mode. The fan speed range that can be adjusted is automatically detected by the fan controller. Setting a fan to 0 RPM results in turning off the fan. Due to information being passed between the meter and the fan, please allow up to 1 minute for fans to adjust to the RPM.
- The Sentry LX will exit the “Fan Select” mode at after idling or at the end of the “Fan Select” scroll.
Temperature Alarm Settings
The Sentry LX allows for alarm setting for temperatures, the default is set at 70C, these settings will be saved. A sound alarm will go off if the temperature detected rises above the set temperature. Please follow the directions below:
- Press and hold the triangular “Down Arrow Key” to initiate temperature alarm setting.
- Pushing the “SET” button to scroll through the temperature settings for the 5 probes.
- Use the “Up and Down Arrows” to adjust the temperatures.
- The Sentry LX will exit the temperature alarm setting mode at after idling or at the end of the “SET” button scroll.
Date, Time, Mode and Alarm Off Setting
In this mode the date, temperature alarm on/off, time, can be adjust.Please follow the directions below:
- Push the “SET” button to begin this mode.
- Continue to push the set button to scroll through the options
- Use the “Up and Down Arrow” to adjust the settings.
- The Sentry LX will exit the temperature alarm setting mode at after idling or at the end of the “SET” button scroll
Changing between Fahrenheit and Celsius
Hold the “Up Arrow” Button in order to chance between F and C.
Sound Alarm
The sound alarm will go off under the following conditions
- when a fan is detached during operation
- when temperature goes over the maximum temperature set during “Temperature Alarm Settings”
Pushing any button during the alarm sound process will disable the sound early.
Reset to Default settings
Simply pressing the “RESET” key will return the meter to factory settings. NOTE: All previous settings will be deleted.
Support and Service
If you have any more questions or have problems with the NZXT product you purchased, please don’t hesitate to contact [email protected] along with a detailed explanation of your problem and your proof of purchase. You may inquire about replacement parts at [email protected].
Thank you again for purchasing an NZXT case. If you have any more comments or questions. Please visit our website or send us an email.
NZXT Website: www.nzxt.comEmail our design team: [email protected]

References
[xyz-ips snippet=”download-snippet”]

