
QUICKSTART GUIDE
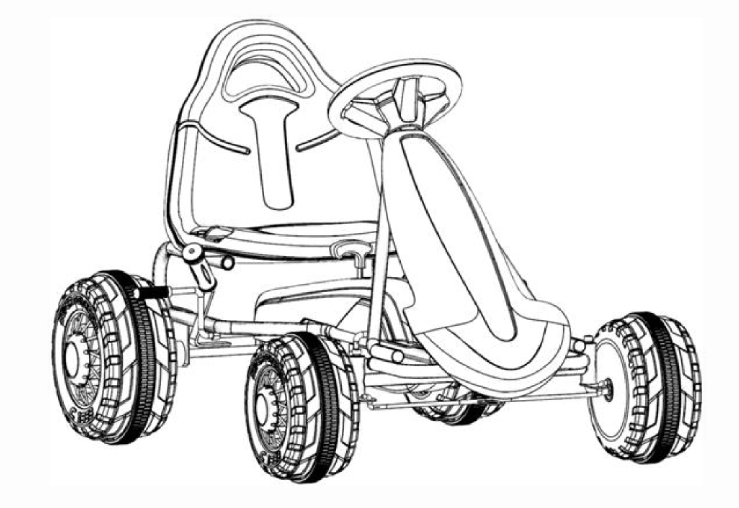
KIDS PEDAL GO KARTKAPDGKRTBLA
SAFETY & WARNINGS
- ADULT ASSEMBLY REQUIRED. The product contains small parts, which are for adult assembly only. Keep children away when assembling.
- Always remove protective and packaging material from the product and dispose before assembly.
- The ride-on car must be assembled by an adult who has read and understands the instructions in this manual.
- Keep packaging away from children and dispose of properly before use.
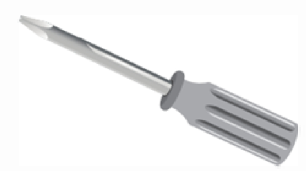
Assembly tools required (not included):
 |
 |
| Screwdriver | Long nose pliers |
Prevent injuries:
- Never leave child unattended. Direct adult supervision is required.
- Always keep child in view when child is in vehicle.
- This toy should be used with caution since skill in its use is required to avoid falls or collisions causing injury to the user or third parties.
- Protective equipment should be worn.
- Do not use in roadways, near cars, on lawn space, on or near steep inclines or steps, swimming pools or other bodies of water.
- Always wear shoes.
- Always sit on the seat.
- This toy is unsuitable for children under 37 months due to its maximum speed
- Maximum user weight is 25kg.
- This toy has no brake.
Rules for safe riding
- Keep children within safe riding areas. Do not use in roadways, near motor vehicles, on lawn space, on or near steep inclines or steps, swimming pools or other bodies of water.
- Use the toy only on flat surfaces, such as inside your house, garden or playground.
- Never use in the dark. Operate the vehicle only in the daytime or a well-lit area.
- Do not let children touch the wheels or be near them when the car is moving.
- This vehicle has adjustable play seat belts. Please instruct children how to correctly fasten the safety belt before use.

OVERVIEW
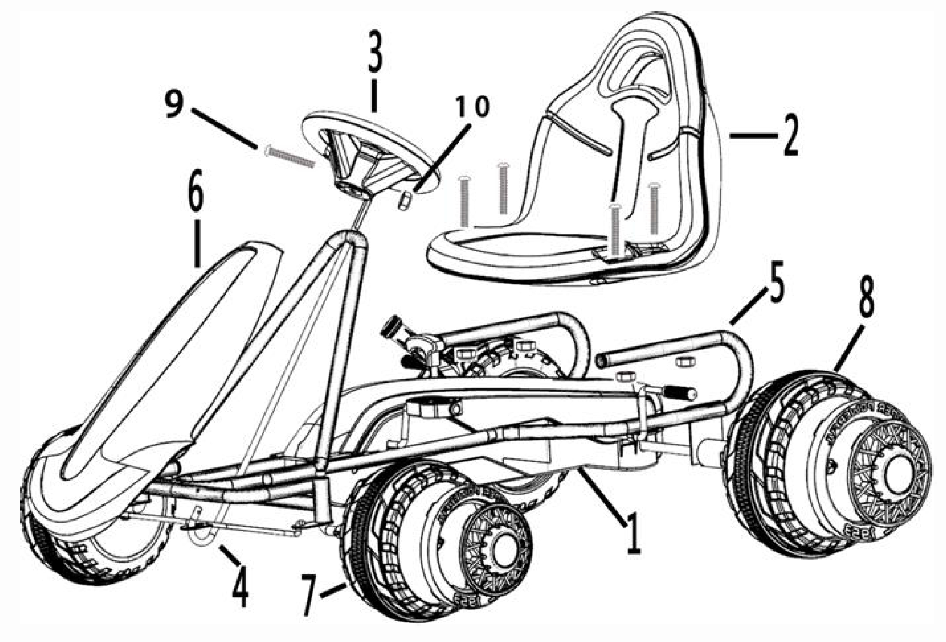
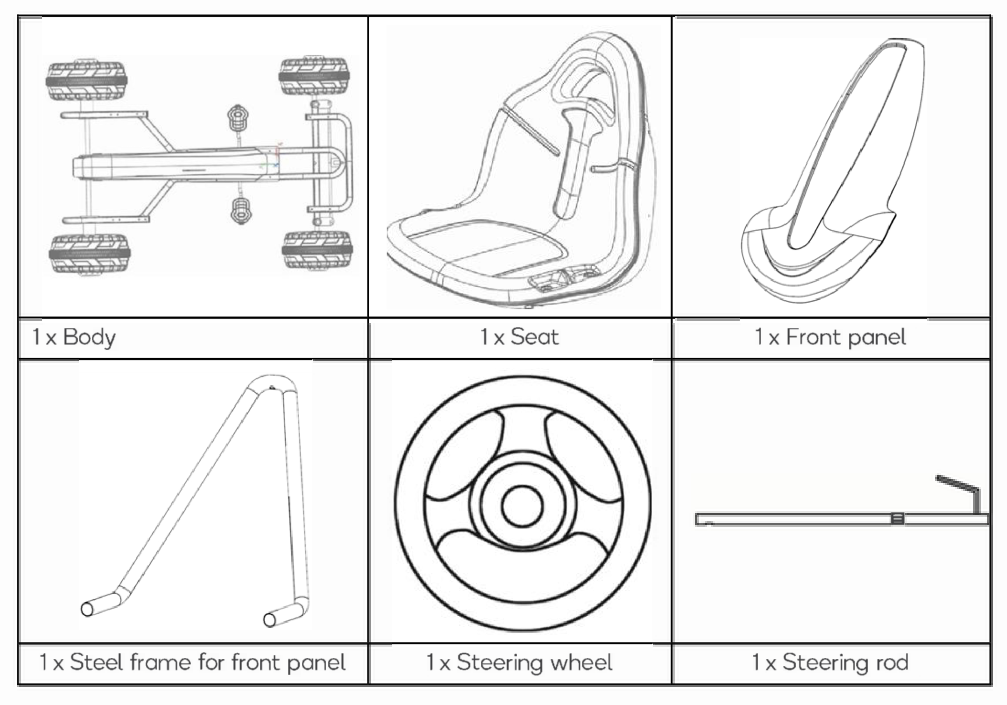
| 1 | 1 x Body | 6 | 1 x Front panel |
| 2 | 1 x Seat | 7 | 2 x Front wheel |
| 3 | 1 x Steering | 8 | 2 x Back wheel |
| 4 | 1 x Direction rod | 9 | M5x40 |
| 5 | 1 x Steel parts | 10 | Self-locking nut |
ASSEMBLY
Assemble the wheel caps:Fasten the hubs to the rims, then insert the decorative cover into the wheel cover as shown in the image below.Mode 1: Forward or reverse, depending on which direction you turn the pedalsMode 2: Neutral – pedals are unused.
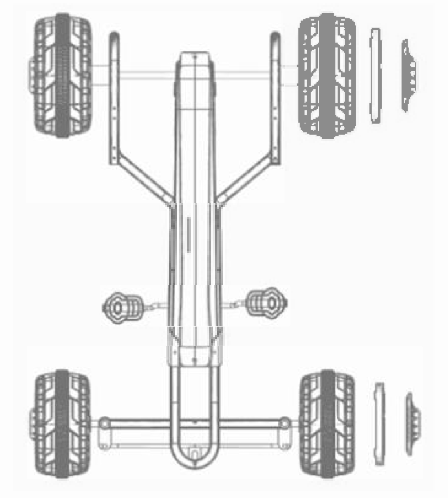
Attach the frame tubing to the pedal mechanism:Attach the frame tubing to pedal mechanism and secure with 4pcs MS x 40mm screw, 5 washer,s and nut, as shown in the image below.
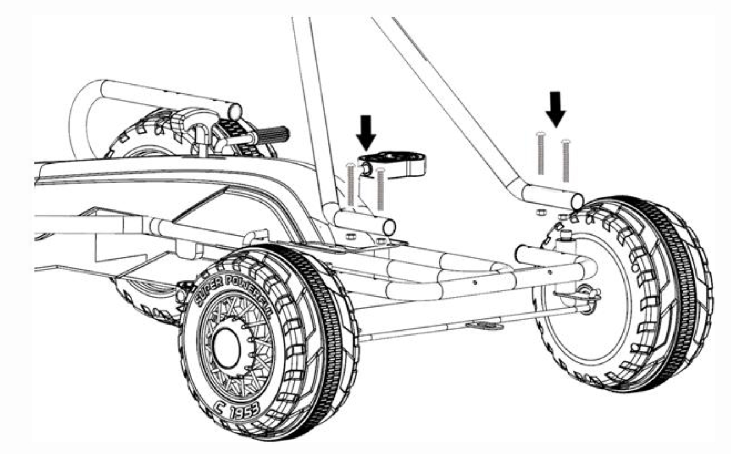
Assemble the front panel and steering wheel:Insert the steering rod through the hole at the bottom of the frame and into the central hole of the bracket tube (shown in image 1 below).Affix the banding hook (at the bottom of the steering rack) on the front connecting plate of the front axle. (shown in image 2 below).Insert the steering wheel into the steering rod. Ensure the hole on the steering wheel is aligned with the rod hole, then affix with the MS x 30 tightening locknut (image 1).Press down the front panel, making sure to fasten the panel connection to the car’s frame (image 2)Assemble the seatFasten the seat on the body with four pieces MS x 40mm bolts, QD5 washers and nuts (image 3).

CLEANING & CARE
- It is the parents’ responsibility to ensure the safety of the toy before use. Regularly examine the product for potential hazards, such as screws being loose and the enclosure of other parts. In the event of such damage, the toy must not be used until the damage hod been properly rectified.
- Make sure that the plastic parts of the vehicle are not crocked or broken.
- Use a lightweight oil to occasionally lubricate moving parts such as wheels.
- Park the vehicle indoors or cover it with a tarpaulin to protect it from wet weather.
- Keep the vehicle away from sources of heat, such as stoves and heaters. Plasticparts may melt.
- Cleon the vehicle with a soft, dry cloth. To restore shine to plastic parts, use a non wax furniture polish. Do not use car wax or abrasive cleaners.
- Do not drive the vehicle in loose dirt, sand or fine grovel, as this con damage the moving parts.
IN THE BOX
Screw package:

Need more information?This is a Quick Start Guide, and we hope that this has given you the assistance needed for a simple set-up.For the most up-to-date guide for your product, as well as any additional assistance you may require, head online to help.kogan.com
[xyz-ips snippet=”download-snippet”]

