kogan Internet Wireless Modem Ac Nbn Router Installation Guide
Getting to know your Modem
Please take the time to check what’s in your Kogan Internet Modem box as well as the various lights, buttons and ports on your device.
What’s in the box?


KOGAN INTERNET MODEM QUICK START GUIDE

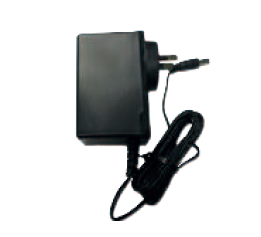
WARRANTY CARD POWER ADAPTOR
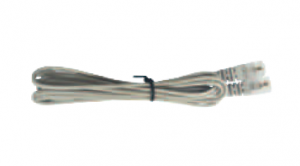
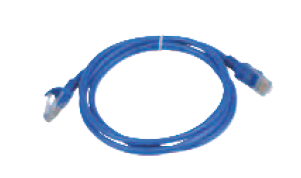
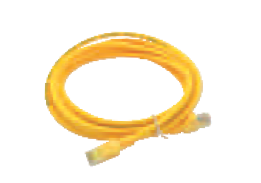
GREY TELEPHONE BLUE ETHERNET YELLOWCABLE CABLE ETHERNET CABLE
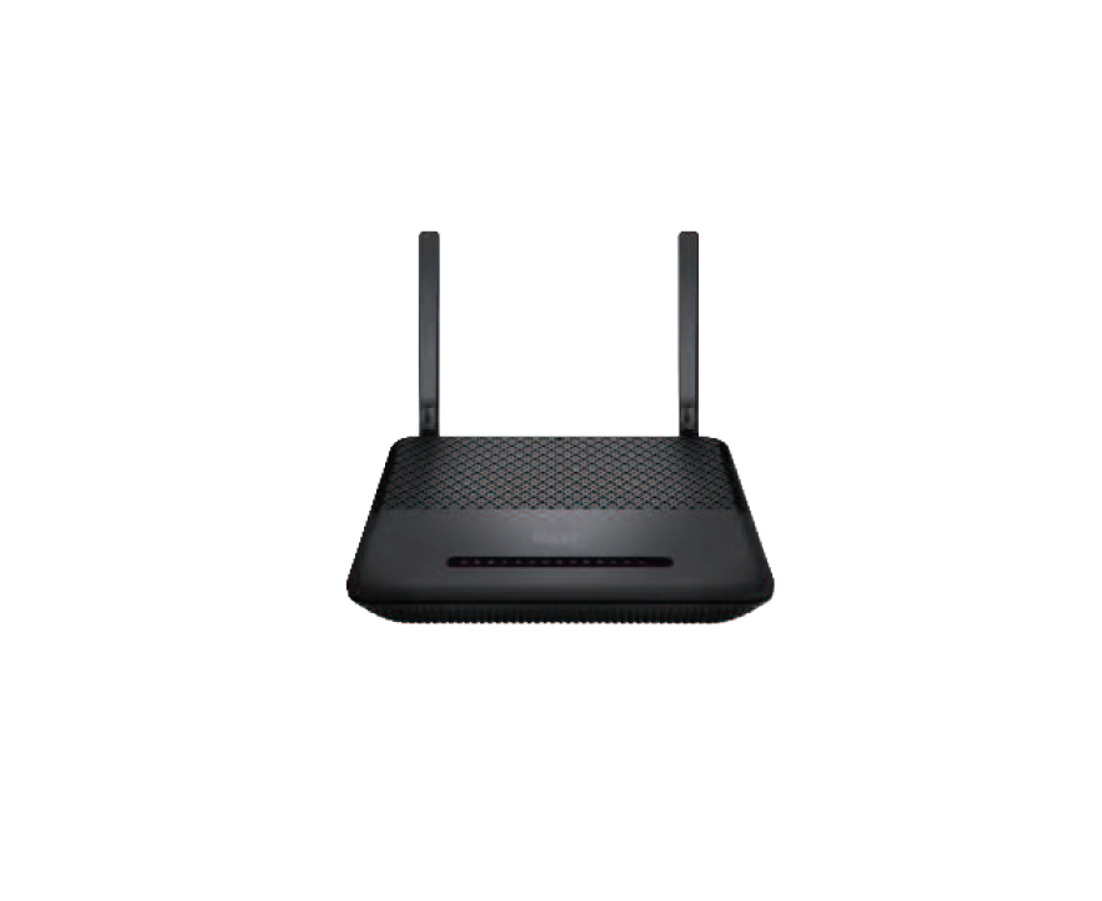
Your Modem
Front Panel
Back Panel

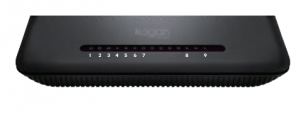
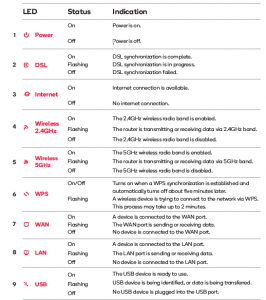
LED Indicators
Connecting to nbn once your service is ready
When you receive an email from us that your nbn™ service has been successfully activated it’s time to complete the setup ofyour Kogan Internet modem.
Connecting your power supply
Connect one end of the power adaptor to your WAN PORT DSL PORT Kogan Internet Modem and the other end into a power point and switch this on.
Set up your nbnTM Broadband connection
For FTTP (Fibre to the premises) and HFC connections: You’ll need to connect your Kogan Internet Modem to the NTD (nbn™ connection box) in your home.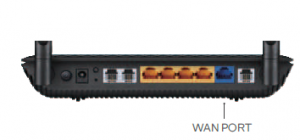
For FTTP connections:
Connect the Ethernet cable (the one with the blue ends) and plug one end into the blue WAN port of your Kogan Internet Modem and the other end into the first UNI-D Port on your NTD which nbn™ have installed, this port can be found on the bottom of the NTD.
For HFC connections:
Connect the Ethernet cable (the one with the blue ends) and plug one end into the blue WAN port of your Kogan Internet Modem and the other end into the UNI-D Port on your NTDwhich nbn™ have supplied, this port can be found on the back of the NTD. Make sure that the NTD is plugged into the wall power plug and turned on.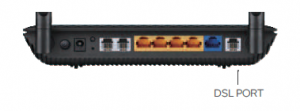
For FTTN connections:
Connect one end of the grey telephone cable directly into your telephone wall socket, and the other end into thegrey DSL port on the Kogan Intenet Modem.
Setting up your Wi-Fi
A Connect your compatible Wi-Fi devices to the Wi-Fi Network Name (‘the SSID’) using the Wireless Key (‘the Wi-Fi password) from the label underneath your Kogan Internet Modem.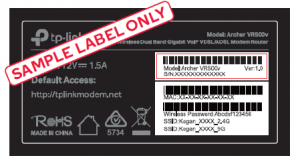
B Network Name – the names of the Wi-Fi hotspots broadcast by your Kogan Internet Modem. Wireless Key – the password to be used to login to the Wi-Fi hotspots.Dashboard Login – once connected to your Kogan Internet Modem this is the URL and login details to use to access the dashboard.
You may also choose to change the default Wi-Fi Network Name and Wireless Key to make them easier to remember. You can do this through the Kogan InternetModem dashboard. Refer to the following page of this guide for information on how to access the dashboard.
Advanced Settings
Your Kogan Internet Modem comes with a dashboard which allows you to:
- Change your Wi-Fi Network Name and Wireless Key details
- Manage advanced internet and Wi-Fi settings Once connected to your Kogan Internet Modem via Wi-Fi or an Ethernet cable you can access the dashboard by typinghttp://tplinkmodem.net into your browser and using the login details from the label underneath your Kogan Internet Modem.
Troubleshooting Tips
If you are experiencing difficulties connecting via Wi-Fi or when using an Ethernet cable, please try the following:
- Power the device off
- Check that the cables have been plugged in correctly
- Aer 2 minutes, power on the device again
- Wait for the internet light to turn solid green
- If you are still experiencing difficulties connecting, you can access more information in the help section at koganinternet.com.au/support
Read More About This Manual & Download PDF:
References
[xyz-ips snippet=”download-snippet”]

