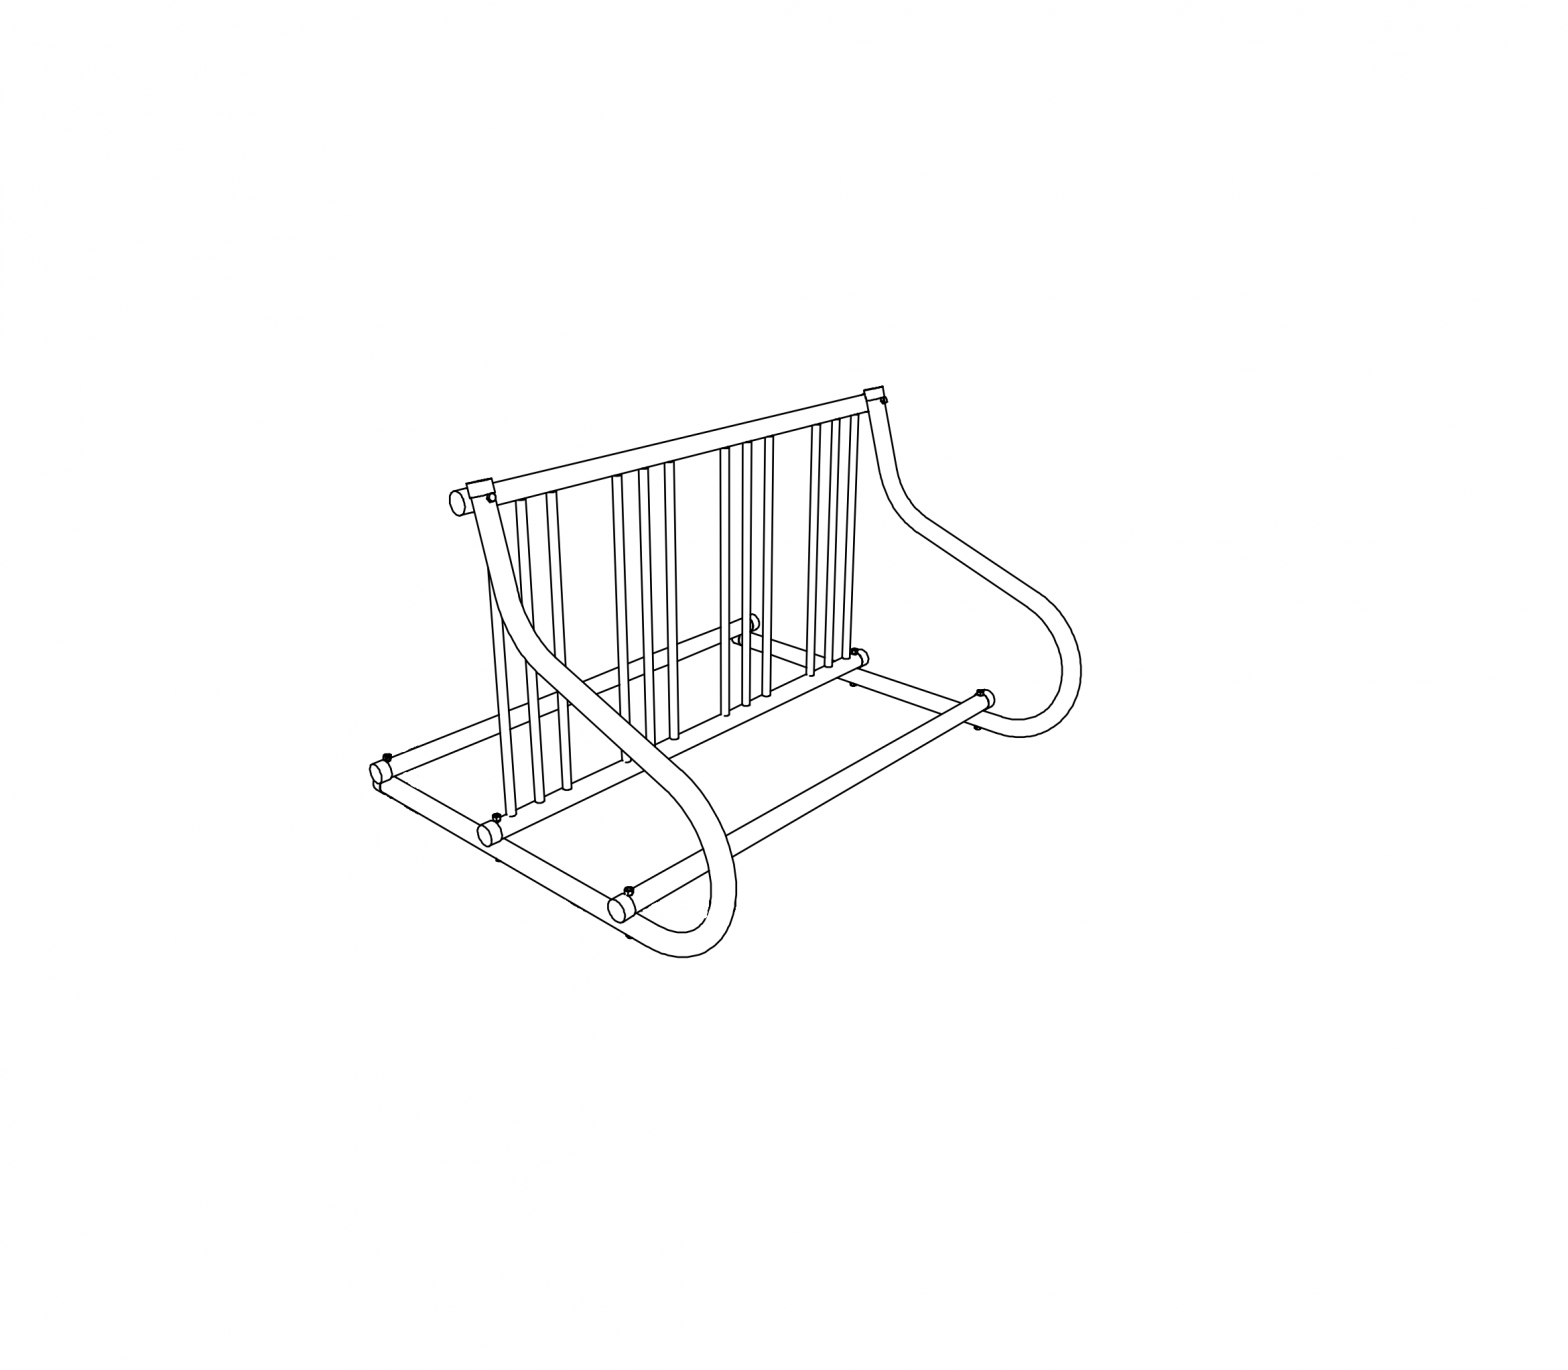
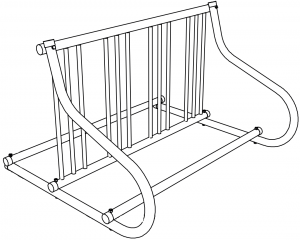
ULINE Double Sided Grid Bike Pack
TOOL NEEDED
|
|
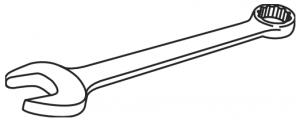 9/16″ Wrench
PARTS
|
|
|
|
 |
|
|
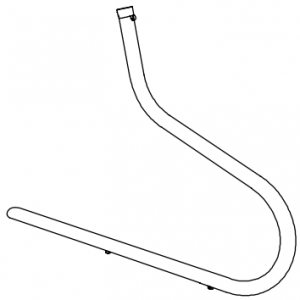 Leg x 2
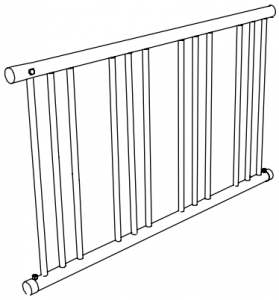 Grid Section x 1
 Grid Section x 1
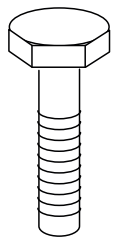 Bolt x 8
 Locknut x 8
ASSEMBLY
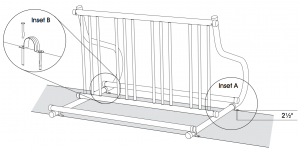
- Insert bolt upward through last hole in leg and pole. Fasten loosely with locknut. Repeat by attaching other leg to pole. (See Inset A)
- Insert bolt through hole at the top of the leg and end of grid. (See Inset B)
 NOTE: Grid can only be positioned one way for mounting. The holes on top are drilled diagonally through the tube at a slight downward angle.
 - Fasten loosely with locknut. Repeat by attaching other leg to grid.
- Align bottom holes of grid with middle hole of legs. Insert bolt upward and fasten loosely with locknut. Repeat by attaching other leg to grid. (See Inset C)
- Insert bolt upward through remaining hole in leg and other pole. Fasten loosely with locknut. Repeat by attaching other leg to pole. (See Inset D)
- Complete assembly by tightening all bolts.

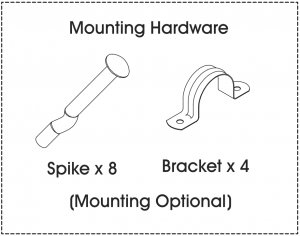
MOUNTING (OPTIONAL)
TOOLS NEEDED
|
|
|
|
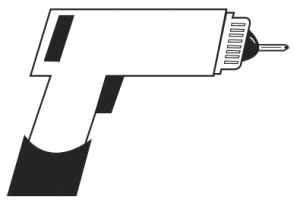 Electric Drill
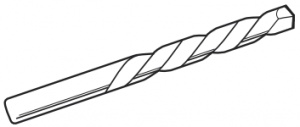 1/4″ Drill Bit
 Hammer
- Drill a 1/4″ diameter hole into the concrete, block or stone to a depth of 2½”. (See Inset A)
- Blow out the dust in the hole.
- Place bracket over tubing.
- Drive the spike flush to clamp into drilled hole. (See Inset B)
- Repeat on remaining spikes.

1-800-295-5510uline.ca
[xyz-ips snippet=”download-snippet”]