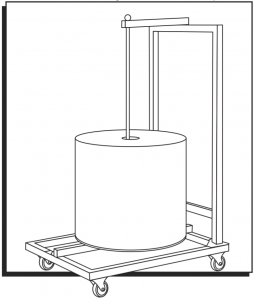
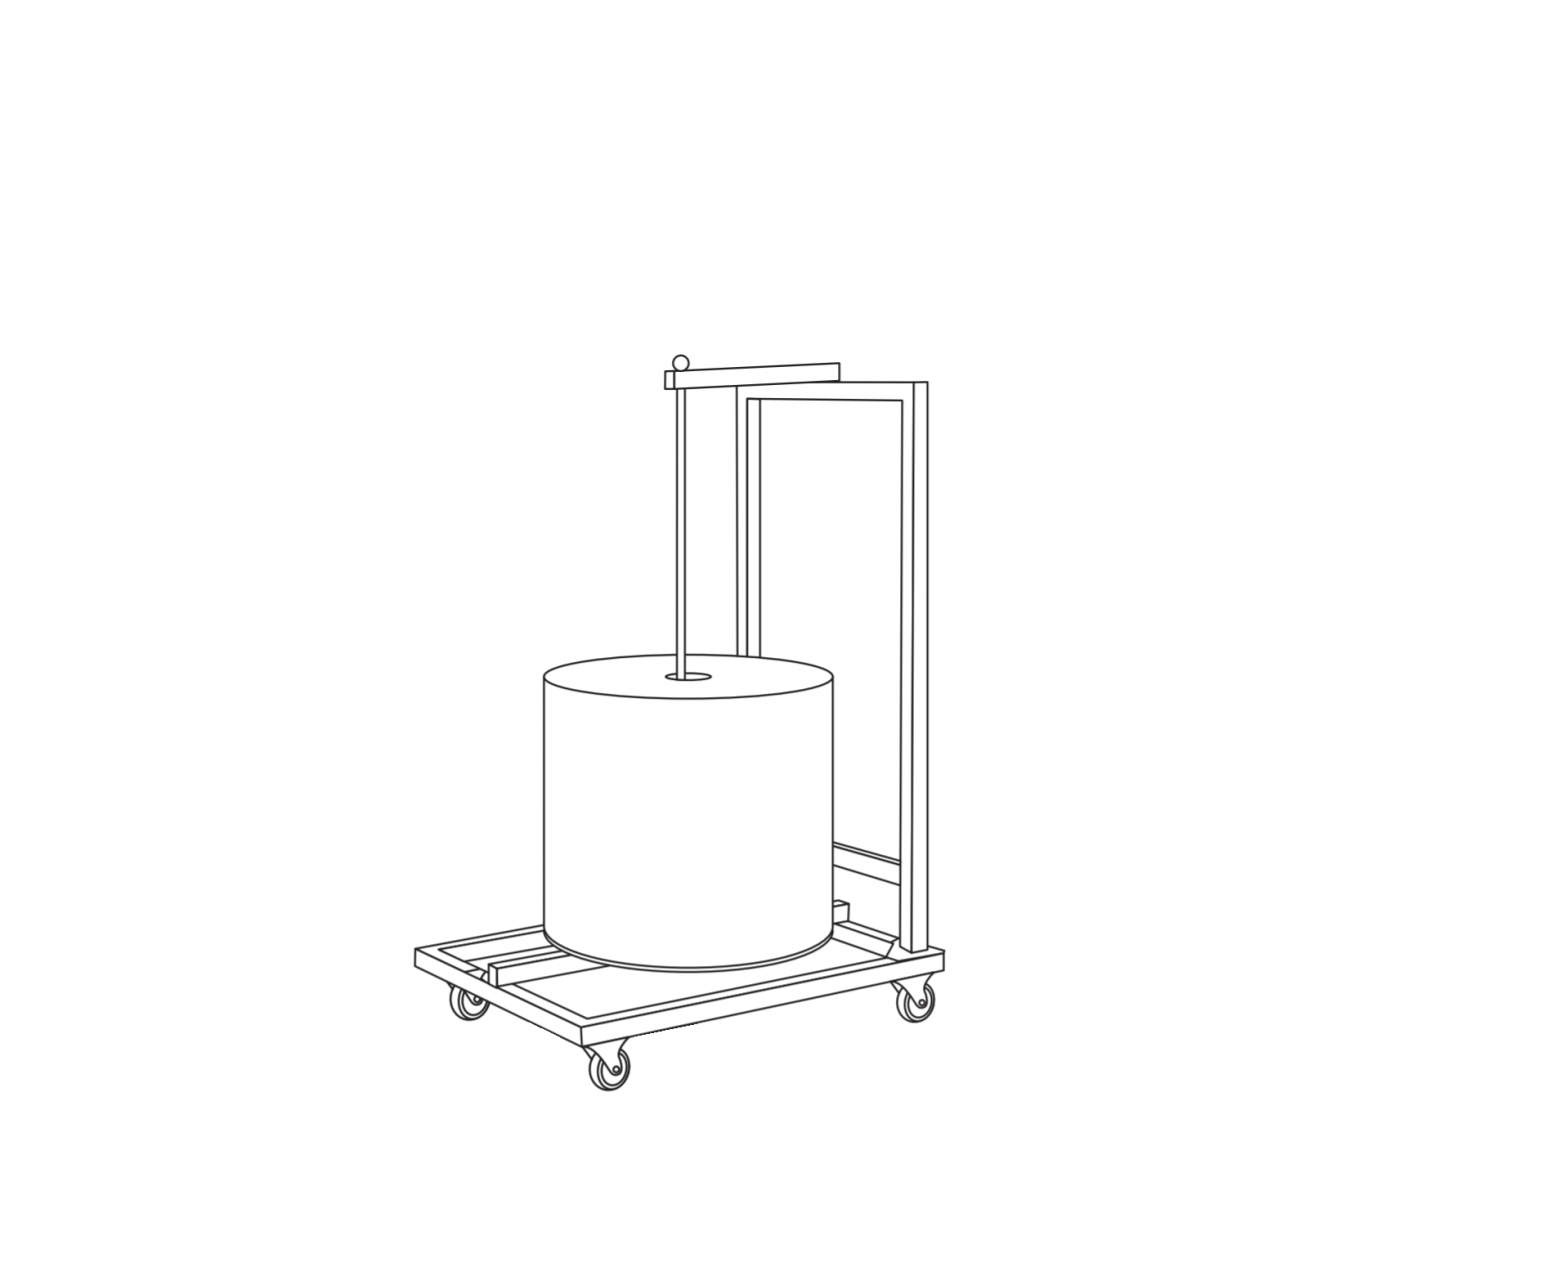
ULINE H-7899 36″ Corrugated Wrap Dispenser
TOOLS NEEDED
|
|
|
|
PARTS
|
|
|
|
|
|
|
|
|
|
|
|
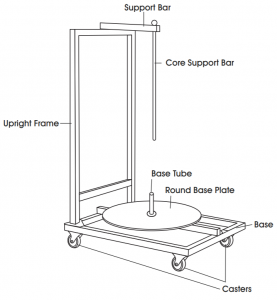
PARTS DIAGRAM
ASSEMBLY
- Remove and unpack all pieces from the carton.
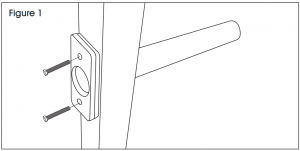
- Attach base tube to base by inserting base tube through under side of base and attach using two M5 x 20 hex socket head screws. (See Figure 1)

- Lay base down with corner plates touching floor.
- Attach two non-locking and two locking casters to corner plates using one M10 hex nut, one M10 spring washer and one M10 washer per caster. (See Figure 2)
 NOTE: Lock casters for the remainder of the assembly process.
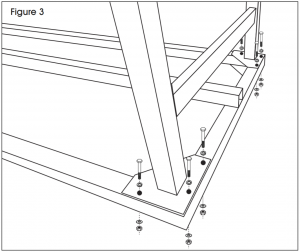
- Align holes on corner plates of upright frame with holes on base. Use three M10 x 70 hex bolts, three M10 hex nuts, three M10 spring washers and three M10 washers to attach each corner plate of upright frame to base. (See Figure 3)

- Attach support bar to top center of upright frame using one M10 x 110 hex bolt, one M10 wing nut, one M10 spring washer and one M10 washer. (See Figure 4)

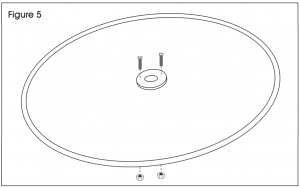
- Attach white ring on top of round base plate using two M5 nyloc nuts and two M5 x 15 hex socket head screws. (See Figure 5)

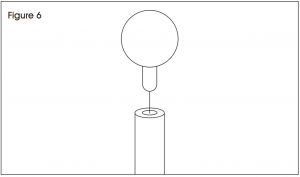
- Screw round cap onto top of core support bar. (See Figure 6)

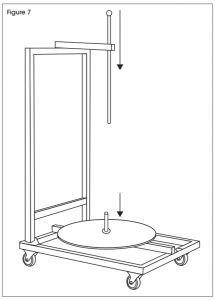
- Insert core support bar into hole on support bar. (See Figure 7)
- Slide round base plate on to rounded tube-shaped upright on base (white ring up). (See Figure 7)

PARTS FOR OPTIONAL TABLETOP CUTTER
|
|
|
|
|
|
ASSEMBLY OF OPTIONAL TABLETOP CUTTER
- Remove tabletop cutter from carton.
- Line up mounting holes on ends of tabletop cutter to holes on upright frame and attach using two M5 x 60 hex bolts, two M5 hex nuts, two M5 spring washers and two M5 washers. (See Figure 8)


1-800-295-5510www.uline.com
References
[xyz-ips snippet=”download-snippet”]

 5/8″ Wrench
 Pliers
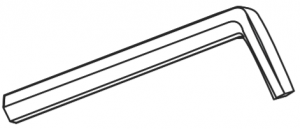 5/32″ Allen Wrench
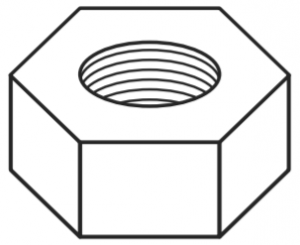 M10 Hex Nut x 10
 M10 Washer x 12
 M10 Spring Washer x 12
 M10 x 110 Hex Bolt x 1
 M10 Wing Nut x 1
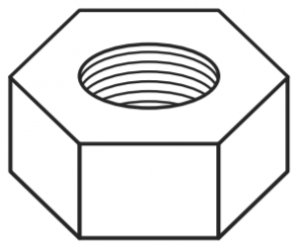 M5 Nyloc Nut x 2


 M5 x 60 Hex SocketHead Screw x 2
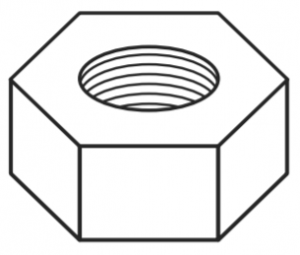 M5 Hex Nut x 2
 M5 Washer x 2
 M5 Spring Washer x 2