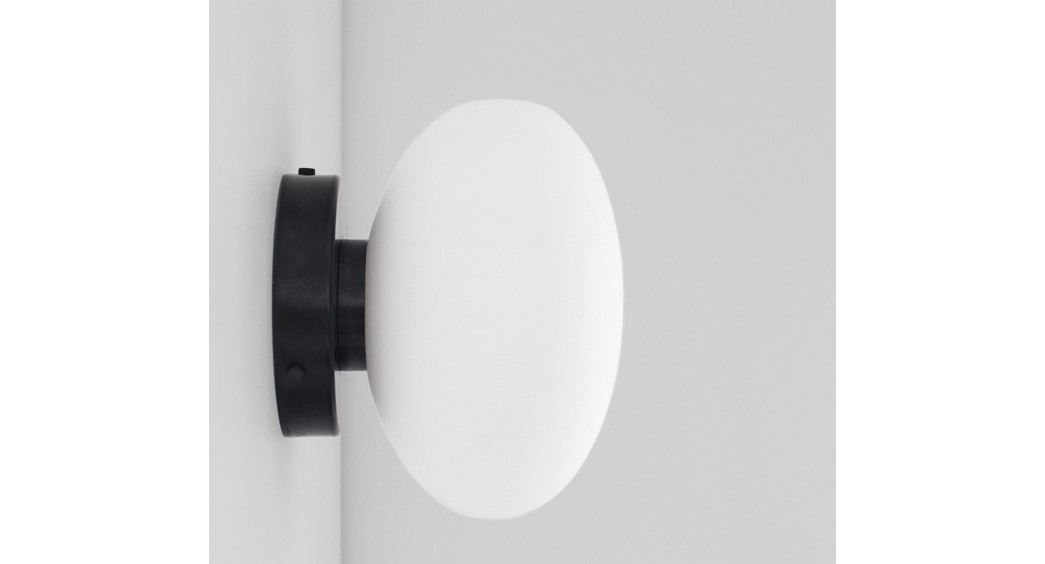
 Mushroom Surface MountAssembly Guideincommonwith.com
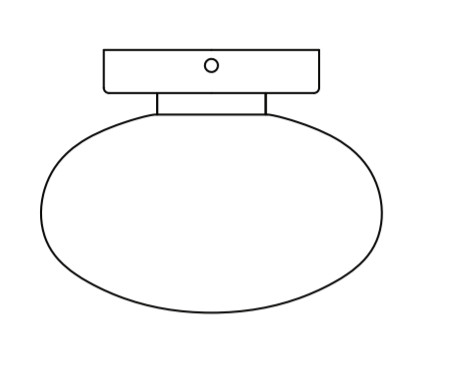 |
 |
How to Install Your New Light
Please check that you received all of the components pictured in this guide. Reach out to us if anything is missing. It’s very rare, but it happens. Don’t forget to turn off the electrical power source.Tools you will need that aren’t included: standard wire stripper, Phillips head screwdriver.CAUTIONElectrical shock risk. Turn off electrical power at the main fuse box or circuit panel before beginning installation, servicing the light, or installing accessories. We recommend working with a qualified electrician familiar with the type of work you’d like done.
Contents

Step 1:Turn off electrical power at the main fuse box or circuit panel before beginning installation. |
Step 2:Mount the backplate (A) to the junction box using a phillips head screwdriver to tighten the mounting screws (F).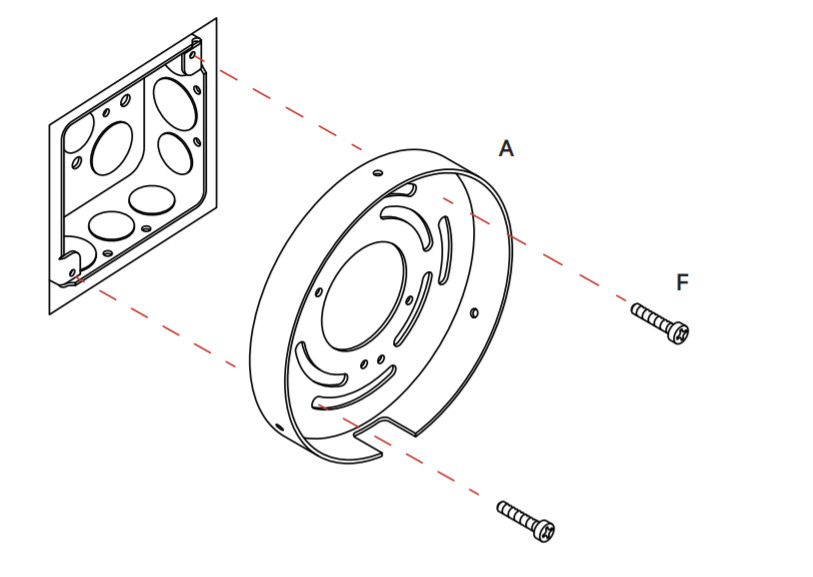 |
Step 3:Use the wago clips (C) to connect the fixture’s wires to the corresponding wires from the junction box in the wall or ceiling. White is neutral; Black is live; Green/ Yellow is ground. One ground wire will be attached to the backplate (A), the other ground wire should come from the junction box. If needed use a wire stripper to remove 3/8” of the insulation from each wire before inserting them into the corresponding wago clip. |
Step 4:Align the holes of the backplate (A) with the holes of the canopy cover (B). Secure them in place by twisting the thumbscrews (D) by hand.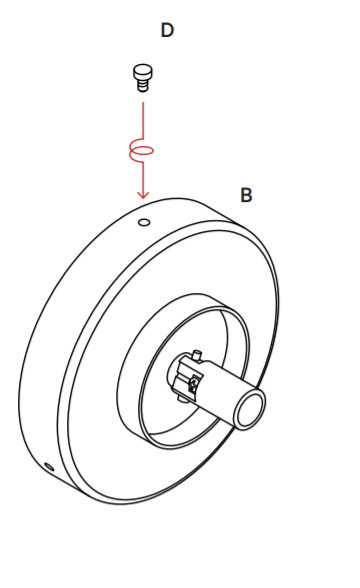 |
Step 5:Screw lightbulb (G) into the fixture socket. |
Step 6:Attach the diffuser (E) to the fixture assembly by rotatingclockwise until the components are fixed in place. Turn the power backon at the main fuse box or circuit panel you disabled before installation.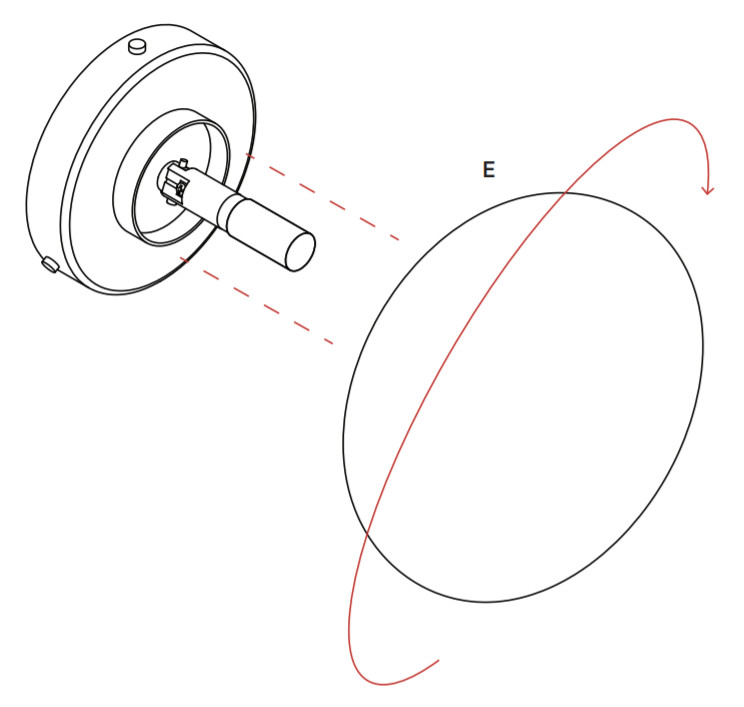 |
References
[xyz-ips snippet=”download-snippet”]

