![]()
INTERFACE COMPONENTS
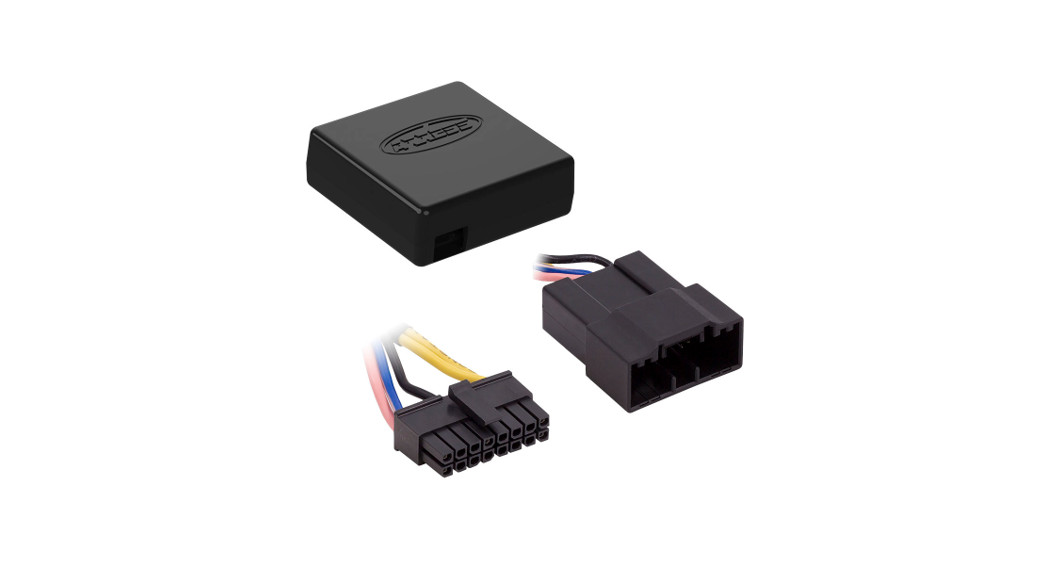
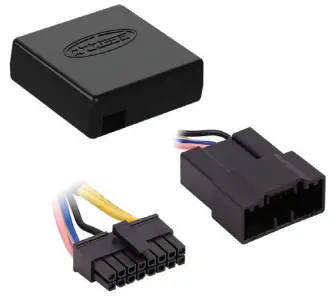
- AXBT-MZ1 interface
- AXBT-MZ1 harness
APPLICATIONS
| Mazda † | |||
| CX-3 | 2016-Up | Mazda6 | 2016-Up |
| CX-5 | 2017-Up | MX-5 Miata | 2016-Up |
| Mazda3 | 2014-Up |
†Mazda-Connect Infotainment system with a 7-inch touchscreen
AXBT-MZ1INSTALLATION INSTRUCTIONS
Mazda Bluetooth Capable Vehicle Customization2014-UpVisit AxxessInterfaces.com for more detailed information about the product and up-to-date vehicle specific applications
INTERFACE FEATURES
- Allows retention and adjustment of the factory* Personalization Menu
- Adjust the* Personalization Menu through a Bluetooth application
- Smartphone application offering full control from either an Android or Apple mobile device
- Plug & play solution, no wiring required
* Actual options available vary per vehicle and per trim. (Refer to owner’s manual for options available in the vehicle.)
Attention! Let the vehicle sit with the key out of the ignition for a few minutes before removing the factory radio. When testing the aftermarket equipment, ensure that all factory equipment is connected before cycling the key to ignition.
INSTALLATION
- Connect the AXBT-MZ1 harness to the AXBT-MZ1 interface.
- Connect the AXBT-MZ1 harness to the 18-pin connector located at the radio location.
APP INSTRUCTIONS
- Download and install the AX-CUSTOM-BT app from the mobile devices app store.
- Start the vehicle.
- Open the app and wait for the Customization Settings menu to appear. If Not Connected appears instead, first press the right button in the top right corner of the screen, then press the left button. This will take you back to Customization Settings. The pairing process will begin at this point.
- Once paired, Settings will be displayed on the screen. From this point on you can make changes to the vehicle as desired, as long as the vehicle is running. (Figure A)
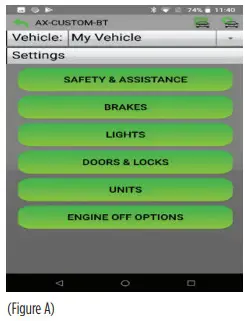
Note: Screenshot shown for illustration only. Actual options available vary per vehicle and trim level. Continued on the next page
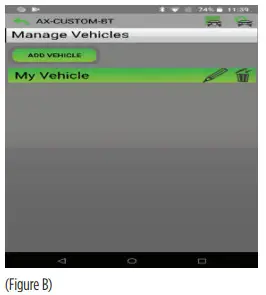
Manage Vehicles (Figure B)
- Select Manage Vehicles by pressing the button in the top right of the screen.
- Pressing either the Add Vehicle or Edit (pencil icon) button will open the Configure Vehicle menu. (Figure B)
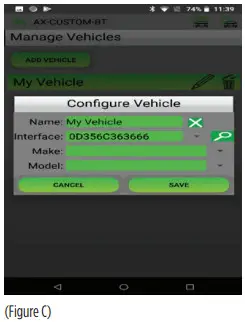
Configure Vehicle (Figure C)
- The name of the vehicle can be changed by pressing the text field.
- The app can automatically detect the interface installed in the vehicle by pressing the Search button (magnifying glass).
- The Make and Model fields will open a drop-down list for the user to select the make and model of the vehicle that the interface is installed in.
- Press the Save button to store the changes.

Having difficulties? We’re here to help.![]() Contact our Tech Support line at:386-257-1187
Contact our Tech Support line at:386-257-1187
![]() Or via email at:[email protected]Tech Support Hours (Eastern Standard Time)Monday – Friday: 9:00 AM – 7:00 PMSaturday: 10:00 AM – 7:00 PMSunday: 10:00 AM – 4:00 PM
Or via email at:[email protected]Tech Support Hours (Eastern Standard Time)Monday – Friday: 9:00 AM – 7:00 PMSaturday: 10:00 AM – 7:00 PMSunday: 10:00 AM – 4:00 PM
 KNOWLEDGE IS POWEREnhance your installation and fabrication skills by enrolling in the most recognized and respected mobile electronics school in our industry. Log onto www.installerinstitute.com or call 800-354-6782 for more information and take steps toward a better tomorrow.
 Metra recommends MECPcertified technicians
AxxessInterfaces.com© COPYRIGHT 2020 METRA ELECTRONICS CORPORATIONREV. 10/5/20 INSTAXBT-MZ1
References
[xyz-ips snippet=”download-snippet”]