QUICK Install Guide400HPerforMAX ® FILL VALVE
*See page 23 for important legal information.Français – Page 16
 HOW-TO VIDEOVISIT: FLUIDMASTER.COM 400H PRODUCT PAGE
INSTALL WITH CONFIDENCE
GETTING STARTED
PARTS OVERVIEW

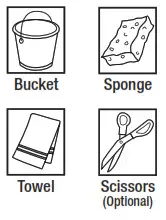
TOOLS NEEDED

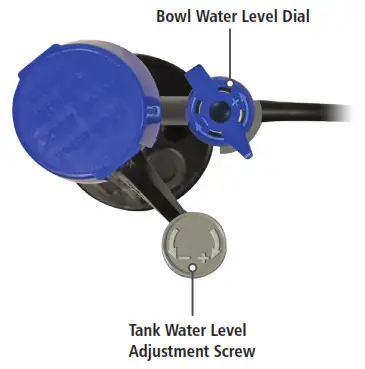
TOP-DOWN VIEW

STEP 1: PREPARE TANK
A: TURN OFF WATER

B: DRAIN WATERFlush the toilet to drain most of the water from the tank.
FLUSH


A: REMOVE CONNECTOR Remove water supply connector from bottom of fill valve by twisting connector nut to the left (clockwise). 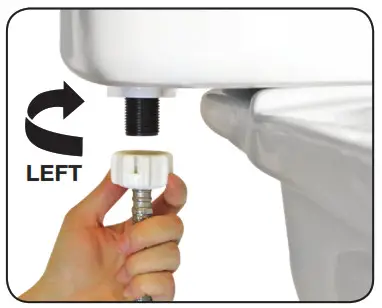


NOTE: Inspect the water supply connector. Replace it if it is worn, or you don’t know how old it is, to prevent flooding and property damage.
B: REMOVE OLD LOCKNUTBelow tank, twist locknut to the left (clockwise) to remove from fill valve. 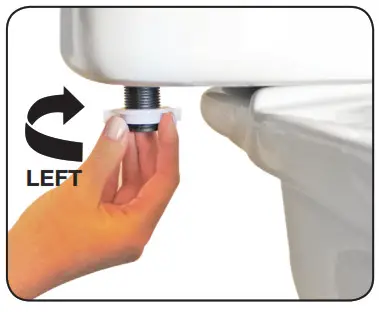

Including refill tube, refill clip, and shank washer. Drain any excess water into the bucket by removing the fill valve from the tank. (Pull fill valve up)


A: TWIST FILL VALVE TO ADJUST HEIGHTTop of the fill valve cap should measure roughly 3″ above the top of the overflow pipe when installed.
NOTE:Increasing height allows more water to fill in the tank.


STEP 4: INSTALL NEW FILL VALVE
A: ATTACH REFILL CLIP TO OTHER END OF REFILL TUBE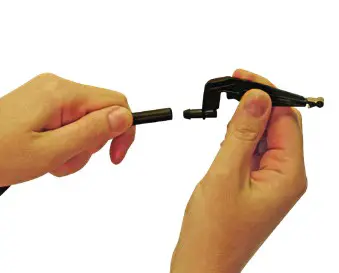

B: INSERT FILL VALVEPosition refill tube to face flush valve making sure fill valve parts do not interfere with the lever arm.


C: ATTACH REFILL CLIP TO OVERFLOW PIPENote: If the refill tube is too long to fit inside the tank with the lid closed, remove the refill tube from the fill valve refill port, cut the tube, and reattach to the port.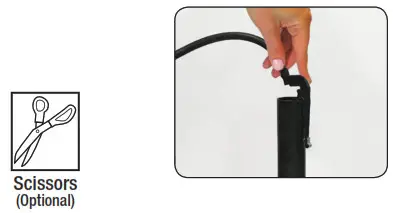


STEP 5: FINISHING STEPS
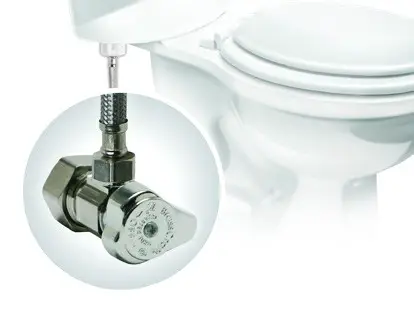
A: ATTACH WATER SUPPLY CONNECTOR TO FILL VALVETwist to the right (counterclockwise) *Hand-tighten only. DO NOT OVERTIGHTEN.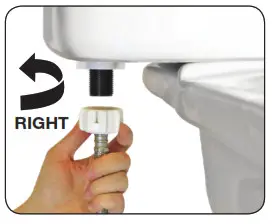


C: WATER LEVELAfter the tank stops filling, the water level should fill the tank to roughly ½ inch below the top of the overflow pipe to ensure a proper flush. (Does not need to be exact.)

STEP 6: FINE-TUNE TANK WATER LEVEL
A: FLUSH THE TOILET TO CHECK THE TANK WATER LEVELAfter the water stops filling the tank, the water level should be roughly ½ inch below the top of the overflow pipe to ensure a proper flush.

B: WATER LEVEL IS TOO LOWTurn the tank water level adjustment screw clockwise to raise the float. Flush to reset water level.
THE WATER LEVEL IS TOO HIGHTurn the water level adjustment screw counterclockwise to lower the float. Flush to reset water level.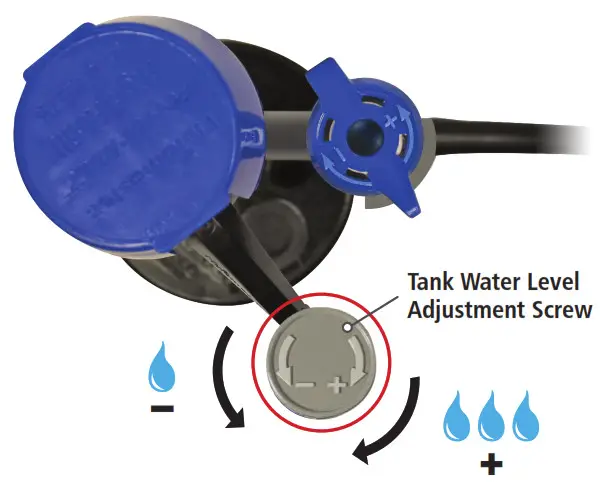

STEP 7: FINE-TUNE BOWL WATER LEVELNOTE: The PerforMAX Fill Valve is pre-set to fill the proper bowl water level in most toilets straight out of the box.

A: FILL BOWL WITH A GALLON OF WATERWait 1 minute until the bowl water level recedes down and stops.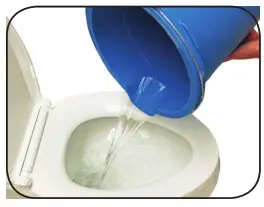

B: MARK THE WATER LEVEL IN THE BOWLWith a pencil, draw a line at the top of the water level in the bowl. (Pencil mark will easily wash off).


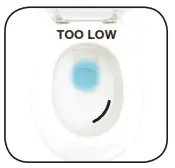

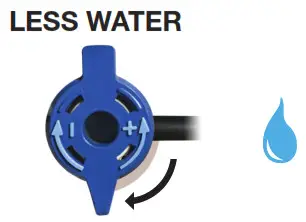



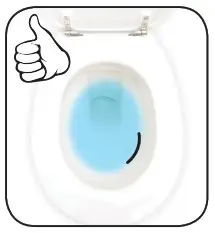

A: FLUSH THE TOILET If you’re satisfied with the flush, YOU’RE DONE!


TROUBLESHOOTING
IF THE FILL VALVE:
- DOES NOT TURN ON
- WON’T TURN OFF
- WON’T REFILL TANK
REMOVE CAP AND CHECK FOR DEBRIS


REPLACE FILL VALVE SEAL

* Always use genuine Fluidmaster parts when installing or repairing. Fluidmaster will not be responsible or liable for use of non-Fluidmaster parts during installation or repair.
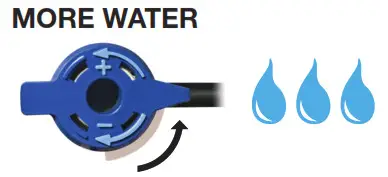
WATER LEVEL IN BOWL IS TOO LOW

B: WATER LEVEL IN-TANK MAY BE TOO LOW1/2” below top of the overflow pipe is recommended (see page 8).


C: FLAPPER MAY BE CLOSING TOO SOONGive flapper chain approximately 1/2″ of slack.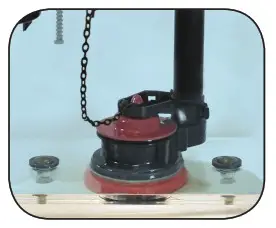

TROUBLESHOOTING
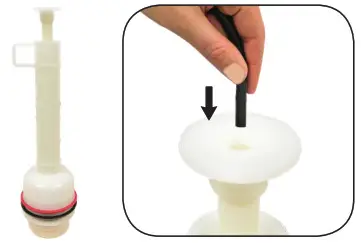
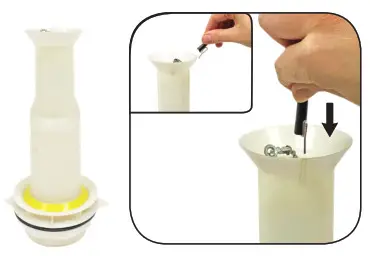
FOR CANISTER FLUSH VALVESThe Fluidmaster refill clip is not required for installation.If you’ve already installed the refill clip onto the refill tube, simply pull it or cut it off.




![]()
![]()
References
[xyz-ips snippet=”download-snippet”]

