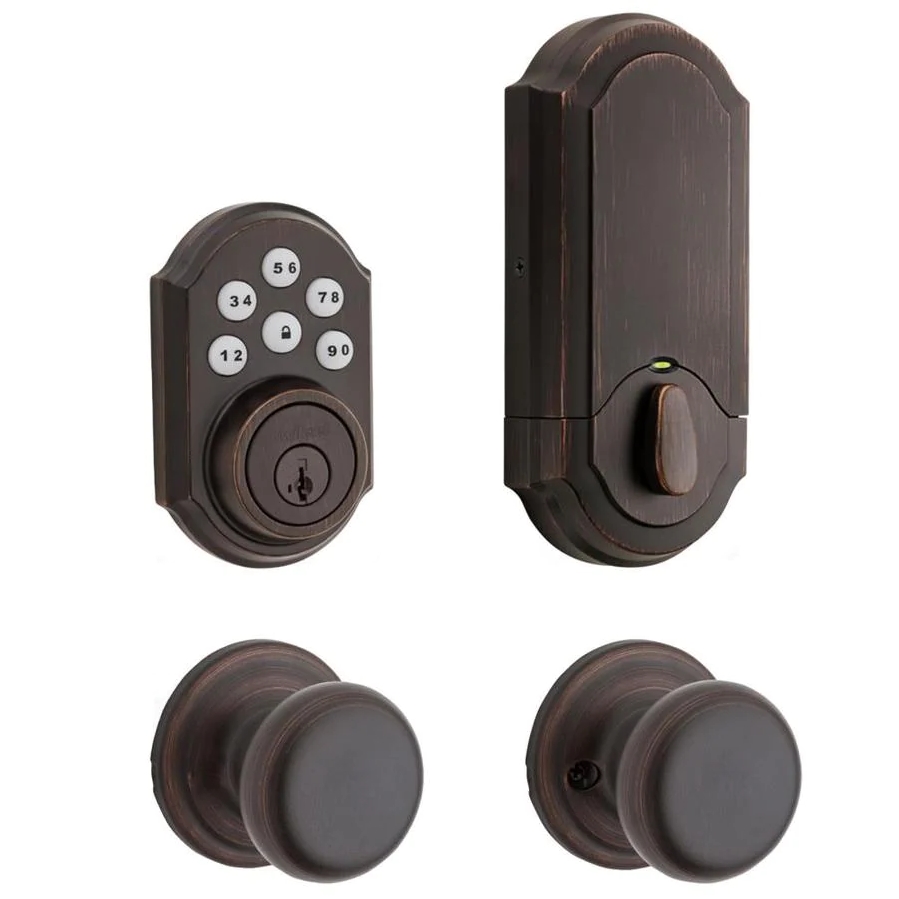
Smart Code Touchpad Electronic Deadbolt Quick Installation GuideModels #49709 / 02 909
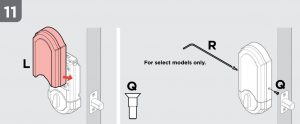
For select models only.
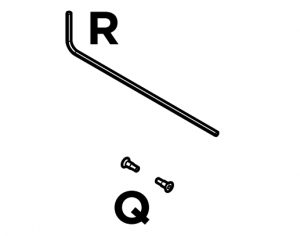
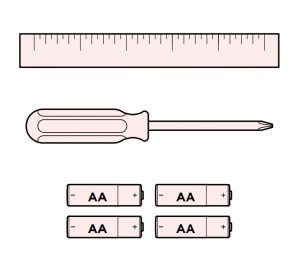
Tools Needed
Check Dimensions

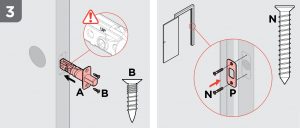
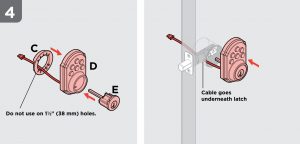
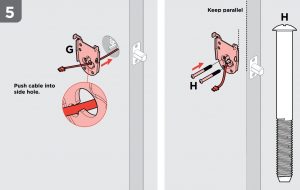
![]() Do not use electric drill or electric screwdriver to tighten screws.
Do not use electric drill or electric screwdriver to tighten screws.
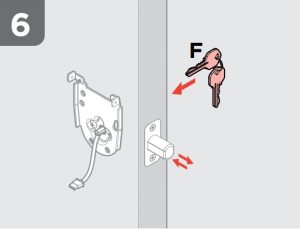
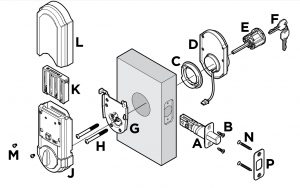
Insert key and test latch. If latch does not extend or retract smoothly, adjust crews (H). Remove key when finished.

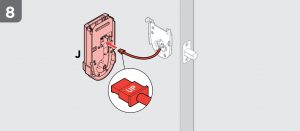
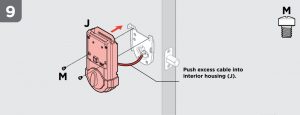
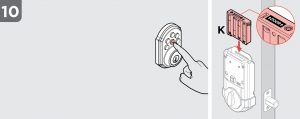
(1) Hold LOCK button on keypad while (2) inserting the battery pack into the interior. The lock will extend & retract deadbolt latch. Two beeps will sound in approximately 30 seconds to confirm successful installation.
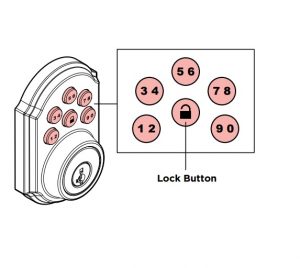
Keypad
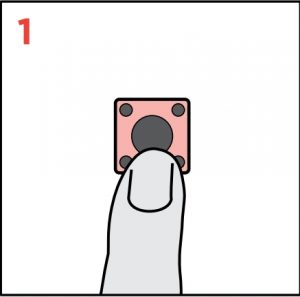
Program Button

How the keypad works
Each button represents two numbers (i.e. 1 and 2 for the first button). You only need to push the button once to get either 1 or 2. For example: If your code is 1-2-5-6-8,

User Codes
Adding User Codes
A total of 8 User Codes (UC) may be programmed.
Press the Program Button the number of times that corresponds to the UC position being programmed.Example: If programming the third code, press the button three times.
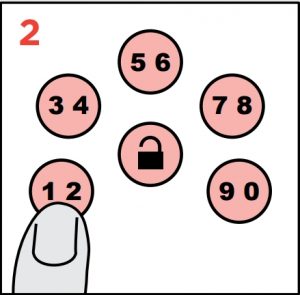
Enter 4 to 8 Digit Code

Press Lock Button

Test code. If the code does not work, repeat steps 1-3.
Note: During programming, if no button is pressed for 5 seconds, the system will time out, and you will need to restart the procedure.
Keep track of the person and code assigned to each UC positon.
Deleting A Single User Code
In order to delete a single UC, you must override the code by programming a new code in the same position. Test the old code to make sure it is inactive.
CAUTION: Prevent unauthorized entry. Since anyone with access to the back panel can change the user codes, you must restrict access to the back panel and routinely check the user codes to ensure they have not been altered without your knowledge.
Normal Operation
Unlocking the door
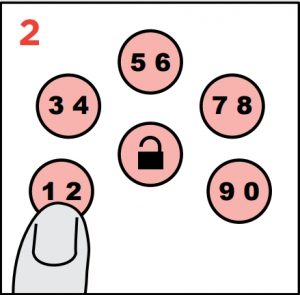
Optional: Press Lock Button to light up keypad at night.
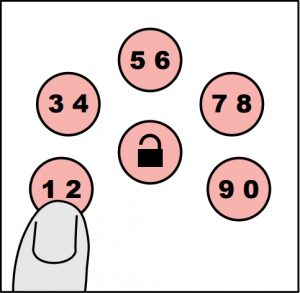
Enter 4 to 8 Digit Code
Locking the door
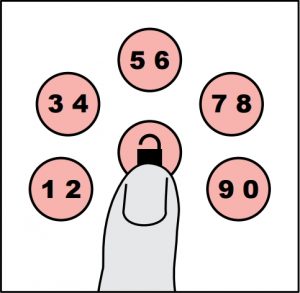
Press Lock Button
If three incorrect codes are entered consecutively, the keypad will lockout for 60 seconds, after which you may try the code again.
Keypad Warnings

Status LED Color
Status LED Color: Lock Status:
blinking green: Unlocked:blinking amber: Locked:blinking red: Low Battery:Will still blink red for low battery when switch # 1 is of:
![]() WARNING: This Manufacturer advises that no lock can provide complete security by itself. This lock may be defeated by forcible or technical means, or evaded by entry elsewhere on the property. No lock can substitute for caution, awareness of your environment, and common sense. Builder’s hardware is available in multiple performance grades to suit the application. In order to enhance security and reduce risk, you should consult a qualified locksmith or other security professional.
WARNING: This Manufacturer advises that no lock can provide complete security by itself. This lock may be defeated by forcible or technical means, or evaded by entry elsewhere on the property. No lock can substitute for caution, awareness of your environment, and common sense. Builder’s hardware is available in multiple performance grades to suit the application. In order to enhance security and reduce risk, you should consult a qualified locksmith or other security professional.
For assistance or warranty information:Kwikset product1-800-327-5625, USA & CANADAor visit www.kwikset.comWeiser productUSA: 1-800-327-5625CANADA: 1-800-501-9471or visit www.weiserlock.com
Smart Code Touchpad Electronic Deadbolt Quick Installation Guide – Smart Code Touchpad Electronic Deadbolt Quick Installation Guide –
[xyz-ips snippet=”download-snippet”]

