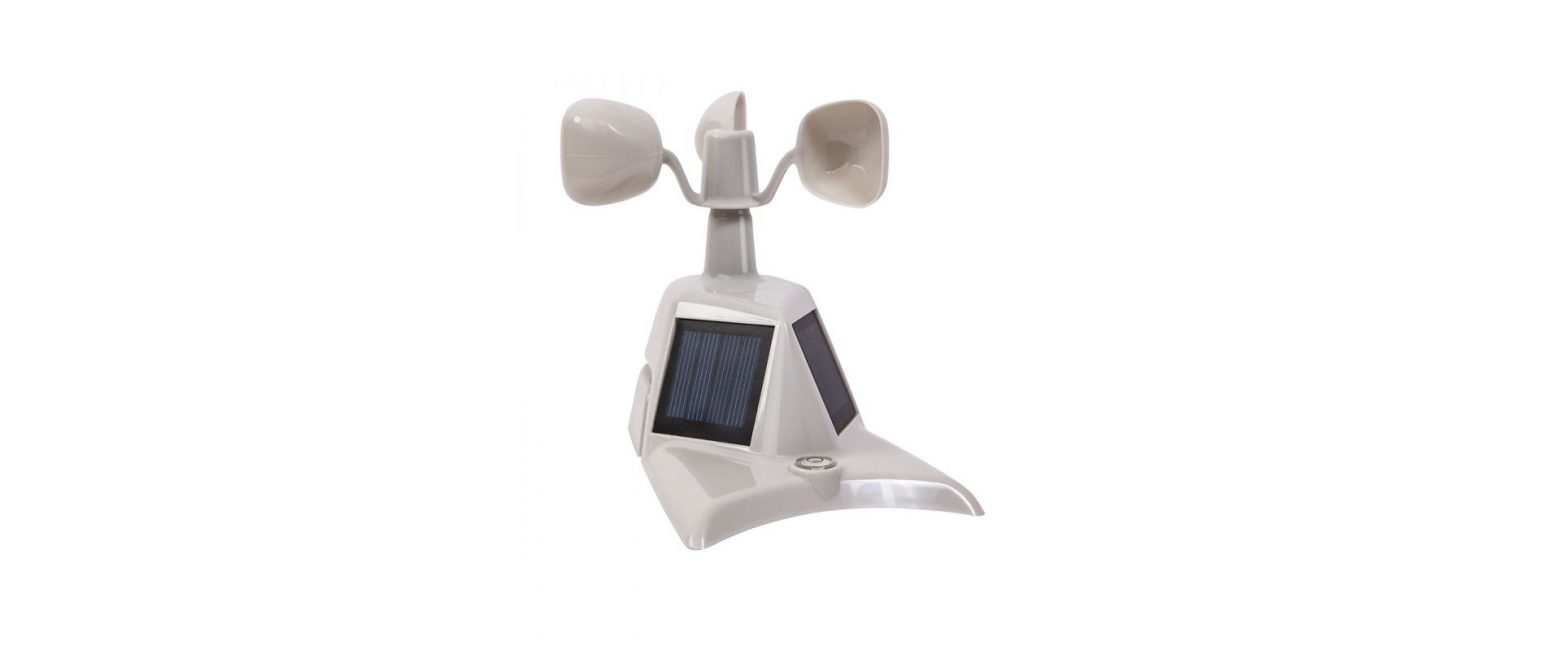
ACU-RITE 5-in-1 Sensor Bearing Kit 5N1DSSA Instruction Manual
The dual solar sub assembly for the 5-in-1 sensor optimizes the sensor’s sun 1. Remove the screw from just below the exposure, allowing the sensor’s solar-powered aspirating fan to run more often. wind cups. Keep the screw for The sensor’s internal fan helps to ensure accurate temperature measurement
Your AcuRite 5-in-1 sensor features a modular design that allows for the 2. Spray a very small amount of lubricant replacement of certain assemblies. Please take care when handling the 5-in-1 into the hole. sensor components – the electronic components inside are sensitive.
NOTE: you will need to remove your existing 5-in-1 sensor from its mounting then right side up several times. location to install the dual solar sub assembly
Scan QR Code to View a Video!
TO LUBRICATE:
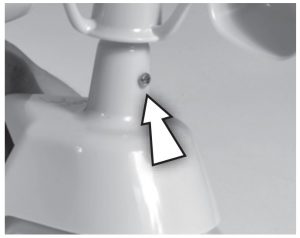
- Remove the screw from just below the wind cups. Keep the screw for re-insertion at completion
- Spray a very small amount of lubricant into the hole
- Tip the 5-in-1 Sensor upside down so that the wind cups are on the bottom then right side up several times. location to install the dual solar sub assembly
- Re-insert the screw into hole.
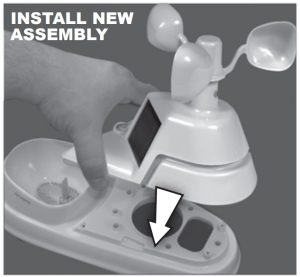
NEW BEARING ASSEMBLY INSTALLATION

NOTE: Remove batteries from sensor to erroneous rainfall or wind readings when handling and transporting sensor.
REMOVE 4 SCREWS 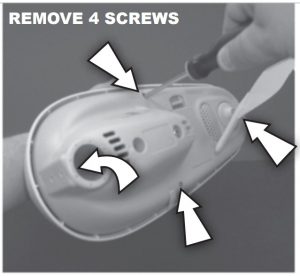
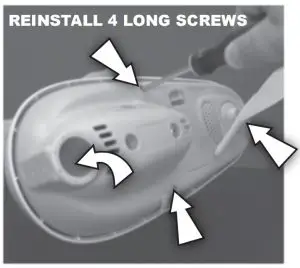
- Remove four LONG screws and separate upper white portion and lower gray portions of the sensor. Keep the screws for re-assembly.
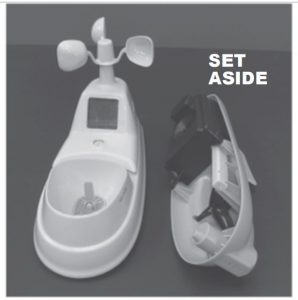
- . Set aside the lower gray portion for reassembly later.

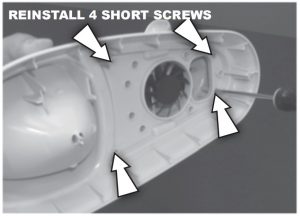
- Turn the upper white portion over and remove the 4 SHORT screws near the fan assembly. Keep the screws for reassembly.
- Gently remove the old upper wind speed and solar assembly from rain housing and discard.
- . Place new wind speed/solar assembly and line up the screw holes with the upper rain housing
- Turn the upper white portion over and re-install the 4 SHORT screws and tighten by hand.
- Reinstall four LONG screws to join the upper white portions and lower gray portions of the sensor


References
[xyz-ips snippet=”download-snippet”]