![]()
Instruction ManualWireless ThermometerMODEL # 00683A3 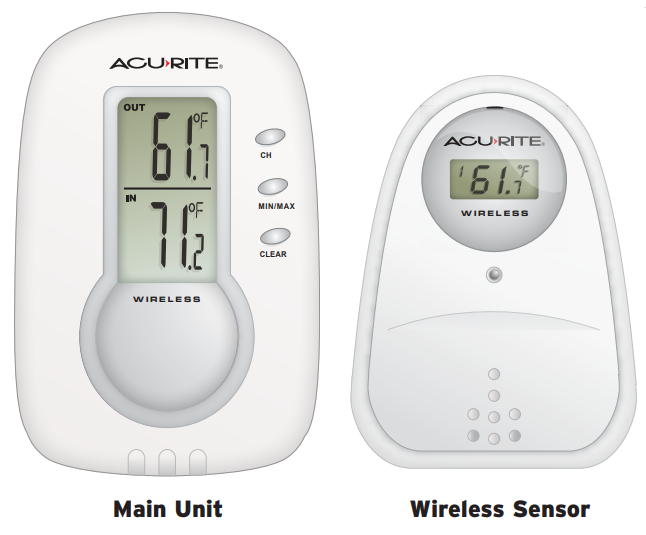
Thank You! We appreciate you for purchasing this wireless thermometer.We hope you enjoy using this versatile wireless thermometer!Features:
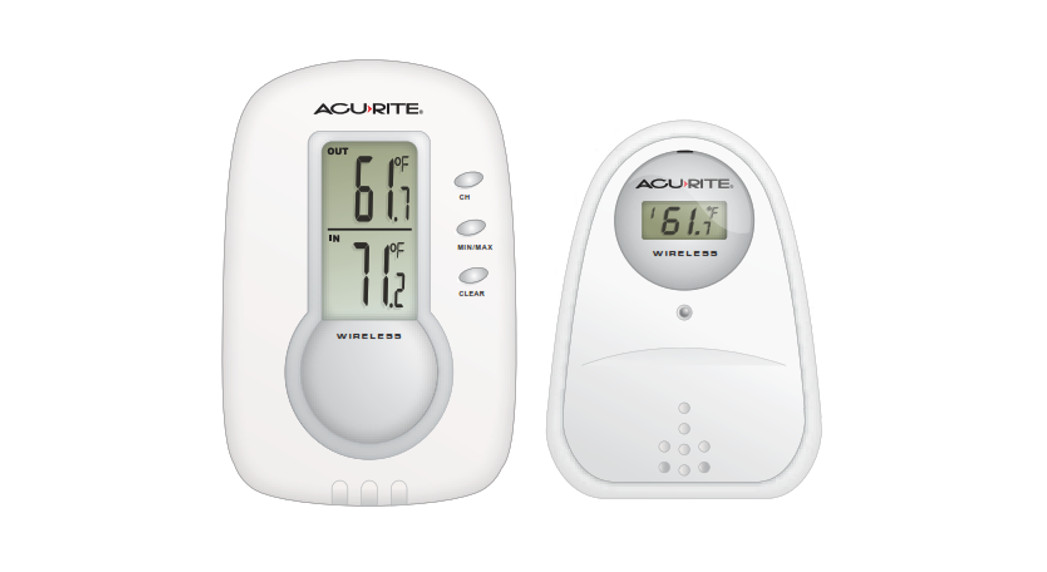
- Main unit with indoor and outdoor LCD temperature display.
- Wireless Sensor – the range is 100’ (33m).
- Temperature measurement ranges:Indoor main unit: +32º F to +122º FOutdoor wireless sensor: -4º F to +158º F
- Battery operated. (batteries not included)
CHECK PACKAGE CONTENTS
(1) Main unit – dimensions: 2.75″ x 3.5″ x 1″ (7 cm x 9 cm x 2.5 cm)*(1) Wireless Sensor – dimensions: 2.5″ x 3.5″ x 1″ (6.4 cm x 9 cm x 2.5 cm)*(3) 1″ (2.5cm) screws with plastic anchor(1) Instructions*Dimensions are approximate.NOTE: Carefully remove the units from their packaging. Discard the packaging and save the instructions.
READ
Please read these instructions carefully before you set up the thermometer. In this way, you can become familiar with all of the thermometer’s features and get the most benefit from them.
INSTALLATION & SET UP
Operating Range of Batteries
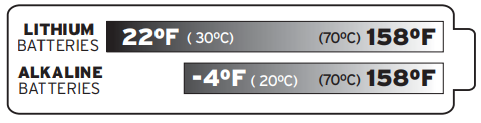
Severe cold (below -4º F/-20º C) can cause alkaline batteries to freeze and function improperly. Use lithium batteries in extremely low-temperature conditions to ensure continued operation.
Main UnitThe Main unit is intended for indoor use only. When deciding where to put the main unit, choose a dry location away from dust, dirt, mold, and smoke, and avoid temperature extremes. Do not drop the main unit. It is a sensitive electronic device and is not designed to withstand high-impact blows.NOTE: Install batteries in the MAIN UNIT before putting batteries in the wireless sensor.Main Unit Batteries: On the back of the unit, remove the battery compartment cover.Insert 2 AA alkaline (or lithium) batteries making sure they are installed according to the correct polarity (+/-). Replace the cover.Wireless Sensor This water-resistant wireless sensor is intended for outdoor use. When deciding where to place the sensor, make sure it will be protected from direct sunlight and from precipitation. Do not drop the remote sensor. It is sensitive, and not designed to withstand high-impact blows.Wireless Sensor Batteries: On the back of the wireless sensor unit, remove the battery compartment cover. Insert 2 AAA alkaline (or lithium) batteries making sure they are installed according to the correct polarity (+/-). Replace the cover. You may need to wait a few minutes after batteries are installed for the units to communicate with each other. When they do, both the indoor and outdoor temperatures will be shown on the main unit LCD display. If nothing is displayed, refer to section 4 of this manual for troubleshooting.NOTE: The sensor’s LED flashes momentarily whenever it sends information – about once each minute.
Placement & MountingChoose a location for each unit that is at least 10 feet away from other electronic devices that may interfere with the wireless signal.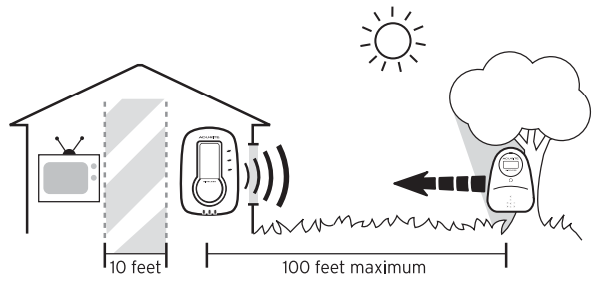
USING the MAIN UNIT FEATURES
Choose a Temperature ScalePress the + / C/F button to select either Fahrenheit or Celsius as your temperature scale.
View High and Low Temperatures Held in MemoryPress the MIN/MAX button once to view the maximum inside and outside temperatures that are held in the main unit’s memory.While the maximum temperatures are displayed, press the MIN/MAX button again to view the minimum temperatures.Clearing Memory – Press the CLEAR button while the value you want to clear (MAX or MIN) is displayed.Temperature AlertNOTE: This feature is available for the wireless sensor temperature display. When the alert feature is on, and a preset alert temperature is reached, an alert is signaled. This signal can be heard and seen. It consists of three short beeps while the main unit displays the temperature and the upper/lower icons are flashing. To stop the alarm – press any button. The temperature will continue to flash until it changes (from either the higher or lower temperature alerts that were set).To set minimum and maximum temperature alerts:
- Press the ALERT button once to turn on the feature. You will see the upper/lower icon flashing at the top of the main unit display.
- Press ALERT until the outdoor temperature and the upper/lower icon flash. Press the + or – buttons to select the desired channel. Press ALERT to confirm the channel selection.
- The upper pointer and temperature begin to flash. Enter the desired upper l limit temperature (See 9 for temperature range.) by pressing the + or – buttons. Press ALERT to confirm the setting.
- The lower pointer begins to flash. Enter the desired minimum temperature with the + or – buttons. Press ALERT to confirm the setting.
View Multiple Wireless Sensor Temperatures with Auto-ScrollWhen there is more than one remote sensor, pressing the -/![]() button starts the auto-scroll. The
button starts the auto-scroll. The ![]() icon appears under the channel number showing that auto-scroll has been turned on. The display shows the remote sensor temperature from each channel scrolling continually from one channel to the next. See section 6 for more information.
icon appears under the channel number showing that auto-scroll has been turned on. The display shows the remote sensor temperature from each channel scrolling continually from one channel to the next. See section 6 for more information.
MULTIPLE WIRELESS SENSORS
The main unit supports up to three wireless sensors. Each additional wireless sensor must be designated a different channel number. Assigning different channel numbers to differentiate each sensor’s temperature and hygrometer readings for the main units’ display. The included wireless sensor is automatically channel # 1.Additional wireless sensors are sold separately. Call 1-800-556-2548 to order.
- Open each sensor by separating the front and back pieces
- Use the interior slide switch to select a channelNOTE: use channel #2 and/or #3. Channel #1 is already taken by the included wireless sensor.
- Press the TX button to send a signal to the main unit.
- Snap the front and back pieces together.
- Mount the sensor. See section 3 for the placement of the remote sensor unit.
TROUBLESHOOTING
Problem: — is displayed as the wireless sensor temperature (OUT).Possible solutions:
- Move sensor away from interference (electrical devices, metal surfaces, etc.).s
- Batteries may need replacing.
- The sensor could be out of range (more than 100 feet from the main unit). Place the sensor closer to the main unit.
Problem: The temperature shown for “OUT” (wireless sensor) seems to be inaccuratePossible solutions:
- The wireless sensor will not send an outdoor temperature reading if it is not placed outdoors. Be sure that the wireless sensor is placed outdoors.
- Make sure that the wireless sensor is out of direct sunlight or direct weather elements, these locations may cause inaccurate readings
- Reset both units by removing all batteries and re-installing them (see section 2).
Do not return the product to a retail store. For Technical Assistance and product return information, please call Customer Care: 877-221-1252HOURS: Monday through Friday from 8:00 a.m. to 4:45 pm CST.
 PLEASE DISPOSE OF OLDOR DEFECTIVE BATTERIESIN AN ENVIRONMENTALLY SAFEWAY IN ACCORDANCE WITH LOCAL REGULATIONS
 Tested to comply with FCC standardsFOR HOME OR OFFICE USE
LIMITED WARRANTY – INTERNATIONAL
The consumer may have more remedies at law than follows. Chaney Instrument Company warrants to the owner, this product be free from defects in material and or Lankan ship for one year from the date of purchase. CHANEY INSTRUMENT SHALL NOT BE LIABLE FOR ANY INCIDENTAL, INDIRECT, OR CONSEQUENTIAL DAMAGES, WHETHER ARISING IN CONTRACT OR TORT. Chaney Instrument’s obligation (at its option) is limited to repair or replace this product. For in-warranty repair, send the product, accompanied by Guarantee, bearing Dealer’s name and date of purchase, with $5.00 to cover handling and postage, to:
Chaney Instrument Company 965 Wells StreetLake Geneva, Wisconsin 53147www.chaneyinstrument.comTel: 877-221-1252Made in China
References
[xyz-ips snippet=”download-snippet”]