![]() 5-in-1 Sensor Bearing Kit5N1WCBSA
5-in-1 Sensor Bearing Kit5N1WCBSA

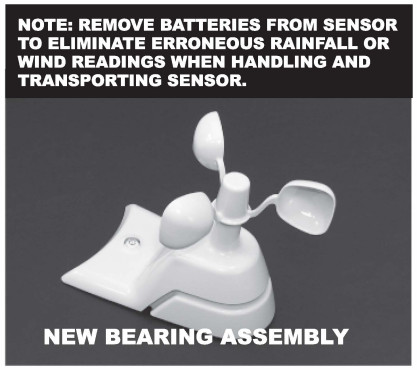
http://www.acurite.com/replacement-5-in-1-sensor-assembly-wind-cups-5n1wcbsa.html?utm_source=5N1WCBSA&utm_medium=qrcode&utm_campaign=InstructionsIf you’re experiencing problems with your 5-in-l sensor such as no wind-speed readings or lower than expected wind speed readings and your 5-in-l sensor is mounted properly, the bearings for the anemometer may be worn and will require replacement. Your AcuRite 5-in-l sensor features a modular design that allows for the replacement of certain assemblies should they wear or cease to function. Please take care when handling the 5-in-l sensor components as the electronic components inside are sensitive.NOTE: You will need to remove your existing 5-in-l sensor from its mounting location to replace the wind speed (anemometer) bearing sub-assembly.
WHAT YOU NEED:
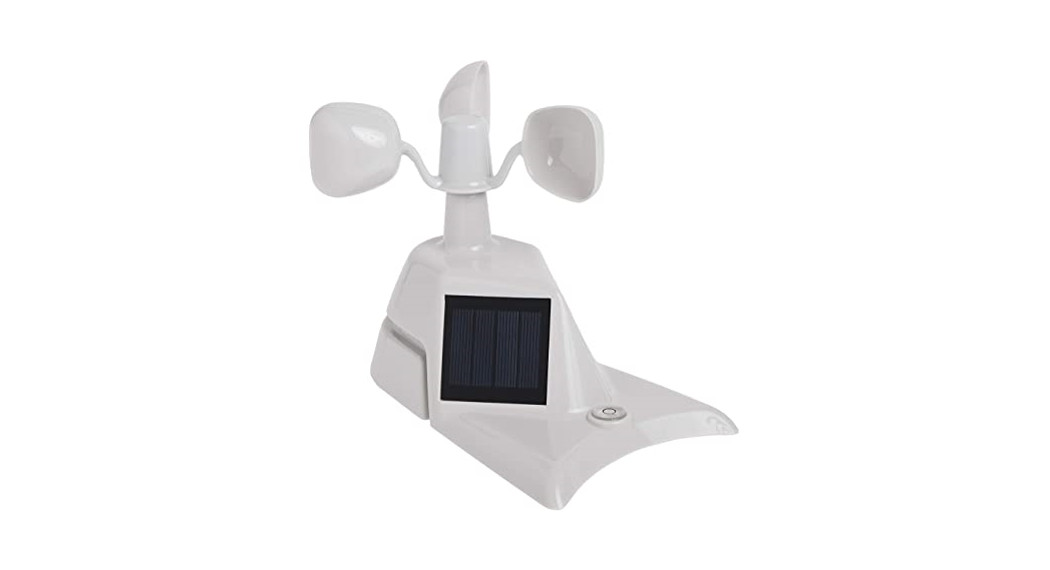
- Your 5-in-1 Sensor
- New Bearing Assembly
- Phillips Head Screwdriver
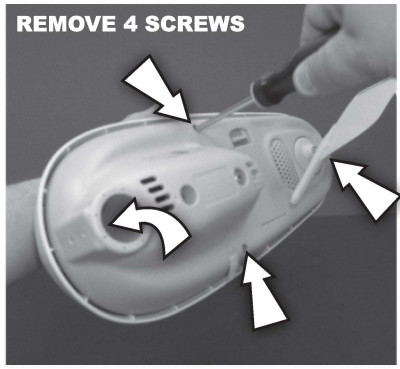
- Remove four LONG screws and separate the upper white portion and lower gray portions of the sensor. Keep the screws for re-assembly.

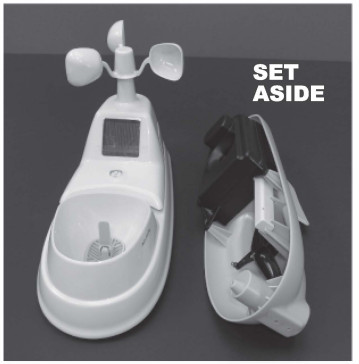
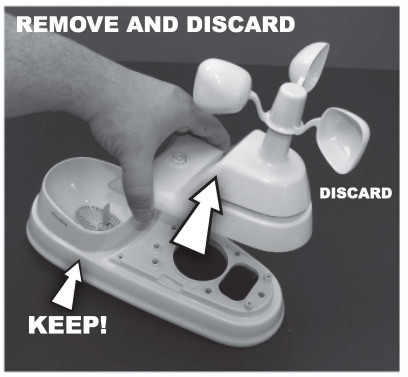
- Set aside the lower gray portion for reassembly later.
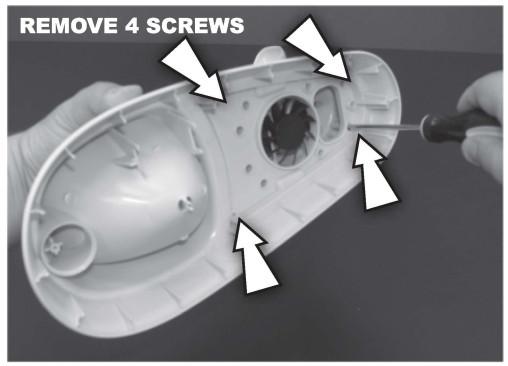
- Turn the upper white portion over and remove the 4 SHORT screws near the fan assembly. Keep the screws for reassembly.
- Gently remove the old upper wind speed and solar assembly from rain housing and discard.
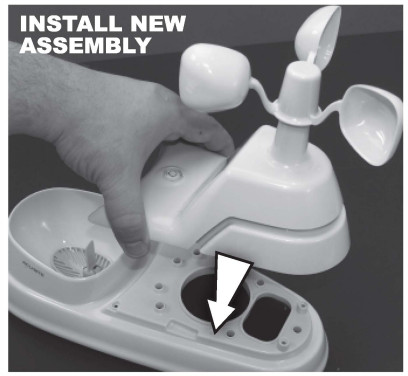
- Place new wind speed/solar assembly and line up the screw holes with the upper rain housing.
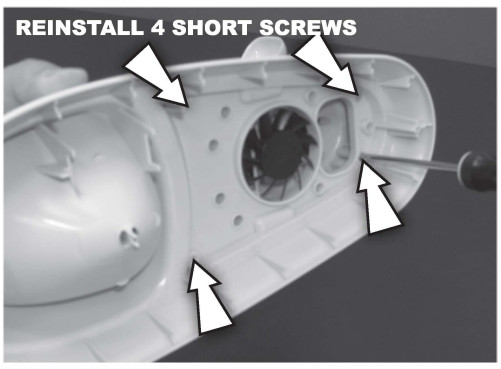
- Turn the upper white portion over and re-install the 4 SHORT screws and tighten them by hand.69
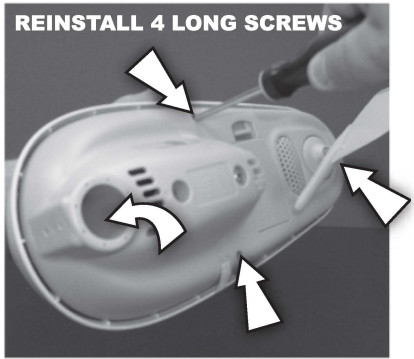
- Reinstall four LONG screws to join the upper white portions and lower gray portions of the sensor.
References
[xyz-ips snippet=”download-snippet”]