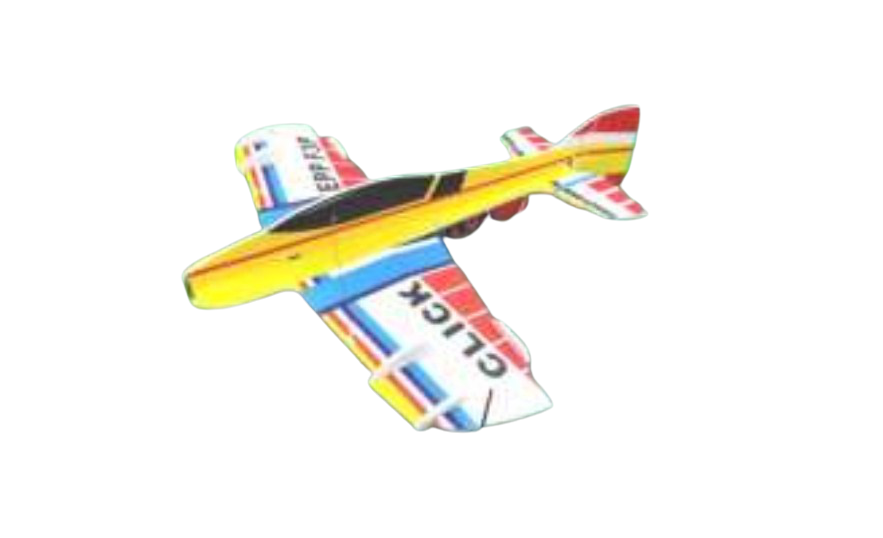
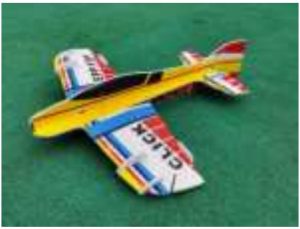
Airplane Click 3 Installation Guide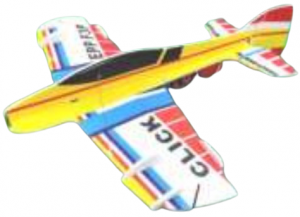
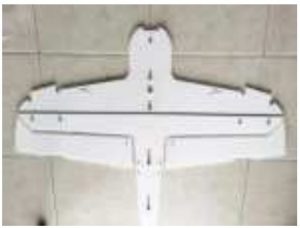
Take out these five parts
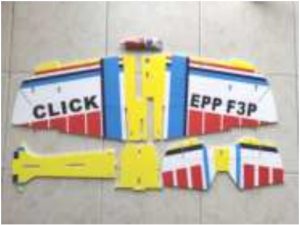
Use glue to stick them up
Grind the 3mm carbon tube in the accessory package
Grind the 3mm carbon tube in the accessory package with sandpaper, and then insert the 4mm square carbon tube to connect the two square carbon tubes; if the connector is stainless steel tube, insert the two square carbon tubes into the stainless steel tube and glue them.

Bond the carbon square tube onto the fuselage
Take out these parts and glue them together
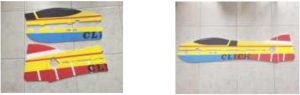
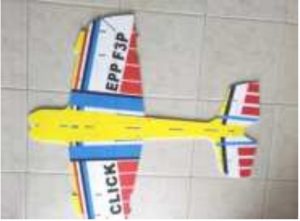
Stick the wing and fuselage together
Stick the wing and fuselage together, and pay attention to the fact that the wing and fuselage must be vertical.
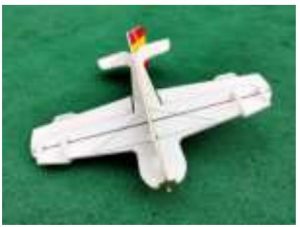
Stick on the wing tips
Stick on the wing tips and motor mounting wood part; stick the servo wood seat onto the servo hole.

Insert the reinforcing carbon rod
Insert the reinforcing carbon rod into the corresponding plastic bayonet for bonding.Note: use short carbon rod for trial assembly, and use long one if it is not long enough.
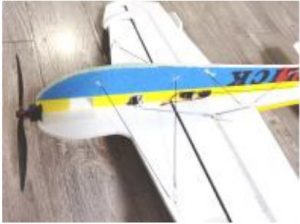
Glue on the 4 carbon rods
Glue on the 4 carbon rods on the front of the fuselage. Before the glue solidifies, make sure that the horizontal and vertical parts of the fuselage are vertical.
Install four rudder horns
Install four rudder horns and push rod fixing plates, and the position of the push rod fixing plate is determined according to the length of the selected servo rocker arm.

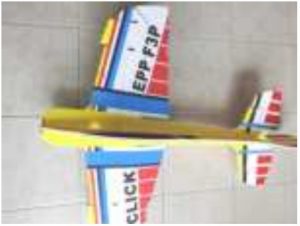
Install electrical equipment
Install electrical equipment such as motor, servo,ESC and receiver.
Special note: this aircraft is suitable for players who have fixed wing flight foundation. Electrical installation debugging and flight technology are not within the scope of this description. Please learn by yourself or consult professionals.
[xyz-ips snippet=”download-snippet”]