
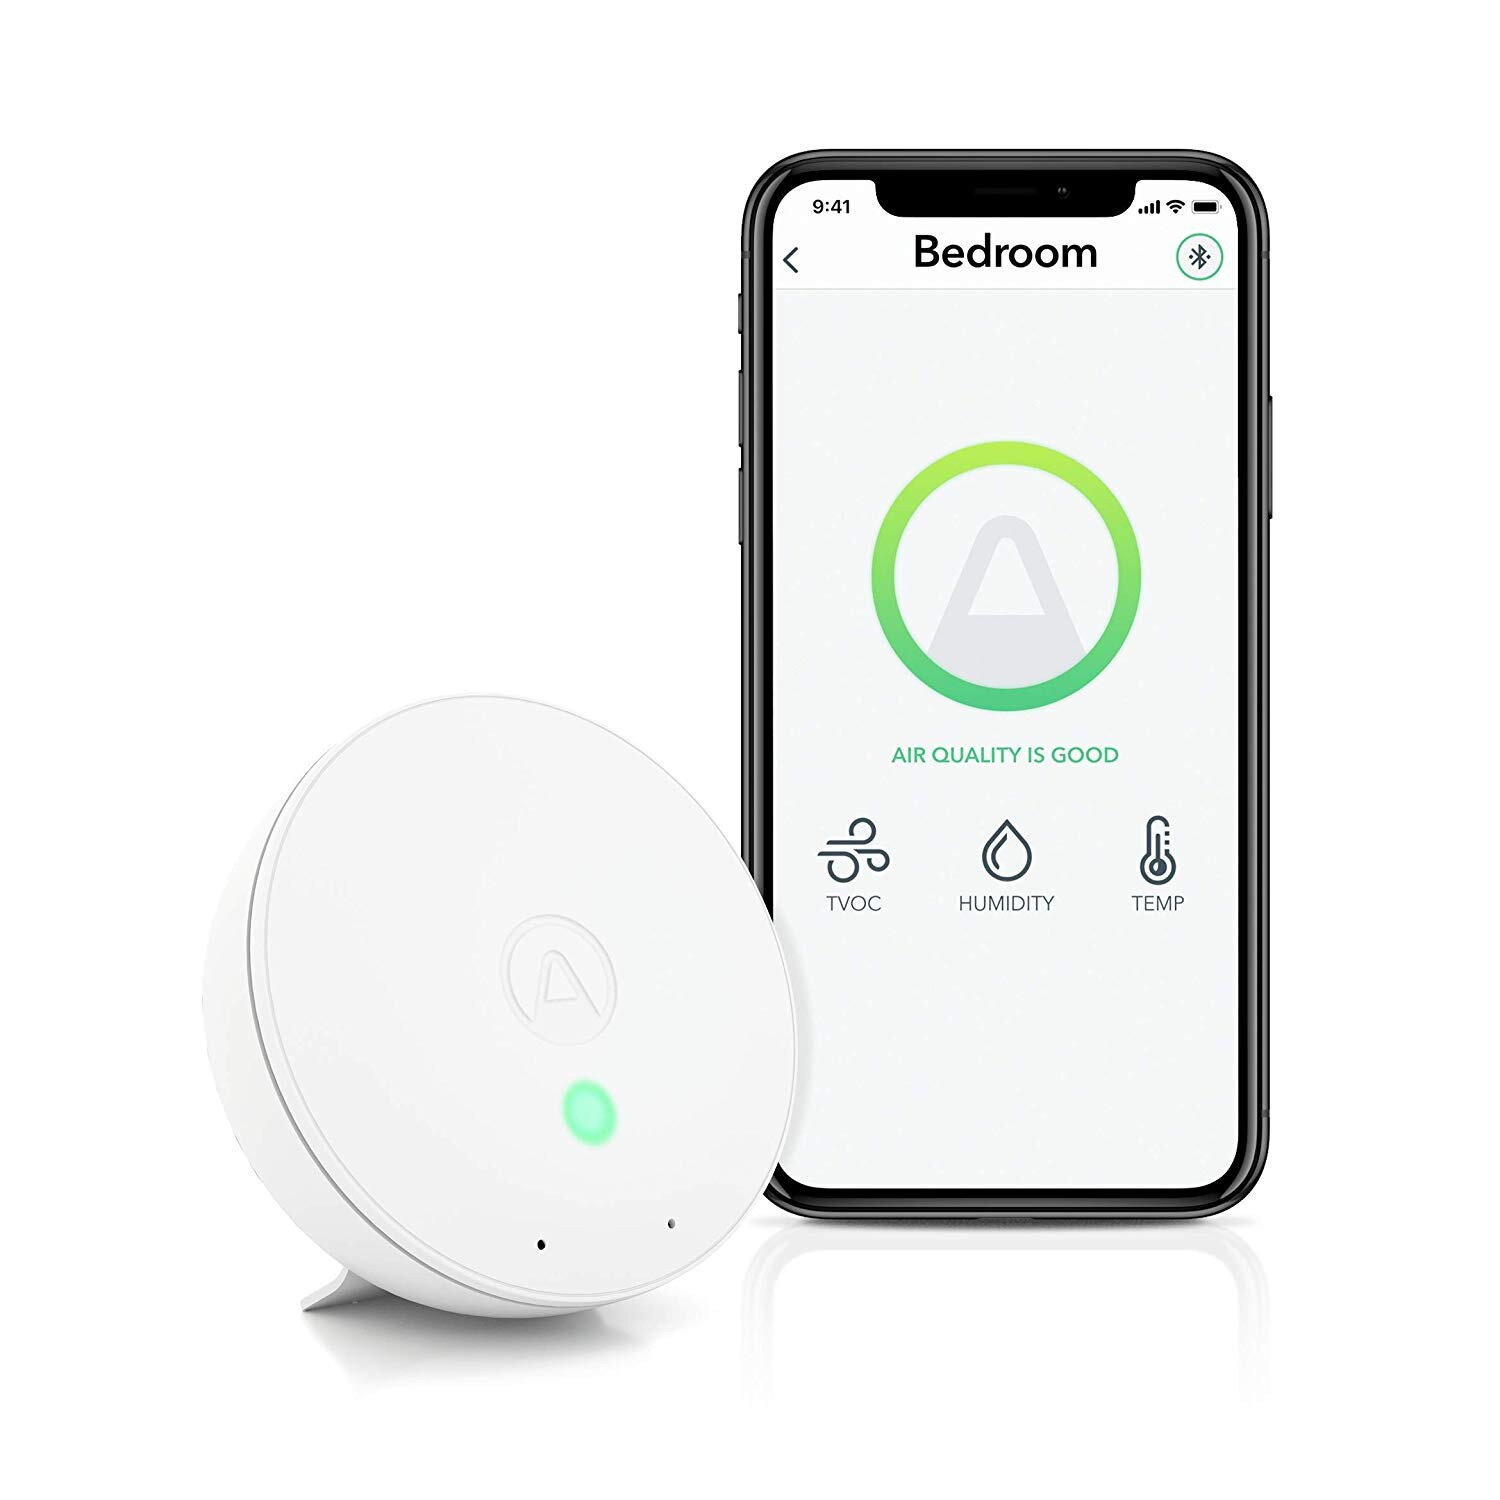
AirThings Wave Mini Smart Air Quality Monitor
Set up your Airthings device in 3 simple steps:
- Download the Airthings Wave App, available on iOS and Android
- Create an account and insert Name, Email and Location*
- Follow the simple instructions in the app to connect your device
Many easy ways to contact Airthings

Have any questions or comments that we didn’t get to here? Please let us know! support.airthings.com
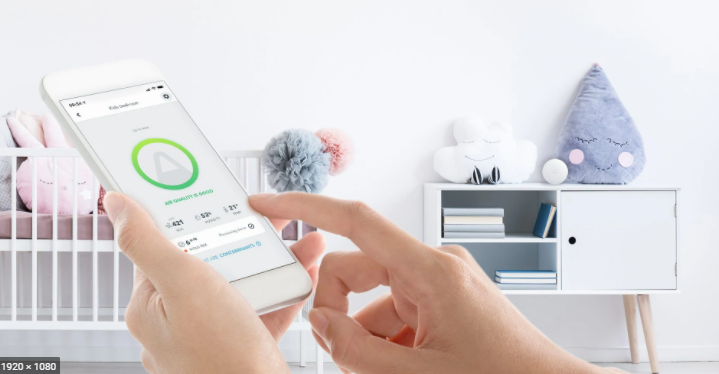
Congratulations on taking this important step toward living a healthier life.By keeping track of your indoor air quality levels, you can make healthier decisions in the spaces where you spend most of your time.The Airthings Wave Mini provides you with detailed information about airborne chemicals, temperature and humidity levels on your phone, Airthings Dashboard or by simply waving in front of the device for a visual indication of your air quality levels—green is good, yellow is warning and red is danger.Breathe better, live better,The Airthings team
Features and content

- Glow signal
- Wave sensor
- Battery compartments (observe polarity symbols)
- One-time battery tab
- Individual serial number
- Device stand
- 3 AA batteries, inserted
Glow signal
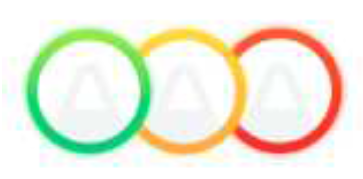
Visual indication of your air quality levels.
Green: GoodYellow: FairRed: Poor(Go to airthings.com/mylevels for more information on air quality action levels)
Wave sensor
Simply wave in front of your detector to activate the glow signal.
Easy to install
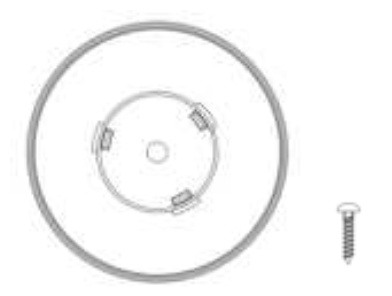
Simply use the stand to place the device on a flat surface. Alternatively, you can fix the mounting bracket to the ceiling or wall using a screw. When finding a screw, make sure to use the appropriate screw for your wall type. The screw must have a low clearance height on the head for the device to attach easily to the base. Thanks to the built-in magnet, simply snap the unit onto the mounted bracket once you have installed it to the wall.Do not place the device close to vents or windows. Minimum 1 meter / 3 feet distance.
Basics of the App
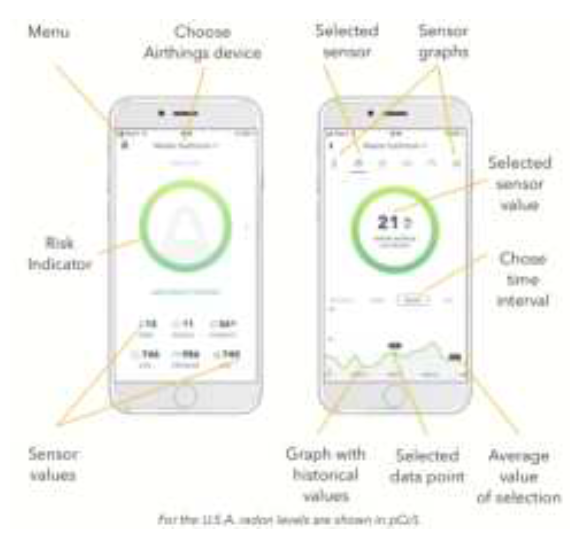
Daily use
Wave in front of your device to see a visual indication of your indoor air quality levels.To download measurement data, open the Airthings Wave app when the phone is within Bluetooth range of your device. The app will search for devices and download historical data.
You will be notified if any actions are needed through the app.The Wave Mini also includes Airthings Smartlink which works with the future Airthings Hub for live updates.
Integrations
The Airthings Wave Mini shares data to your mobile device as well as the Airthings Dashboard—a free online platform that provides quick access to view, customize and analyze sensor data from multiple Airthings devices. Go to airthings.com/dashboard for more info.
The Airthings Wave Mini is integrated with Amazon Alexa, Google Assistant and IFTTT. With Amazon Alexa and Google Assistant, use voice commands to control your device. IFTTT integration allows users to create or access useful recipes for their device to follow and integrate with third-party products.
Sign up for our newsletter at https://airthings.com/subscribe for the latest updates.*Integrations work with last available data synced to cloud.

Glow signal
| Status | Color | Description |
| Good
Indoor Air quality is good |
Green | Indoor Air Quality is good and all sensor values are within
recommended levels. |
| Fair
Air quality is approaching the recommended limits |
Yellow |
Indoor Air Quality levels are approaching the recommended level.
Take simple steps to bring more fresh air inside and continue monitoring. |
| Poor
Above recommended level and action should be taken to lower your levels |
Red |
One or more of the sensors are above the recommended level.
Actions should be taken to increase ventilation. Check your app or dashboard for details about contaminant levels. |
For details on sensor thresholds go to airthings.com/wave-mini
Sensor icons
- Airborne chemicals and toxins – Total Volatile Organic Compounds or TVOCs are vapors emitted from all sorts of daily products including paints and furniture, wax and cosmetics, cleaning and hobby products, cooking and human breath. At high concentrations they can be harmful and cause negative side-effects from minor eye, nose and throat irritations all the way to liver and kidney damage, depending on the level and length of exposure.
- Temperature – Indoor temperatures can affect performance, mood and comfort level. Individual sleep patterns are also affected by indoor air temperature.
- Humidity – Too much or too little humidity can affect allergies and cold or flu symptoms. When humidity levels are too high, mold and rot can occur. Low humidity levels cause static electricity, dry skin and hair, and increased susceptibility to colds and respiratory illness.
Troubleshooting
First and foremost, always make sure that you have updated to the latest device software
- In the device settings menu, click update device.
Not able to connect to my device
- Make sure you have the detector within the range of 2-5 meters or 5-15 feet.
- Make sure Bluetooth is enabled on your smartphone.
- Check if the power indicator is blinking.
My app is not updated when running in background mode
- Open your phone settings and verify that the Airthings Wave app is running in the background. You can usually find this in the app manager section of your phone settings.
- Make sure you are in Bluetooth range periodically.
No response from glow signal
- First, sync your data and then replace the batteries. We recommend AA alkaline (LR6).
If you need further assistance, read our Frequently Asked Questions, or simply contact support at support.airthings.com
Safety and maintenance
The Airthings Wave Mini is intended for indoor use only. Avoid direct exposure to sunlight for long periods. Avoid exposure to direct heat sources. For correct usage, make sure the detector is operating in the specified temperature range (see technical specifications).Exposure to high humidity might permanently alter the detector sensitivity or damage it. Do not disassemble. If the detector does not work as specified or you are in doubt, contact your local dealer or visit us at Airthings.com
Use a dry cloth to clean the detector.When replacing the batteries, pay attention to the polarity marks. Use AA alkaline (LR6) batteries.Always snap the mounting bracket to the detector’s rear side to protect the batteries, even when the detector is not permanently mounted.Disposal: electronic equipment.
Limited liability
The instrument is tested and quality-assured by production. It meets the accuracy values set out in the specifications.
It is recommended to keep the instrument constantly activated and the batteries in place until drained.
Airthings AS shall not be liable for damages related to failure or loss of data arising from incorrect operations and handling of the instrument.
Terms & conditions
airthings.com/terms-use-privacy/For other languages or additional questions go to support.airthings.com
The Bluetooth word mark and logos are registered trademarks owned by the Bluetooth SIG, Inc. and any use of such marks by Airthings is under license. Copyright Airthings AS, 2019
Regulatory information
Regulatory information Canada
Changes or modifications not expressly approved by the party responsible for compliance could void the user’s authority to operate the equipment.
This device complies with Innovation, Science and Economic Development Canada’s licence- exempt RSS(s).
Operation is subject to the following two conditions:(1) This device may not cause interference; and (2) This device must accept any interference, including interference that may cause undesired operation of the device.
RF exposure safety
This product is a radio transmitter and receiver.It is designed not to exceed the emission limits for exposure to radio frequency (RF) energy set by the ISED.The antenna must be installed and operated with minimum distance of 20 cm between the radiator and your body.This transmitter must not be co-located or operating in conjunction with any other antenna or transmitter.
Regulatory information USA
Changes or modifications not expressly approved by the party responsible for compliance could void the user’s authority to operate the equipment.
This device complies with part 15 of the FCC Rules.
Operation is subject to the following two conditions: (1) This device may not cause harmful interference, and (2) this device must accept any interference received, including interference that may cause undesired operation.
Class B device notice
NOTE: This equipment has been tested and found to comply with the limits for a Class B digital device, pursuant to part 15 of the FCC Rules. These limits are designed to provide reasonable protection against harmful interference in a residential installation. This equipment generates, uses and can radiate radio frequency energy and, if not installed and used in accordance with the instructions, may cause harmful interference to radio communications. However, there is no guarantee that interference will not occur in a particular installation. If this equipment does cause harmful interference to radio or television reception, which can be determined by turning the equipment off and on, the user is encouraged to try to correct the interference by one or more of the following measures:
- Reorient or relocate the receiving antenna.
- Increase the separation between the equipment and receiver.
- Connect the equipment into an outlet on a circuit different from that to which the receiver is connected.
- Consult the dealer or an experienced radio/TV technician for help.
RF exposure safety
This product is a radio transmitter and receiver.It is designed not to exceed the emission limits for exposure to radio frequency (RF) energy set by the Federal Communications Commission.The antenna must be installed and operated with minimum distance of 20 cm between the radiator and your body.This transmitter must not be co-located or operating in conjunction with any other antenna or transmitter.
References
Contaminants – The effect on indoor air & your health | Airthings
Airthings Wave Mini | Indoor Air Quality Monitor with Mold Risk Indication
Airthings Dashboard | Track and Analyze data from devices
Airthings Help Center
Airthings | The world\’s leading radon and indoor air quality monitors
Airthings | Terms of use
Airthings | Subscribe to our consumer newsletter
[xyz-ips snippet=”download-snippet”]