![]() 8036 SIP Multimedia IntercomQuickStart Guide
8036 SIP Multimedia IntercomQuickStart Guide
There are THREE key steps to getting up and running with your new 8036 SIP Multimedia Intercom
Network Setup
- Set up a SIP account on your server so that the 8036 can receive calls (you may have to enlist your network administrator’s help here).
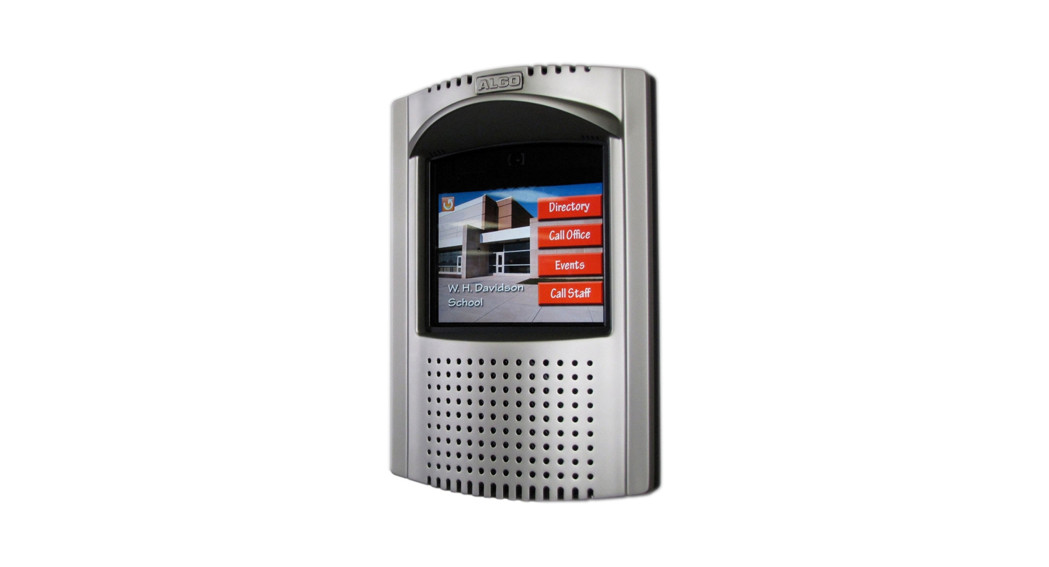
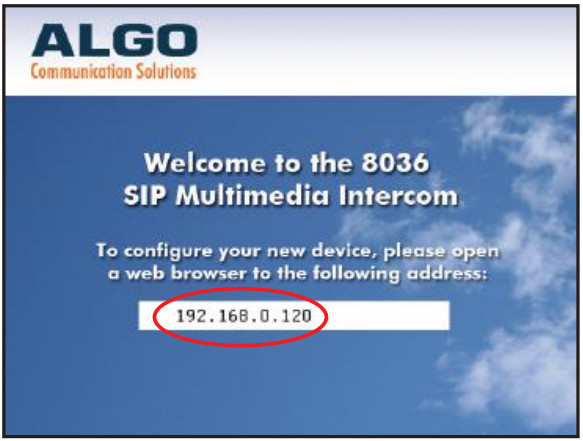
- Plug your 8036 into your PoE network. After a few seconds, the device’s Welcome screen will display (below).

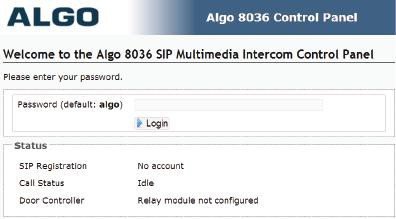
- Note the IP address displayed and enter this into your PC’s web browser to display the 8036 Control Panel. Login with the default password (“algo”)1 Apart from the physical installation which is covered separately in the 8036 Install Guide.
- Once logged in, go to Settings>SIP and enter your SIP account details including SIP domain, User (Extension), and Authentication password.
Create a User Interface Page
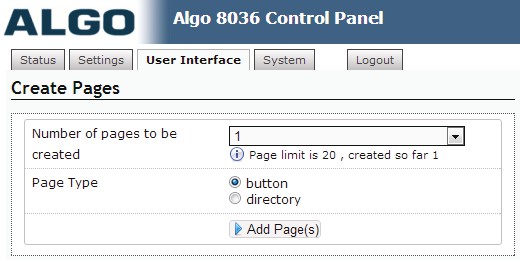
- Go to User Interface>Create Pages
- Create one new button page, then click Add Pages.
Configure User Interface Page
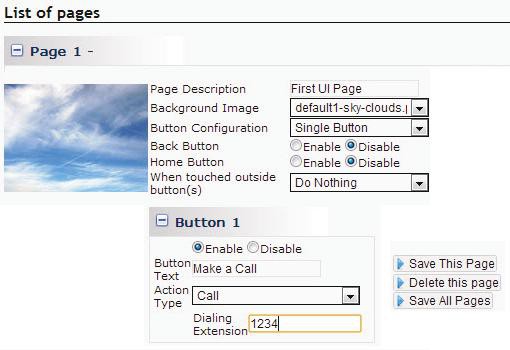
- Scroll down to List Pages and click on Page 1 to expand the settings available.
- Enter the settings as shown in the above image.
- For the Dialing Extension field, enter the extension you would like the 8036 to call when the button is clicked.
- When finished, click Save All Pages, after which the 8036 UI will restart.
- After restarting, the 8036 will display your first User Interface screen.
- Touch the button you created to make your first 8036 phone call.
- Now try experimenting. Add some more pages with different layouts. Try different button actions (e.g. set a Goto action to a Dialer page). Soon you will get a UI that will suit your application.

![]() Algo Communication Products Ltd.4500 Beedie StreetBurnaby, BC Canada V5J 5L2www.algosolutions.com
Algo Communication Products Ltd.4500 Beedie StreetBurnaby, BC Canada V5J 5L2www.algosolutions.com
References
[xyz-ips snippet=”download-snippet”]