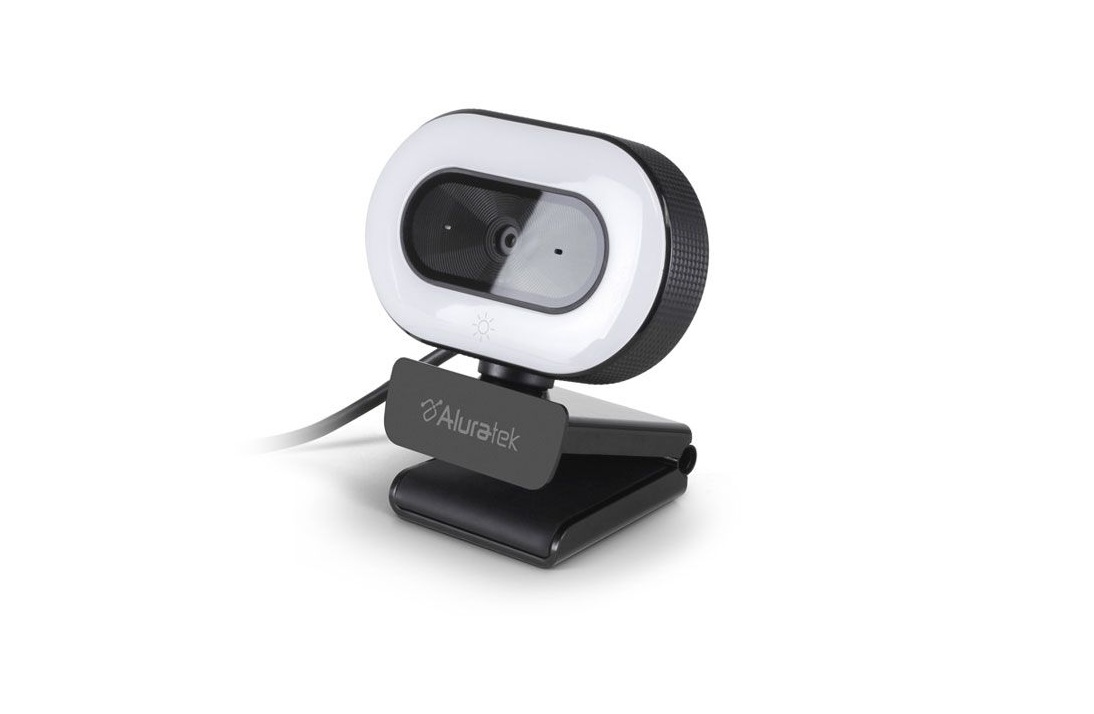
Aluratek AWCL05F LIVE 1080P HD Webcam with Ring Light User Guide
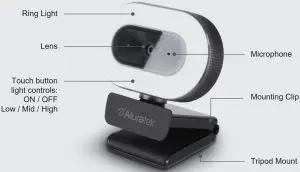
Product Highlights
Product Installation
- Connect to a desktop computer

- Connect to a laptop computer


Operation
Basic System Requirements
- 2.4 GHz Intel® Core™ 2 Duo or above
- 2 GB RAM or more
- USB 2.0 port
OS Support:
- Win XP, Win 7, Win 8, Win 10
- Android 5.0 or above
- Mac OS 10.6 or above
- Linux 2.6.24 or above
- Chrome OS V29.01547 or above
Getting Started
The Webcam features full plug and play support for Windows and MacOS. After connecting the camera to computer’s USB port, you may start any application that accepts a USB video stream, such as Skype, and begin using your camera.
NOTE: To use the camera’s internal microphone, you will have to select it as a USB Audio input in your application settings.
NOTE: If you are using on a laptop with built-in camera, you will need to disable it in device manager and select to use the USB Webcam
Using Camera On Windows
Windows 10 users can use the Camera app, which is already preinstalled with Windows OS. This will allow you to preview the camera image, capture still frames and video clips.If you wish to use the camera with other applications, you will need to enable the camera in the Windows security settings.
- To begin, select the Start button ( ), and then select Camera in the list of apps, or type “camera” in the search bar.
- If you want to use the camera within other apps, select the Start button ( ), select Settings > Privacy > Camera, and then turn on Let apps use my camera.
- From there, turn on each of the listed apps where you want to use the camera.After you open the Camera app, you may need to switch to the Full HD Camera. Here’s how to switch from one to the other:
- Select Start > Camera > Change camera
Using Camera On Windows
When you can see an image from the camera:
- Select Photo ( ) or Video ( ) and take a picture or make a video.
- To see your new photo or video, or ones you’ve taken before, select Start > Photos ( ) and then choose the Collection you want to see.
Using Camera On MacOS
MacOS users can use the Photo Booth app, which is already preinstalled with MacOS.This will allow you to preview the camera image, capture still frames and video clip
NOTE: While Photo Booth can be used to quickly preview the camera image, higher-quality videos using the full camera resolution should be created in iMovie or QuickTime, since Photo Booth does not use the full camera image
As in Windows, you may need to allow apps installed on your computer to access the camera in the MacOS security settings.
- To begin, select the Finder button, click Applications, and start Photo Booth.
If you want to use the camera within other apps, you will need to enable access in the MacOS Security & Privacy settings.
- Go to the Apple menu ( ) in the top left corner of the screen and choose System Using Camera On MacOSPreferences.
- Go to the “Security & Privacy” preference panel.
- Select the Privacy tab then choose Camera from the left side list
- Locate the app(s) you want to enable camera access for and check the box alongside that app name to enable camera access for that application
To see an image from the camera in Photo Booth, you may need to select the camera from the list of attached devices in the app.
- At the top of your screen, click Camera in the app menu, and select the Full HD camera from the list of options.When you can see an image from the camera:
- To capture images from the camera, click the red camera icon ( ).
- To switch to video mode, click the film strip icon in the bottom left corner of the app.The red camera icon will change to a video icon ( ) at which point you will be able to record video.
Capture HD Video with QuickTime Player
QuickTime on MacOS offers a method for easily creating video recordings that use the full camera resolution.
- To begin, select the Finder button, click Applications, and start QuickTime Player.
- After QuickTime launches, click File > New Movie Recording
- To select the camera input, click the small downward-facing arrow next to the round record button ( )
- Click the record button to capture video.
Radio and TV Interference Statement
WARNING!!! This equipment has been tested and found to comply with the limits of a Class B digital device, pursuant to part 15 of the FCC rules. These limits are designed to provide reasonable protection against harmful interference in a residential installation.
This equipment generates, uses and can radiate radio frequency energy and, if not installed and used in accordance with the instruction, may cause harmful interference to radio communications. However, there is no guarantee that interference will not occur in a particular installation. If this equipment does cause harmful interference to radio or television reception, which can be determined by turning the equipment off and on, the user is encouraged to try to correct the interference by whatever measures may be required to correct the interference.
Technical Support and Warranty
If you need further assistance, please contact the Aluratek support department for troubleshooting prior to returning this device
E-mail: [email protected]Web: www.aluratek.com/helpdeskLocal (Irvine, CA): 714-586-8730Toll free: 1-866-580-1978
Aluratek warrants this product against defect in material or workmanship for 1 YEAR from the date of purchase.
For more information, please visit: https://aluratek.com/warranty-return policy
You can register your product online at: https://aluratek.com/product-registration
 report this ad
References
[xyz-ips snippet=”download-snippet”]