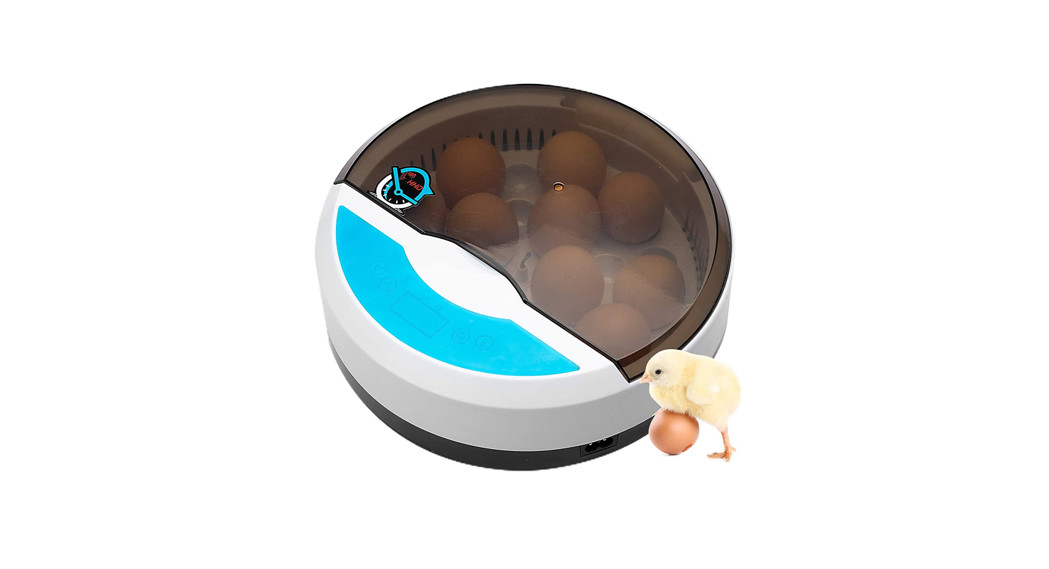
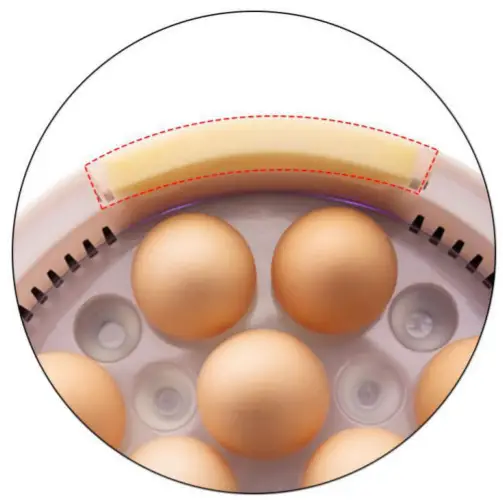
MINI INTELLIGENT 9 EGG INCUBATORTo reach the best hatching result, please read the manual carefully before usingAttention, Take the sponge out, wet it fully with water twice per day, put it back in position for hatching purposes.
- Package included 9 eggs incubator*1, bubble bag*1, power code*1,manual*1,dust-proof tray*1

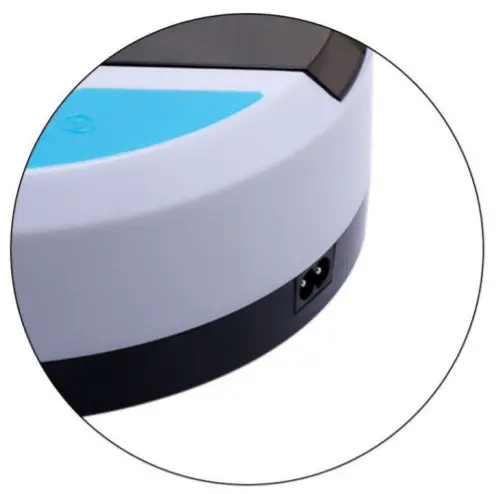
- Power code socket
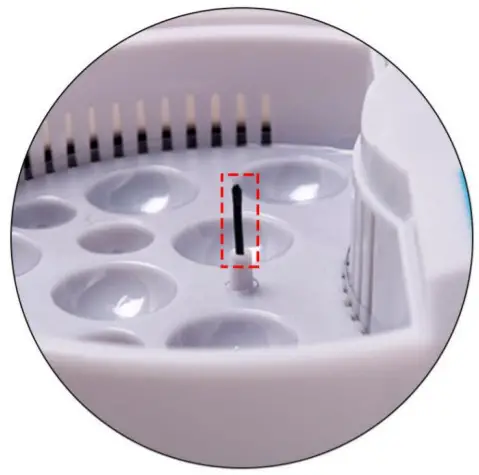
- Ensure fan, temperature display, function keys, heater works well. Attention, keep the temperature sensor straight upside as a picture during hatching.
- Take the sponge out,wet it fully with water,put it back in the water tank. Run the machine for 20 minutes in advance for warming-up before hatching . Attention, do not add water directly to the sponge.
Incubation Tips:
- Please choose freshly fertilized eggs laying within 4-7 days generally. Keeping fertilized eggs at 1015°C is recommended. Washing or putting it into the fridge will damage the powdery substance protection on the cover, Which is strictly prohibited.
- Ensure fertilized eggs surfaces are clean without deformity, cracks, or any spots.
- Incorrect disinfection mode will reduce the hatching rate. Please ensure eggs are clean and without spots if without good disinfection condition.
- Ensure eggs are pointy side down when hatching.
- Please add water to the machine every 1-2 days (it depends on the environment humidity and water content inside the machine).
- Manually turn eggs twice per day gently and slowly (Keeping fertilized eggs pointed side down, swing left and right side at 45° around 3-4 times).
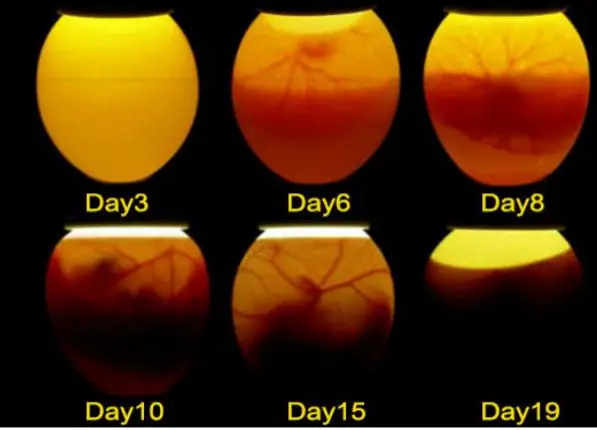
- Do not test eggs in the first 4 days. Incorrect egg testing timing will lead to temperature decline, affect eggs’ early development.a.Test eggs in 5th-6th days, check the fertilization of the eggs, take out unfertilized eggs, scattered yellow eggs, dead eggsb.Test eggs in 11th-12th days, check inner eggs development. The well-developed embryo is enlarged with blood vessels inside, and the air chamber is large and sharply demarcated.c.Test eggs in 16th-17th days, put pointy side of egg toward to light source. The well-developed embryo is getting larger and filled up the eggs inside with dark area mostly. The dead egg is with blurred blood vessels, a yellow air chamber around, the unclear boundary between the egg inside and the air chamber.
- Increase humidity and decrease temperature during last hatching period, to avoid insufficient water when a baby chick is pecking the eggshell, and to prevent dehydration in a long hatching time.
- The temperature should not be exceeded to 37.5℃ in 19th-21th days.
- Do not open the cover frequently when the incubator is working. Unplug the machine when opening the cover.
Operation Instructions
- Connect the power cord to a power outlet. The voltage applied should match the rated voltage of this machine.
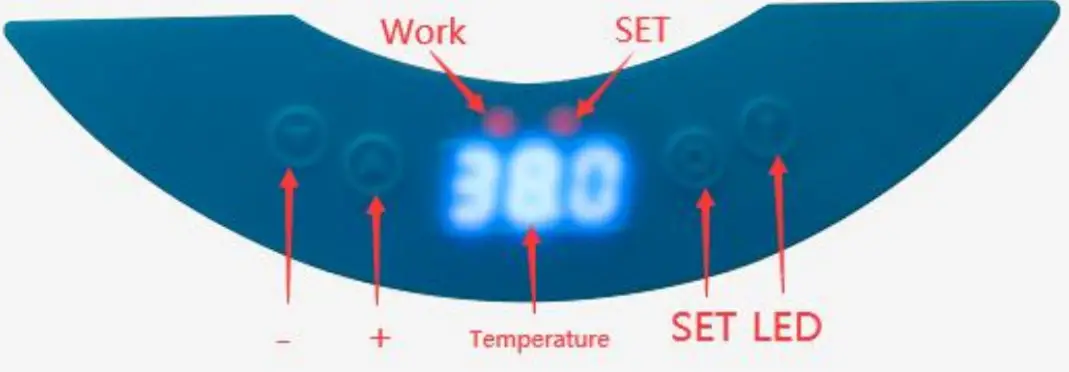
- Press the “ ” button once, the set indicator will light up. Press the “or “button to adjust the temperature and press the “button again to confirm the set temperature. The adjustable temperature range is 20-39.5℃.
- Press the “button and hold for 3 seconds, press the “button once to desired code like AL, AH, CA.
NO. Code Description Factory setting
1
AL Low-temperature alarm arrange 1°C
2
AH High-temperature alarm arrange 1°C 3 CA Calibrating Temperature Sensor Reading 0°C
- Press the “button and hold for 6 seconds to restore the factory setting.
- Press the “button once to turn on the LED light. Automatically turn off after 5 minutes.
- Take the sponge out,wet it fully with water,put it back in position before use. Wet it twice per day.
- Run the machine for 20 minutes in advance for warming-up before hatching, check and confirmfactory setting temperature is 38℃ for hatching chick. Adjust the desired temperature according to various egg types.
- Ensure eggs are fertilized for hatching and start.
[xyz-ips snippet=”download-snippet”]