![]()
Item: BA-LMDFX006ALANZZI LED MIRRORINSTALL & OPERATION MANUALV1.0
DON’T WAIT! REGISTER NOW!Register your product within 90 days to ensure your product is recognized as an official purchase and is eligible for warranty coverage.Mail-in the completed registry card (Pg. 2) or register online at www.swcorp.com/register.
PRODUCT REGISTRATION∗
IMPORTANT: YOUR WARRANTY WILL NOT BE RECOGNIZED UNLESS THIS CARD IS FULLY COMPLETED AND RETURNED OR ONLINE REGISTRATION IS COMPLETED.
To ensure that your warranty is registered and confirmed please do one of the following:
- Register online at www.swcorp.com/register. You will be asked to fill out the same information you would in the registration card. Registering online is fast, secure and ensures we receive your information.
- Complete, cut out and mail the registration card below. By returning this registration card we confirm the date of purchase for your new product. This confirmation will allow us to process any warranty claims.
Mail the card to 5701 NW 35 Avenue, Miami, FL 33142
![]() CUT ALONG DOTTED LINE.
CUT ALONG DOTTED LINE.
| Product Registration Card
Name……………………………………….Address……………………………………………. City…………………………………………. State…………………….. ap……………………….. Phone…………………………………….Email…………………………. Date of Purchase…………………… Installer’s Name…………………………… Phone………………………. I have read the Owner’s Manual carefully and understand and agree that any installation. operation or maintenance of the product must be done strictly in accordance with instructions and guidelines contained in the owner’s manual and installation guide. Signature________________________ Date________ |
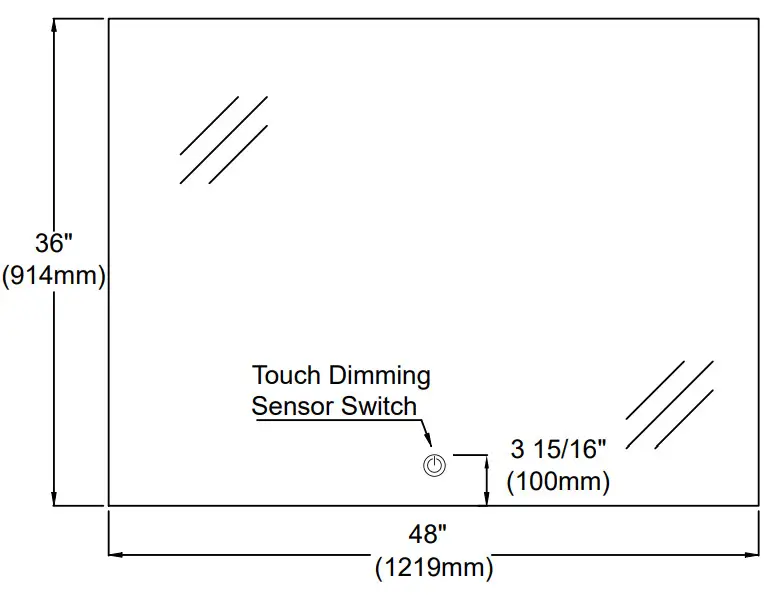
BA-LMDFX006AL 48″*36″
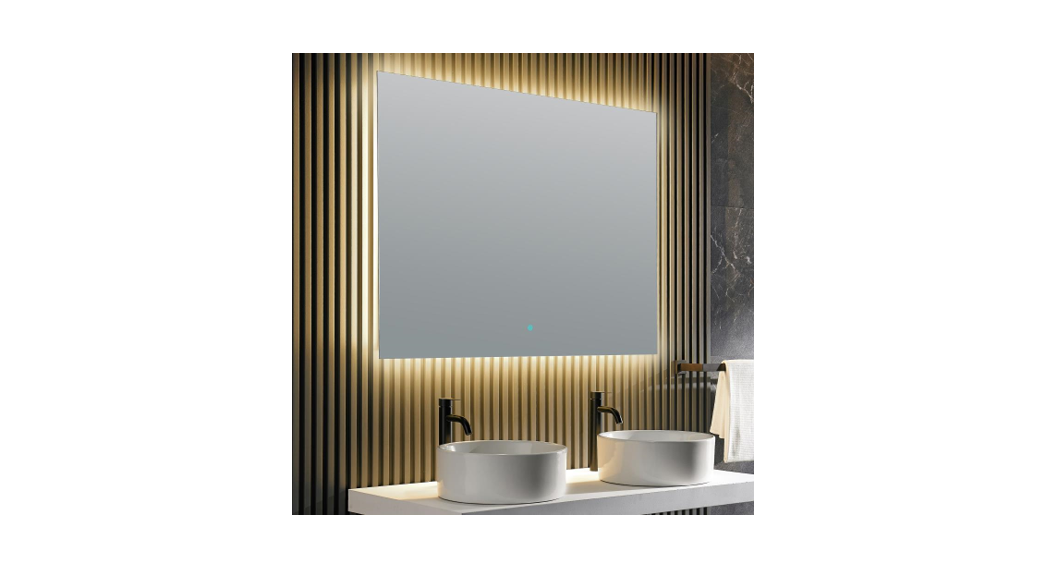
INSTALLATION INSTRUCTIONS
Apply to the below style of LED Backlit Mirror
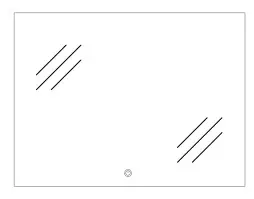
Please read carefully and save these instructions. Don’t discard any of the packagings until you are sure that you have all of the parts and the fittings.Make sure power to the junction box is off before commencing installation.
IMPORTANT
- Unpack mirror. DO NOT lay a mirror on the tiled or concrete surface prior to installation. The mirror must be on a protected surface to prevent chipping of the corners.
- Care must be taken before drilling pilot holes to avoid any existing wiring or pipework that may be concealed.
- A certified electrician must perform all work. The mirror must be connected to a GFI.
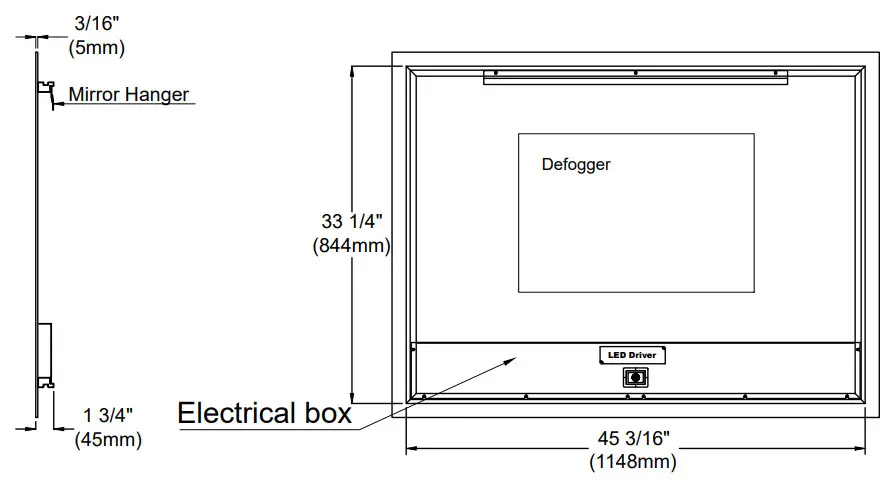
- The anti-fog mat operates only when the LED light is turn on by the touch sensor.
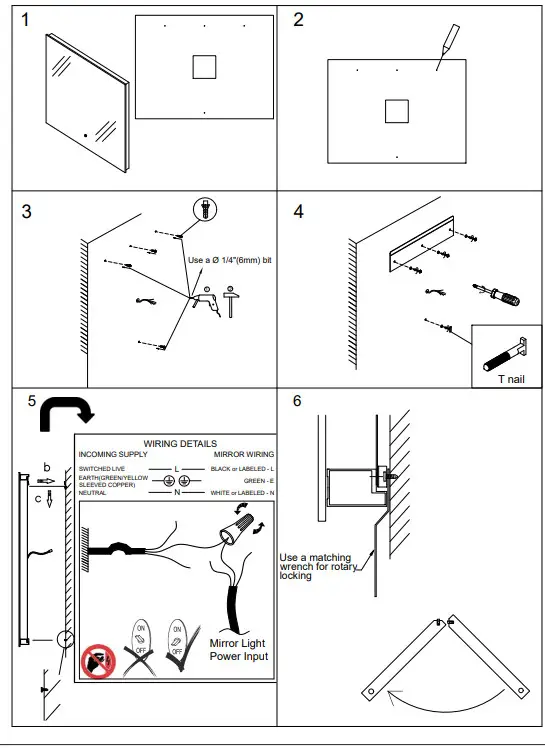
INSTALLATIONPlease refer to the installation diagram on the back of the page.
- Unpack the LED mirror and prepare the tools needed. ( See Pic.1 )
- Make sure the measurement on the cardboard screw holes are matching up with the aluminum base on the mirror back, then mark the screw holes according from the cardboard with a pencil. (See Pic.2)
- Drill holes, and put in the plastic plugs, then fix the aluminum bar with screws and twist the T shape nail to the wall. (See Pic.3&Pic.4);
- Connect hardwire to a power line. (Make sure the power is off) (See Pic.5)
- Hanging the LED mirror with aluminum bar and lock it with the anti-pull iron sheet by using the spanner provided at the fittings bag. (See Pic.5&Pic.6)
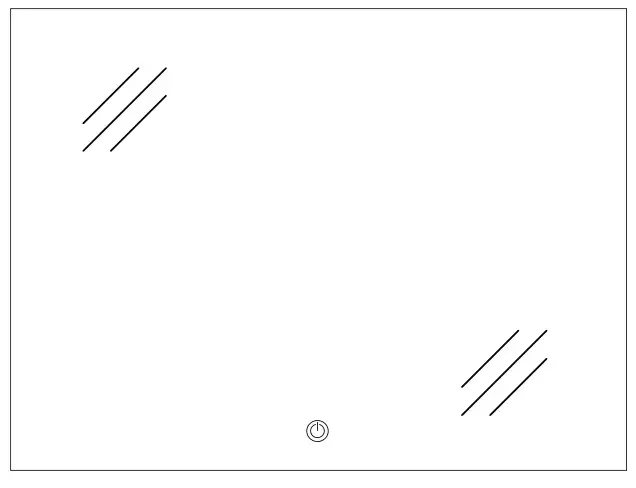
FUNCTION DESCRIPTIONTouch sensor switch: Turn the light and anti-fog function by the dimmable sensor switch, see detailsas below: Button:a) Touch the button for LED light and anti-fog control;b) Long press button for dimming. It will change the LED brightness from 10%-100%.MAINTENANCEWipe clean with a soft damp cloth. Apply glass cleaner to a cloth and do not apply directly to the mirror.Never use abrasive cleaners as these could damage the finish or expose LED strips.
INSTALLATION DIAGRAM
![]()
Have questions? Call us at 1-844-44-ANZZIor visit us at www.ANZZI.com
References
[xyz-ips snippet=”download-snippet”]