Perfection is our Tradition™1-844-44-ANZZIor visit www.ANZZI.comL-AZ019INSTALLATION MANUAL
Step 1 Faucet installation
Faucet installation
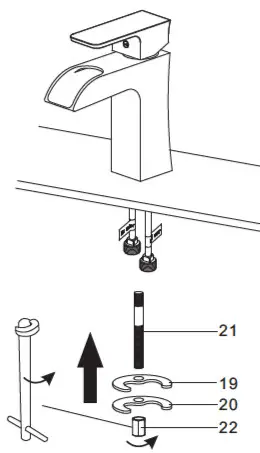
- Position the faucet with an o-ring on the installation surface.

- Assemble screw#21 to the base of the faucet, and assemble rubber washer #19, and clamp #20 to screw #21. Then assemble lock nut #22 by basin wrench to screw#21 to fix the faucet.
- Connect the flexible hoses to the water supply valve (not included) and copper tubes, and tighten it with an adjustable wrench. DON’T OVER TIGHTEN! Caution: make sure to connect the hot and cold flexible hose to supply valves correctly.Warning: The supply valves are not Included, please purchase them In the plumb shop.
Pop-up installation
- Remove pop-up drain stopper, and flange with top rubber washer for pop-up assembly. Insert drain body from underneath of sink drain hole. Replace flange and top rubber washer back to drain body. Tighten flange as far as possible. Remove and put silicone along the bottom of. (Optional) Slide bottom rubber washer on drain body up against the bottom of the sink. Tighten the washer and locknut firmly against the base for a tight seal. Remove tailpiece from drain body, add Teflon tape, replace tailpiece.
- Replace pop-up drain stopper to drain body with o-ring in place, and align stopper hole with guide rod opening.
- Remove rod guide nut and rod ball plastic gasket. Insert the horizontal rod into the drain body and through the hole in the drain stopper. Replace rod guide nut with rod ball plastic gasket and tighten it.
- Insert lift rod through the hole on faucet body. Connect extend the rod to lift rod. Attach the horizontal rod to extend the rod using fittings, tighten the screw.
Step 2 Checking and testing
- Turn the faucet handle all the way on, turn on the hot and cold water supply and flush waterlines for one minute.
- Check all connections at arrows for leaks, re-tighten it if necessary. BUT DON’T OVERTIGHTEN!
Step 3 Cleaning and care
Daily cleaning and care are required in order to keep the product shining and properly working.
- Daily Clean it with water and dry it with soft cloth.
- Clean the product with gentle liquid or glass cleaner.
- Don’t use acid cleaner.
- Don’t clean with abrasive material, abrasive paper or knife.
Step 4 Parts list
|
NO. |
PART NAME |
| 1 | Handle |
| 2 | Screw |
| 3 | Index |
| 4 | Trim cap |
| 5 | Cartridge lock nut |
| 8 | Cartridge |
| 7 | Flow restrictor |
| 8 | Screen filter |
| 9 | 0 ring |
| 10 | Cartridge seat |
| 11 | Screw |
| 12 | 0 ring |
| 13 | Sod), |
| 14 | Aerator |
| 15 | Copper tube(hot water) |
| 16 | Copper tube(cold water) |
| 17 | Mesh |
| 18 | 0 ring |
| 19 | Rubber washer |
| 20 | Clamp |
| 21 | Screw |
| 22 | Locknut |
| 23 | Allen key |
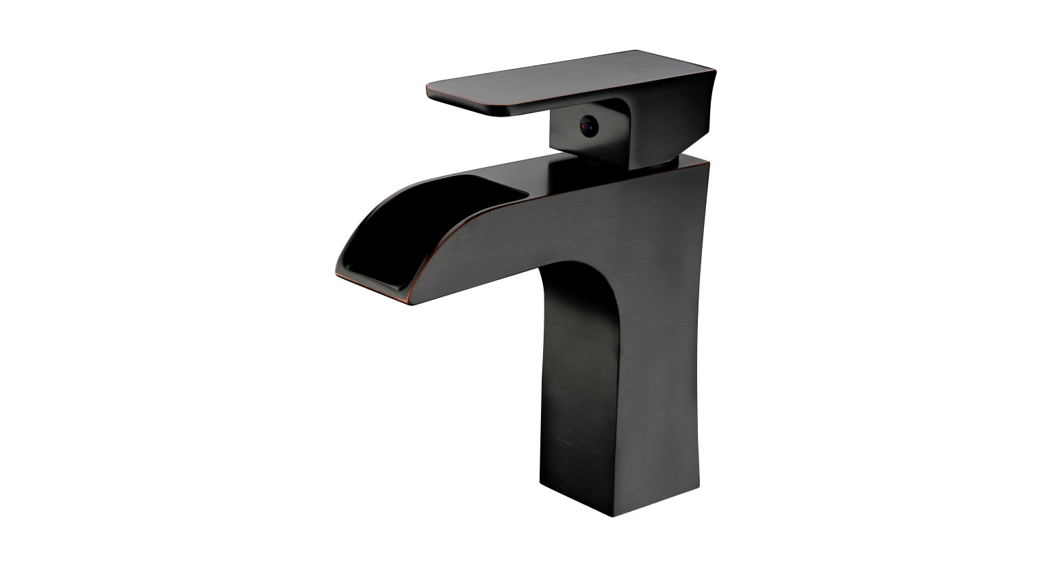
SINGLE HANDLE LAVATORY FAUCETASME A112.18.1/C$AB125.1
RECOMMENDED TOOLS
 WARN ING: Please keep the tool for future use!
 Attention: for easy installation, you will need:
- To read all the installation instructions completely before beginning.
- To read all the warning attention and attendance information,
- To purchase the proper supply lines.
The tools might be applied to the following places:
[xyz-ips snippet=”download-snippet”]