ArduCam B0333 2MP IMX462 Pivariety Low Light Camera
Module for Raspberry Pi User Guide
INTRODUCTION
- About ArduCamArduCam has been a professional designer and manufacturer of SPI, MIPI, DVP and USB cameras since 2012. We also offer customized turnkey design and manufacturing solution services for customers who want their products to be unique.
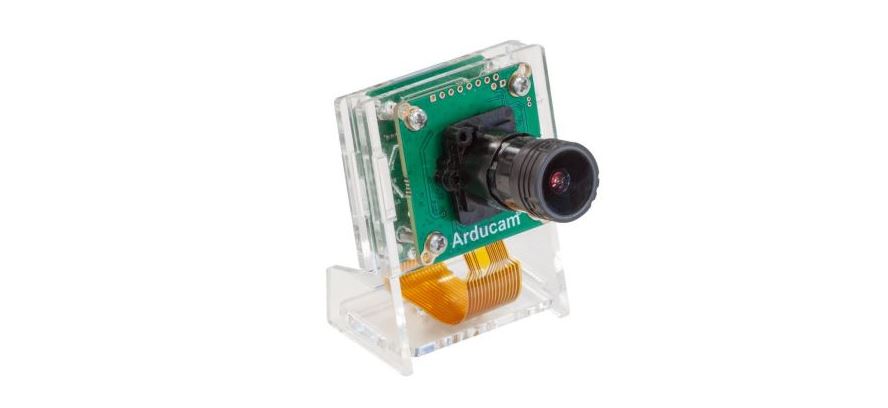
- About Pivariety CameraArduCam Pivariety is a Raspberry Pi camera solution to take the advantage of using its hardware ISP functions. Using ArduCam Pivariety camera modules, users can get better performance and a wider variety of camera, lens options. For a long time, Raspberry Pi users are limited to use the closed-source official supported camera driver and camera modules (V1/V2/HQ).Now ArduCam made it possible to provide well-turned ISP for Pivariety camera modules with Auto Exposure, Auto White Balance, Auto Gain Control, Lens Shading Correction, etc. This series of cameras use the libcamera framework, they can’t be supported by Rasp still, and the way to access the camera is libcamera SDK(for C++)/libcamera-still/ libcamera-vid/Streamer. If you want to know more about other models of Pivariety Camera, please visit: https://www.arducam.com/docs/cameras-for-raspberrypi/pivariety/
SPECIFICATION
SOFTWARE
1. Driver Installation
wget -O install_pivariety_pkgs.sh https://github.com/ ArduCam/Arducam-Pivariety-V4L2-Driver/releases/download/install_script/install_pivariety_pkgs.sh chimed +x install_pivariety_pkgs.sh ./install_pivariety_pkgs.sh -p kernel driver press y to reboot
NOTE: The kernel driver installation only supported by the latest version 5.10. For other kernel versions, please go to our Doc page: https://www.arducam.com/docs/cameras-for-raspberry-pi/pivariety/how-to-install-kernel-driver-for-pivarietycamera/#2-how-to-build-raspberry-pi-kernel-driverfor-arducam-pivariety-camera
You can also visit this doc page to refer to the hardware connection: https://www.arducam.com/docs/cameras-for-raspberry-pi/pivariety/2mp-imx462pivariety-low-light-camera-module/
2. Test the Driver and CameraAfter you’ve finished the hardware assembly and driver installation, you can test whether the camera is detected and working.
- View the Status of Driver and Camera
dmesg | grep ArduCamIt will display arducam-pivariety if driver installed successfully and firmware version if the camera can be detected. The display should be probe failed if the camera can’t be detected, you might have to check the ribbon connection, then reboot the Raspberry Pi.
- View the Video Node
The Pivariety camera modules are emulated as the standard video device under /dev/video* node, so you can use the ls command for listing the contents in the /dev folder.ls /dev/video* –l Since the camera module is V4L2 compliant, you can use the V4l2 controls to list the supported color space, resolutions, and frame rates. v4l2-ctl –list-formats-ext.
NOTE: Although V4L2 interface is supported, only RAW format images can be obtained, without ISP support.
3. Official Libcamera App Installation./install_pivariety_pkgs.sh -p libcamera_dev./install_pivariety_pkgs.sh -p libcamera_apps
4. Capture Image and Record Video
- Capture image
For example, preview for 5s and save the image named test.jpglibcamera-still -t 5000 -o test.jpg
- Record video
For example, record a H.264 10s video with the frame size 1920W × 1080H
libcamera-vid -t 10000 –width 1920 –height 1080 -o test.h264
NOTE: H.264 format only supports 1920×1080 and below resolution.
- Plugin streamer installation
Install streamer sudor apt update
sudor apt install -y gstreamer1.0-tools
Previewgst-launch-1.0 libcamerasrc ! ‘video/xraw,width=1920,height=1080’ ! videoconvert ! autovideosink
TROUBLESHOOT
1. Cannot Allocate Memory[3:45:35.833744413] [6019] INFO RPI raspberrypi.cpp:611 Sensor: / base/soc/i2c0mux// Selected mode: 5344×4012-pRAA [3:45:35.948442507] [6019] ERROR V4L2 v4l2_videodevice.cpp:1126 /dev/video14[17:cap]: Unable to request 4 buffers: Cannot allocate memory [3:45:35.948551358] [6019] ERROR RPI raspberrypi.cpp:808 Failed to allocate buffers ERROR: *** failed to start camera ***
Edit /boot/cmdline.txt and add cma=400M at the end More details: https://lists.libcamera.org/pipermail/libcamera-devel/2020-December/015838.html
2. The Image Displays Color DotsAdd code –denoise cdn_off at the end of command ./libcamera-still -t 5000 -o test.jpg –denoise cdn_off More details: https://github.com/raspberrypi/libcameraapps/issues/19
3. Failed to Install the DriverPlease check the kernel version, we only provide the driver for the latest official kernel version image when this Pivariety camera released.
Note: If you want to compile the kernel driver by yourself, please refer to Doc page: https://www.arducam.com/docs/cameras-for-raspberry-pi/pivariety/how-to-installkernel-driver-for-pivariety-camera/
4. Failed to import fd 18terminate called after throwing an instance of ‘std : : runtime_error’ what( ): failed to import fd 18 Aborted
If you find the same error, you may make the wrong selection about the graphics driver. Please follow ArduCam Doc page to select the correct graphics driver.
5. Switch to the native camera (raspistill etc.)Edit the file of /boot/config.txt, make dtoverlay=ArduCam change to # dtoverlay=ArduCam After the modification is completed, you need to reboot the Raspberry Pi. soda reboot
report this adCONTACT USIf you need our help or want to customize other models of Pi cameras, feel free to contact us.Email: [email protected]Website: www.arducam.comSkype: Arducam
References
[xyz-ips snippet=”download-snippet”]