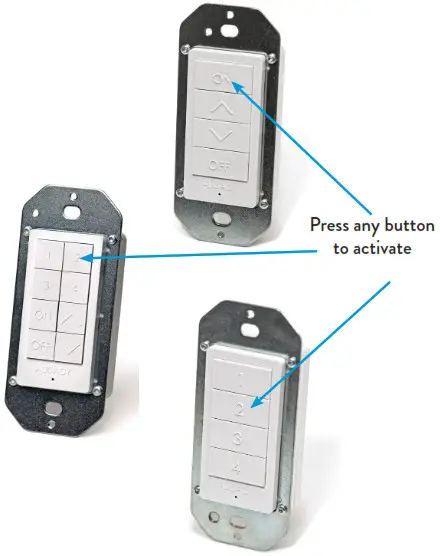
TS1200 PUSH-BUTTON WALL-MOUNT SWITCH,TSS1200 PUSH-BUTTON SCENE SWITCH &TSS1204 PUSH-BUTTON COMBINATION SWITCHINSTALLATION INSTRUCTIONS
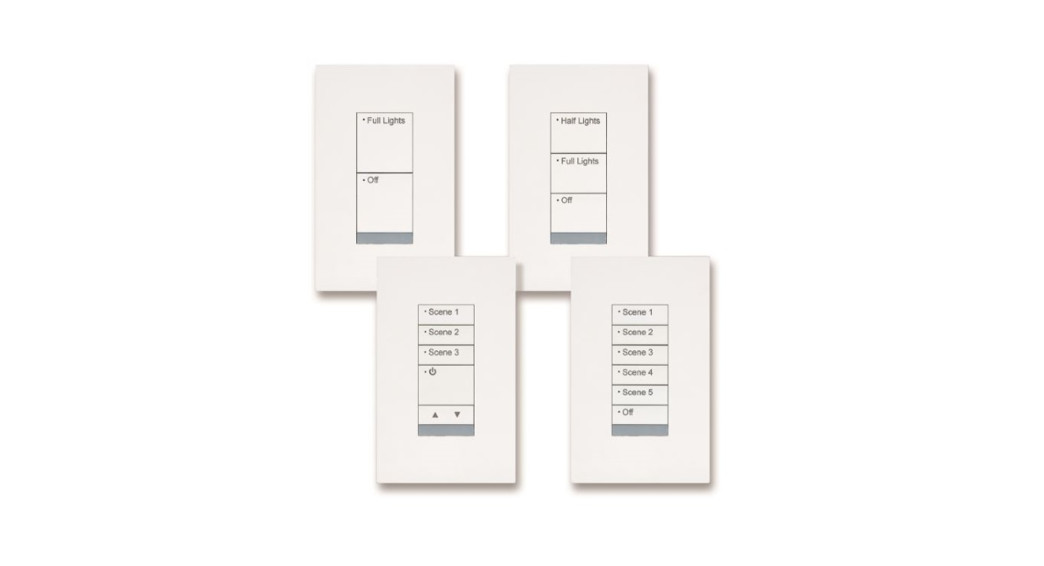
Wall-Mount and Scene Switches for U.S. installations will fit into decorator-style faceplates and can be used to replace an existing switch in a standard box.

- As switches are installed remove one of the labels with the unique serial number and attach it to the Device Tracking Form included in the Appendix of the User Manual to record the location of each device.
- The switch must be activated by pressing any one of the tactile buttons on the front face of the switch (i.e. on, off, up or down on TS1200, any of the numbered scenes on the TSS1200, and either on the TSS1204).
- Remove existing switch and properly terminate any pre-existing wires.
- Push existing wires all the way to the back of the box.
- Use screws to secure the flush-mounted switch to the electrical box.
- Cover with a decorator-style faceplate.
- Peel & remove protective clear plastic finish protector.
SERIAL NUMBER DEVICE TRACKING
It is highly recommended to keep close track of all device barcodes. Instructions for ways to track are listed here:
- Remove the 2 tear-away stickers that contain the serial number.
- Apply these to a drawing of the space containing the fixture or a tracking sheet to identify the serial number and its location in the room (tracking sheet available in Appendix of User Manual).
- If these tear-away labels are missing, please write down the serial number of the Switch in a safe place.
- The second label can be attached to the switch box for easy identification.
- These serial numbers are required in order to have a fully functioning Audacy Wireless Lighting Controls system. To configure scenes for the TSS1200 Scene Switch and TSS1204 Combination Switch, refer to section 7.3 of the User Manual.
1.800.273.9989[email protected]AUDACYWIRELESS.COMIS-0043 Rev. 3/20
WIRELESS LIGHTING CONTROLYOUR WORLD IN A BETTER LIGHT
A COMPANY OF![]() A COMPANY OF
A COMPANY OF
[xyz-ips snippet=”download-snippet”]

