
![]()
INSTALLATION GUIDE
MAIN COMPONENTS
![]()

12” LIGHT STRIPS MOUNTING KIT

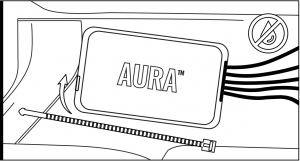
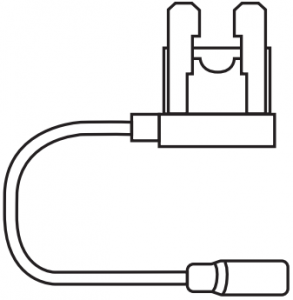 AURA CONTROL BOX REMOTE FUSE TAPS
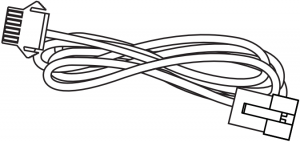

EXTENSION WIRES POWER HARNESS

CIGARETTE LIGHTER POWER ADAPTER
V1.2.022021
![]()
INSTALLATION
| STEP 1
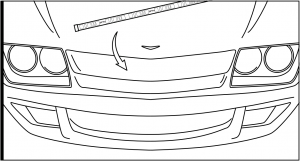
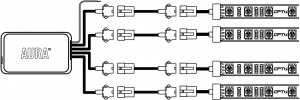
Decide where to locate the light strips and ensure wiring has enough length for control box to be installed in desired location.As shown below, connect all light pods to the control box with the included extension cables.
AUXILIARY WIRE EXTENSION WIRE
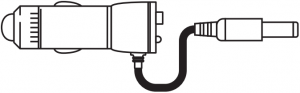
 Once connected, plug the control box Cigarette Power Adapter into an available 12 volt charging port.
12 VOLT CHARGING PORT CIGARETTE POWER ADAPTER

![]()
![]()
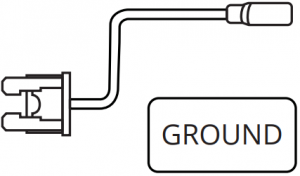
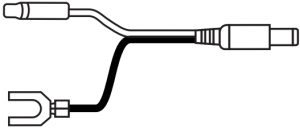
or, connect the positive wire to the fuse tap and connector the open negative wire to a ground (any metal surface). Then plug the fuse tap into the 10 amp switched fuse.
POWER SOURCE FUSE TAP POWER HARNESS

![]()
![]()
![]()
INSTALLATION
| STEP 2
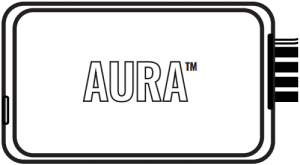
Secure Control box in desired location with Velcro or zipties.* CONTROL BOX NOT WATERPROOF Ensure the control box is safely and securely hidden from exposing elements of moisture.

| STEP 3
Secure the light strips using the zip ties to tie all the wiring away from the moving components.

* IMPORTANT: The LED connectors are not waterproof. You will need to use heat shrink tube (not included) or electrical tape around the LED connectors to ensure the longevity of the lighting kit.
| STEP 4 Using the included E-Z Remote, select your desired color or pattern.
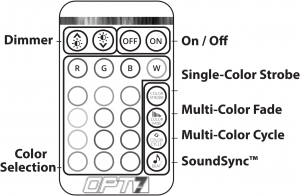
Dimmer
Color Selection
On/Off
Single-Color StrobePress multiple times to change color Adjust speed with “Dimmer” buttons
Multi-Color FadeAdjust speed with “Dimmer” buttons
Multi-Color CycleAdjust speed with “Dimmer” buttons
SoundSync™Press multiple times to change color To adjust the sensitivity, please visit www.OPT-7.com
![]()
| AUX WIRING FOR A DOME/DOOR LIGHT
NOTE: This feature activates white light only.
In order to activate Door Assist Sync, you need to connect the aux wiring of Aura control box to the positive and negative wiring of dome or door light.
| OPTIONAL UPGRADE
Upgrade your Aura Original Control Box to the Aura Pro Bluetooth Control Box. All new AURA Pro Bluetooth is App enabled by a smartphone controller (iOS & Android Compatible).

| DISCLAIMER
OPT7 Lighting is not liable for damages or personal injuries while installing this product. The Installation Guide is intended as assistance to reduce setup time. OPT7 Lighting assumes no responsibility for improper installation.If you are unfamiliar with your vehicle or inexperienced with aftermarket upgrades, please seek professional assistance.
| NEED SUPPORT?
Scan for tutorial videos, troubleshooting tips, and more.

![]()
References
[xyz-ips snippet=”download-snippet”]