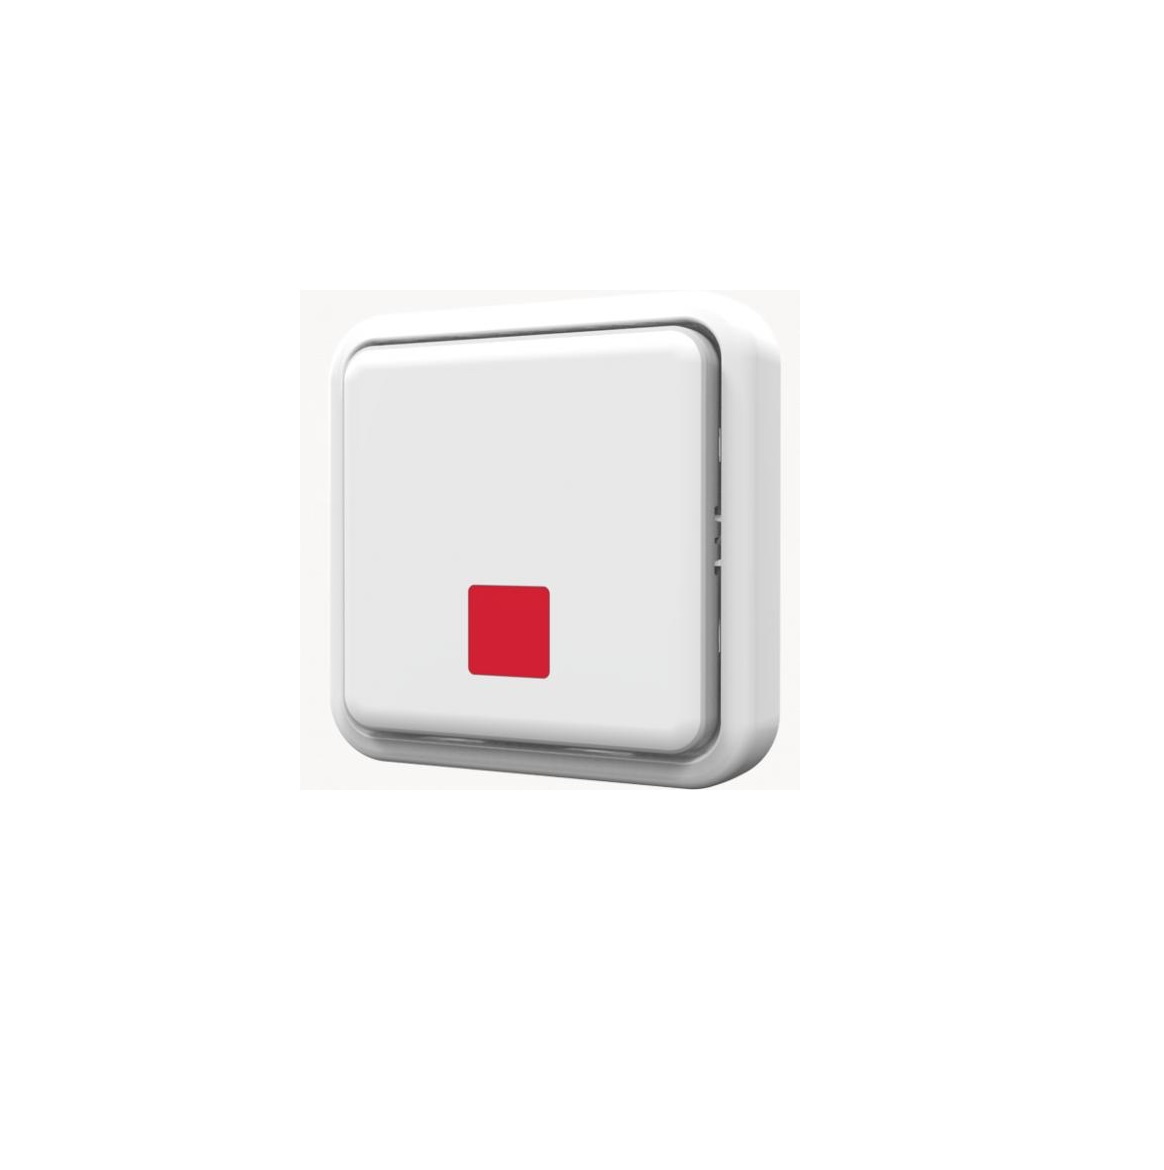
AXIS Alert Button
Solution Overview
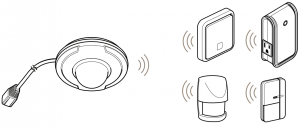
The device is Z-Wave® enabled and fully compatible with any Z-Wave enabled network. The device can be set up in a Z-Wave network to communicate directly with other end-devices such as lighting controllers, or to report directly to a Z-Wave controller, such as AXIS M5065 PTZ Network Camera.
- Alert button
- Rear cover
- LED indicator
- Battery compartments
- Link button
- Rear cover latch


How to add a device to a Z-Wave Network
Auto-inclusion
The detector supports the auto-inclusion feature, where it will automatically enter learning mode (inclusion/exclusion) when first powered up.
- Carefully remove the front cover by pulling the bottom of the front cover.
- Put a Z-Wave controller into inclusion mode.
- Insert 2 AAA-batteries (1,5V) into the battery compartment with the correct polarity. The LED on the device should turn ON.
- Enter the PIN number into the Z-Wave controller. See the installation guide for where to find the PIN number on the device.
- The inclusion process should be completed when the LED stops blinking.
- Perform a test before you refit the battery cover. See How to test the Z-Wave Device.
Manual inclusionYou can also choose to manually add the Z-Wave device to a control device. Follow the steps below.
NoteFor best results, exclude the device before starting the inclusion process. See Manual exclusion
- Carefully remove the front cover by pulling the bottom of the front cover. You will now see the link button, which is used to put the device into learning mode (inclusion/exclusion).
- Press the link button 3 times within 1.5 seconds to put the unit into learning (inclusion/exclusion) mode.
- Enter the PIN number into the Z-Wave controller. See the installation guide for where to find the PIN number on the device.
- The inclusion process should be completed when the LED stops blinking.
- Perform a test before you refit the battery cover. See How to test the Z-Wave Device.
Manual exclusion
- Detach the front cover.
- Press the link button 3 times within 1.5 seconds to put the unit into learning (inclusion/exclusion) mode.
- The exclusion process should be completed when the LED stops blinking.
- Refit the front cover.
How to test the Z-Wave device
For the alert button to control other devices, an action rule needs to be created on the Z-Wave controller. Action rules are user-defined elements in the controller that determine what action(s) to take when an event occurs. The alert button triggers the event for the action rule, which then controls other devices such as plugs or dimmers, or activates an alarm. An alarm is triggered after a short press of the alert button. To disarm, press for 10 seconds.
After you have included the device in the network with the Z-Wave controller, the alert button will send data about its battery power to the controller after about 2 minutes. After that, it will only send data when the button is pressed.
NoteProgramming Z-Wave devices using a Z-Wave controller is recommended for experienced users only.
Z-Wave Group
The device supports two different Z-Wave Association Groups:
- Group 1: Association with 1 Controller node.
- Group 2: Association with 4 nodes (i.e. end-devices such as smart plugs and other lighting controllers). This allows the device to send commands directly to other devices without the participation of the controller. This has the effect that when the device triggers, all other associated devices will also be operated.
NoteAssociation group support can vary among Z-Wave Controllers. The AXIS M5065 supports Z-Wave Association Group 1.
Group 1 commands:
- When device status changes, the unit will send a Notification command to the node in Group 1.
- When device status changes, the unit will check its battery status. When the battery level of the unit drops to an unacceptable level, the unit will emit a notification report to the nodes in
Group 1.
- When you perform a factory reset, the unit will send a Device Reset Locally notification to the node in Group1.
Group 2 commands:
- When the Up key is pressed, the unit will send a BASIC SET command containing an adjustable value to the nodes in Group2. When the Down key is pressed, a BASIC_SET command will also be sent to the nodes in Grouping 2.
Z-Wave Plus® info
| Role type | Node type | Installer Icon | User Icon |
| Slave Sleeping report | Z-Wave Plus node | Notification Sensor | Notification Sensor |
Version
| Protocol library | 3 (Slave_Enhance_232_Library) |
| Protocol version | 4.61(6.71.01) |
Manufacturer
| Manufacturer ID | Product Type | Product ID |
| 0x0364 | 0x0004 | 0x0001 |
AGI (Association Group Information) table
| Group | Profile | Command Class & Command (List) N bytes | Group Name (UTF-8) |
| 1 | General | Notification ReportDevice Reset Locally Notification | Lifeline |
| 2 | Control | Basic Set | PIR Control |
Notification
| Event | Type | Event | Event Parameters Length | Event Parameters |
| Program started | 0x0C | 0x01 | null | |
| Program completed | 0x0C | 0x03 | null | |
| Power is applied for the first time | 0x08 | 0x01 | null |
Battery
| Battery Report (value) | Description |
| 0xFF | Battery is low |
Command classes
This product supports the following command classes:
- COMMAND_CLASS_ZWAVEPLUS_INFO_V2
- COMMAND_CLASS_ASSOCIATION_V2
- COMMAND_CLASS_ASSOCIATION_GRP_INFO
- COMMAND_CLASS_TRANSPORT_SERVICE_V2
- COMMAND_CLASS_VERSION_V2
- COMMAND_CLASS_MANUFACTURER_SPECIFIC_V2
- COMMAND_CLASS_DEVICE_RESET_LOCALLY
- COMMAND_CLASS_POWERLEVEL
- COMMAND_CLASS_SECURITY
- COMMAND_CLASS_SECURITY_2
- COMMAND_CLASS_SUPERVISION
- COMMAND_CLASS_FIRMWARE_UPDATE_MD_V4
- COMMAND_CLASS_BATTERY
- COMMAND_CLASS_WAKE_UP_V2
- COMMAND_CLASS_NOTIFICATION_V4
Wake-up command class
After the detector has been included in a Z-Wave network it will go to sleep, but will periodically send a wake-up notification command to the controller at a preset period. The detector will stay awake for at least 10 seconds and then go back to sleep, to conserve battery life.
The time interval between wake-up notification commands can be set in the wake-up command class, based on the range values below:
How to program the Z-Wave device
| Minimum wake-up interval | 600s (10 minutes) |
| Maximum wake-up interval | 86400s (1 day) |
| Default wake-up interval | 14400s (4 hours) |
| Wake-up interval step seconds | 600s (10 minutes) |
Troubleshooting
If you can’t find what you’re looking for here, try the troubleshooting section at axis.com/support
| Action/Status | Description | LED indication |
| No node ID. | The Z-Wave controller could not find the device and did not provide a node ID. | 2 seconds on, 2 seconds off, for 2 minutes. |
| Factory Reset(This procedure should only be used when the controller is inoperable.) | 1. Press the link button 3 times within 1.5 seconds to put the device into exclusion mode. | |
| 2. Within 1 second of step 1, press the link button again and hold for 5 seconds. | ||
| 3. Node ID is excluded. The device reverts to factory default state. | 2 seconds on, 2 seconds off, for 2 minutes. | |
| Failure or success in including/excluding the ID can be viewed on the Z-Wave Controller. |
The table below lists typical problems encountered:
| Symptom | Possible Cause | Recommendation |
| Cannot perform inclusion and association. |
|
|
| When Alert Button is pressed, the LED illuminates, but the receiver(s) have no response. |
|
|
Note
For best results, exclude the device before starting the inclusion process. For more details see the installation guide.
Specifications
To find the latest version of the product’s datasheet, go to the product page at axis.com and locate Support & Documentation. Specifications
| Battery | AAA Battery x2 |
| Battery life | 1 year* |
| Range | Up to 100m (328 ft) line of sight |
| Operating frequency | 908.42 MHz (US), 922.5 MHz (JP), 868.42 MHz (EU) |
| FCC ID | FU5AC136 |
Specifications are subject to change without notice.* measured at 1 trigger per day

References
[xyz-ips snippet=”download-snippet”]