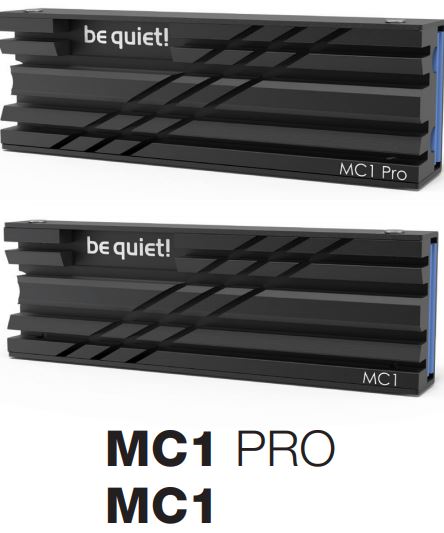
be quiet CPU cooler


Introduction:
Thank you for deciding to purchase a be quiet! product. The following instructions will guide you through the installation process. If you do encounter installation problems, please don’t hesitate to contact our customer services by mailing [email protected]. Please note that be quiet! cannot accept liability for damage caused by compatibility problems.
Warranty:
- 3-year manufacturer guarantee for consumers (original purchase from authorized is quiet! dealers only)
- Guarantee work can only be processed with a copy included of the purchase receipt from an authorized be quiet! dealer
- Manipulation and structural changes of any kind, including any damage caused by external mechanical force, will lead to a complete voiding of the guarantee
- Our General Warranty Conditions apply, which can be viewed on bequiet.com
Listen GmbH. Wilhelm-Bergner-Straße 11c . 21509 Glinde GermanyFor further information contact us via e-mail: [email protected]
SCOPE OF DELIVERY

The following parts are needed for this:
1x M.2 Cooler* (1), 1x Cooling backplate (2), 4x M2 screws (3), 1x Cross-tip screwdriver (4)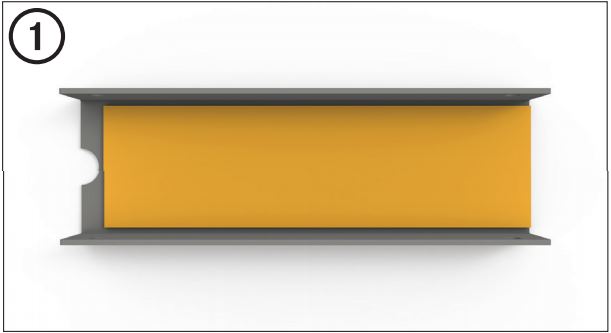
The protective covering of the thermal pad must be removed from the backside of the Cooling backplate (2) prior to installation.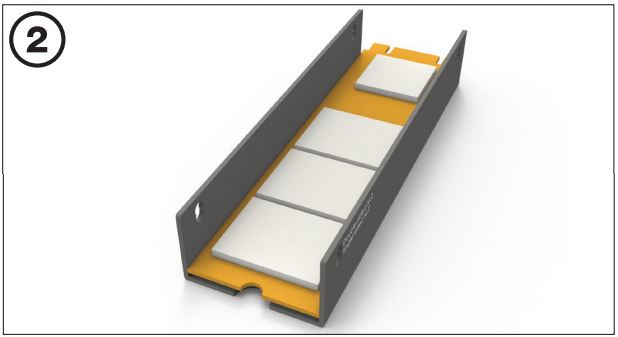
Place the M.2 Drive onto the thermal pad. Take care for the openings of the screw to be in line.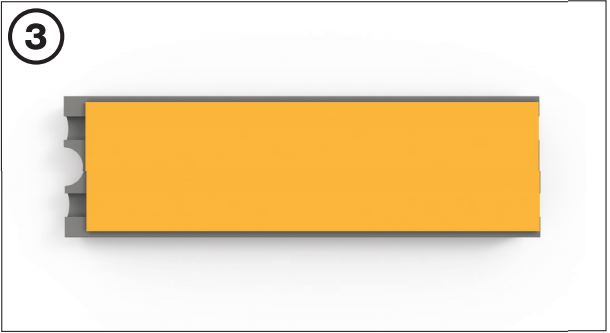
Remove the protective covering of the thermalpad from the upper side of the M.2 Cooler (1).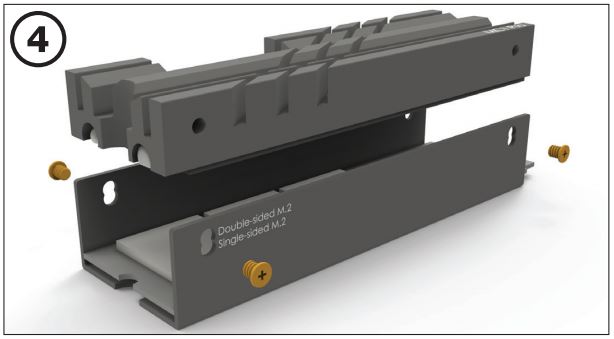
Place the M.2 Cooler (1) onto the drive. Next, screw the M2 screws (3) tight to connect the Cooler (1) with the Cooler backplate (2). Push the M.2 Cooler (1) softly to make this process easier.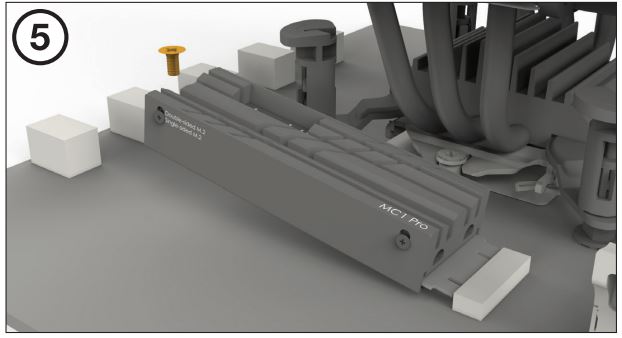
Put the Drive into the M.2 slot and tighten the screw onto your motherboard.
* Compatible with M.2 2280
References
[xyz-ips snippet=”download-snippet”]