![]()
PODCAST & RECORDING QUICK-START GUIDE
Welcome to the BEHRINGER PODCAST & RECORDINGquick-start guideThank you for choosing one of our podcast-capable recording products.This top-notch hardware bundle lets you creatively produce professional-sounding podcasts, voice-over sessions, narration, and music projects for online distribution. Ifyou’re a blogger, you’ll have a superb pack of equipment to dramatically enhance the audio quality of your videos compared to the built-in camera microphone, giving your broadcasts a more professional appeal. Move up to the next step in the evolution of broadcasting and free yourself from the limitations of conventional communication.
Podcasting Basics
Before you get started, it is important to understand some of the terminologies and uses surrounding the emerging field of podcasting.Podcasting is a term derived from the combination of the words “iPod” and “broadcasting,” and is defined as the distribution of audio or video files, such as radio programs or music clips, over the Internet. This is accomplished by using one of two syndication techniques that allow users to access media on such portable media devices as smartphones, tablets, MP3 players, and laptop computers.RSS (Really Simple Syndication) and Atom are Web content syndication formats written in XML that provide either podcast content or summaries that link to the content and additional file information.Podcast is a feed of audio or video files placed on the Internet for public access. Anyone can subscribe to the feed and download the media files. This allows you tocollect programs from a wide range of sources for listening or viewing media content, either online or offline with your computer or an appropriate portable device.Podcatcher refers to a software application that enables the download of podcasts. It typically runs in the background, managing feeds that you add manually and downloads each at a specified interval.
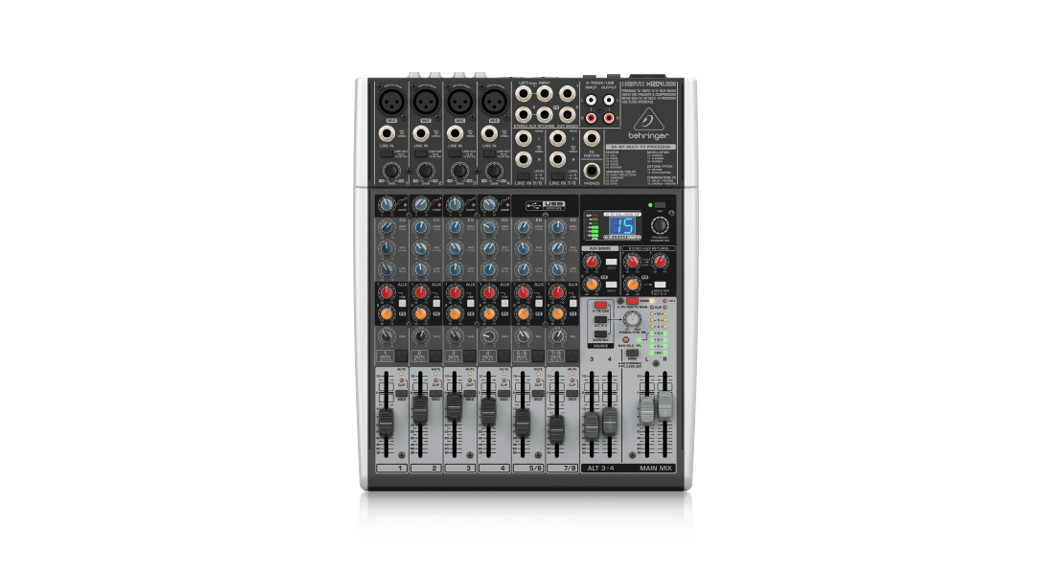
Installation Guide – USB mixer/interface

Note: The Voice Studio package does not include a pair of headphones
Basic Equipment:Microphone, USB mixer/interface, headphones, computer Now that you have a basic understanding of what podcasting is and have the necessary gear, it’s time to set up the equipment, install the software, and get started.
- Install any necessary drivers before connecting your USB interface. They can be downloaded from the download area of the product page, or from the support section at www.musictribe.com/brand/behringer/home.
- Once the drivers are installed, you may connect the interface to your computer with the included USB cable.
- Connect your microphone to the input of your mixer or audio interface using the included XLR cable.
- Connect a monitoring device. You may connect the outputs of the mixer/ interface to a pair of powered speakers, or connect a set of headphones.
- Be sure to read the manuals for the individual components of your podcast/recording system to ensure proper hookup and operation.
- If using a Windows operating system, it is important to install the necessary ASIO driver. This is not a factor in Mac systems. Visit the download area of the USB interface’s product page, or go to the Support > Download Center at www.musictribe.com/brand/c/behringer/downloads?active=downloads to download the required driver.
Software
Before you can start, you will need some software to produce, release, and consume your podcast. In the following steps, you will find some free or low-cost examples which are mostly cross-platform programs. Choose the option that matches your needs and operating system. Some research online should help you identify which program has your ideal functionality and workflow.Step 1 – ProducingFirst, you will need a music program that allows you to record audio and export MP3 files. There are many DAWs (Digital Audio Workstation) that offer such functionalityon Mac and PC, such as Reaper, Tracktion, Logic, Garage Band, Cubase. One of the most popular cross-platform freeware is Audacity, which is available for Mac OS X,Windows, and even Linux.Step 2 – ExportingIn case of using Audacity, make sure to get the free “LAME MP3 Encoder”. This is a freeware plug-in that needs to be installed additionally to Audacity to enable your audio file to be exported into MP3 format.Step 3 – UploadingTo upload your newly created MP3 podcast, you will need an upload/distribution software, often called Podcast Studio or Podcast Producer. This software allows you to fine-tune your podcast, create RSS content, and finally upload your podcast on a server. An old Windows classical is Modifier, but newer tools can be found at Ultraschall.fm (based on a specific version of the DAW Reaper), Spreaker.com or Buzzsprout.com, to name just a few examples.Step 4 – ConsumingIf you want to listen to your own podcast or consume releases from other bloggers, you will need a “podcast receiver” such as the cross-platform Juice (http://juicereceiver.sourceforge.net/ ). Mac users might prefer iTunes, but there are other so-called “Podcatchers” (or Podcast Clients): WinAmp (WinAmp.com), gPodder(gPodder.net), Miro (getmiro.com), or Amarok (amarok.kde.org), for example.

Creating a Podcast
Now you have compiled and installed all the software needed to start your first podcast release. It may take some time to get used to the process, but you will get better with practice. Here are the basic steps to take you from nothing but hardware and software to a syndicated podcast that other online users can download and listen to.
- Record your podcast using the DAW recording program of your choice.Make sure to select your USB audio device as the incoming and outgoing audio unit in your DAW’s setup menu. You may incorporate everything from speech to music and sampling (beware of copyright issues when borrowing audio from other sources).
- Once you are done recording and editing your podcast, you may export the audio as a single stereo master track in MP3 format (if your DAW supports this) and save it to your hard drive.
- If your DAW does not support direct MP3 output, you can export the stereo mixdown in WAV or AIF format and save the file to your hard drive. Open the stereo master track in an audio editor such as Audacity and export it as an MP3 file (in case of using Audacity, this requires the lame_enc.dll codec).
- Using one of the previously mentioned podcast-producing software options, upload your new podcast track to a server, which will make it available online.
- Post the podcast to various feeds and Internet portals where other people can download and listen to your new podcast!
Need additional help?Beginners can learn a lot from other podcasters or recording specialists online. There is a wealth of information available on forums, online articles and tutorials, YouTubevideos, etc. (just search “audio recording basics”, “podcasting guide”, etc. into a search engine). The process is very streamlined and user-friendly but varies a bit dependingon your specific software and publishing destination, so specific tutorials online may give more detail than what can be provided in this quick start guide.
FEDERAL COMMUNICATIONS COMMISSION COMPLIANCE INFORMATION
BehringerPODCASTUDIO 2 USB
Responsible Party Name: Music Tribe Commercial NV Inc.Address: 901 Grier Drive Las Vegas, NV 89118 USAPhone Number: +1 747 237 5033
PODCAST AUDIO 2 USBThis equipment has been tested and found to comply with the limits for a Class B digital device, pursuant to part 15 of the FCC Rules.These limits are designed to provide reasonable protection against harmful interference in a residential installation. This equipment generates, uses and can radiate radio frequency energy and, if not installed and used in accordance with the instructions, may cause harmful interference to radio communications. However, there is no guarantee that interference will not occur in a particular installation.If this equipment does cause harmful interference to radio or television reception, which can be determined by turning the equipment off and on, the user is encouraged to try to correct the interference by one or more of the following measures:
- Reorient or relocate the receiving antenna.
- Increase the separation between the equipment and receiver.
- Connect the equipment into an outlet on a circuit different from that to which the receiver is connected.
Consult the dealer or an experienced radio/TV technician for help.This device complies with Part 15 of the FCC rules. Operation is subject to the following two conditions:
- this device may not cause harmful interference, and
- this device must accept any interference received, including interference that may cause undesired operation.
Important information:Changes or modifications to the equipment not expressly approved byMusic Tribe can void the user’s authority to use the equipment.
 report this ad
![]()
We Hear YouAll trademarks are the property of their respective owners. Mac, Mac OS are trademarks of Apple Computer, Inc.,registered in the U.S. and other countries. Windows is a registered trademark of Microsoft Corporation in theUnited States and other countries.
References
gpodder.net — discover and track your podcasts
Miro – Free, open-source music and video player.
Home – Music Tribe Community
Juice, the cross-platform podcast receiver.
Ultraschall – HighEnd Podcasting für alle
Free Podcast Hosting – Buzzsprout
Behringer – Music Tribe Community
Make money podcasting easily and consistently – Spreaker
page View – Music Tribe Community
Amarok | Rediscover Your Music!
Winamp – Lama\’s Ass Whipper Academy
[xyz-ips snippet=”download-snippet”]