
![]()
Quick User Guide
 |
 |
|
 |
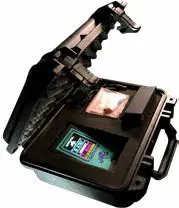
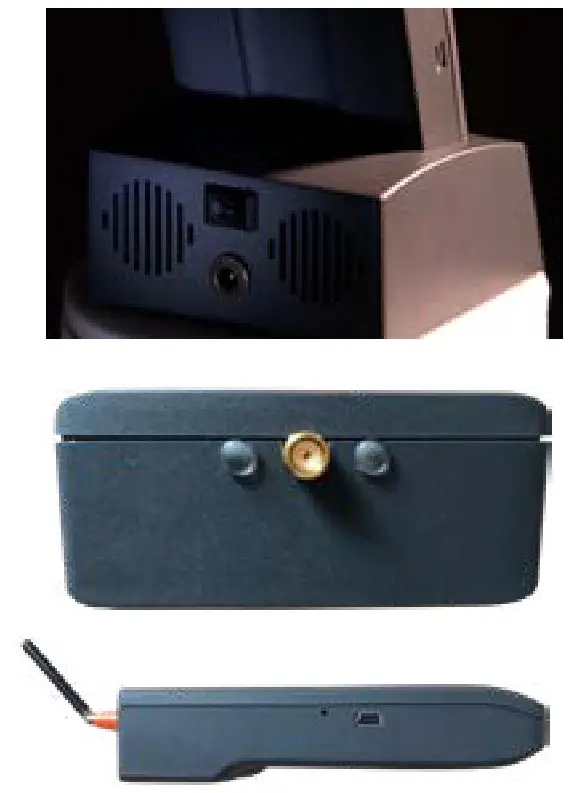
Before You Start – Unpack and completely charge up your Octopus using the supplied power transformer and charging dock. Be sure that the unit is seated firmly in the charging dock so that the metal contacts on the bottom are connecting for a constant charge. The mini-USB port located on the side is only for firmware updates via any Windows PC. Check with BVS support to make sure you have the latest firmware and update instructions. Be sure to only use the provided multiband antenna or other antenna authorized by BVS support. This will ensure that your unit properly scans all bands, carriers, and frequencies at maximum sensitivity.
Starting Up – Power up Octopus by pressing the white button below the touchscreen. This same button is the only physical button on the unit and also powers down the unit by holding it in for a few seconds. Before powering up, connect the antenna. This ensures that the unit will immediately begin scanning all nearby base stations, even if you do not see those base stations listed. After about 10 seconds of a startup screen, Octopus will display the main screen of carrier choices (Octopus scans all U.S. regional carriers (over 60) but only displays those on the carrier list screen which appears next) while continuing to scan for all nearby signals. Choose your carrier of choice, all 3G or all 4G. depending upon your choice and amount of nearby base stations, the list of base stations will usually take about 30 seconds to complete. Three small dots appear in the lower right corner of the screen indicating that scanning is still in progress. You may also go to the settings menu at any time to adjust the vibrating and audible alerts as wellas check your current firmware and unit serial number. See another page of this user guide for all screens and their paths.
Scanning and Sorting – Once Octopus has finished completely scanning, you may sort all base station signals by either carrier, frequency, or signal strength(s). 3G UMTS signal strength is measured in RSCP and EC/IO while 4G signal strength is measured in RSRQ and RSRP. Pushing the CARRIER, FREQ or measurement buttons will sort the ist by any of those choices. If Octopus identifies more than 5 unique base stations, a PAGE down button appears for additional pages of base stations to search through. PAGE up button appears on the next page allowing users to move through all pages.
Choosing Your Base Station – Once you have located the base station of interest, touch it to take you to the active single carrier measurement screen. From this screen, you can view the channel number and real-time signal strength as you move around and also to align external antennas to nearby base stations. A thin watermark line above the vertical signal strength bar indicates peak measurement observed during the entire session. Choose between RSRP and RSSI measurements (4G only).
Antenna Alignment – Disconnect your included omnidirectional SMA antenna and connect directly to your mounted (or soon-to-be-mounted) antenna fixture while viewing the single carrier screen. Begin with broad sweeps and then turn your antenna slower to fine-tune adjustment so that it is pointing directly to the base station you want off in the distance. Once your signal strength is at maximum, install and tighten your permanent antenna and connect it directly to your cell booster. You can now move on to scan more base stations and install more cell boosters if needed.
 report this ad
(outside U.S. & Canada) +1 732-548-3737www.bvsystems.com[email protected]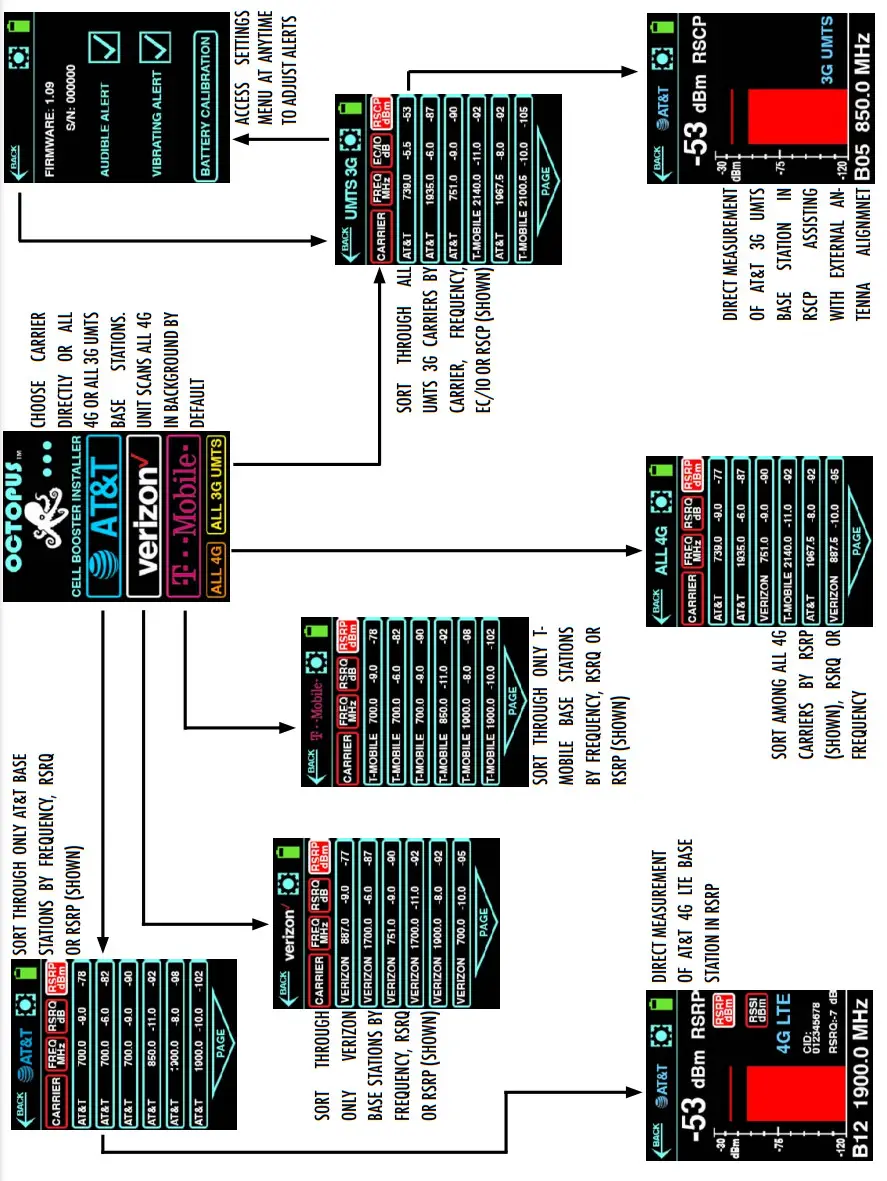
References
[xyz-ips snippet=”download-snippet”]