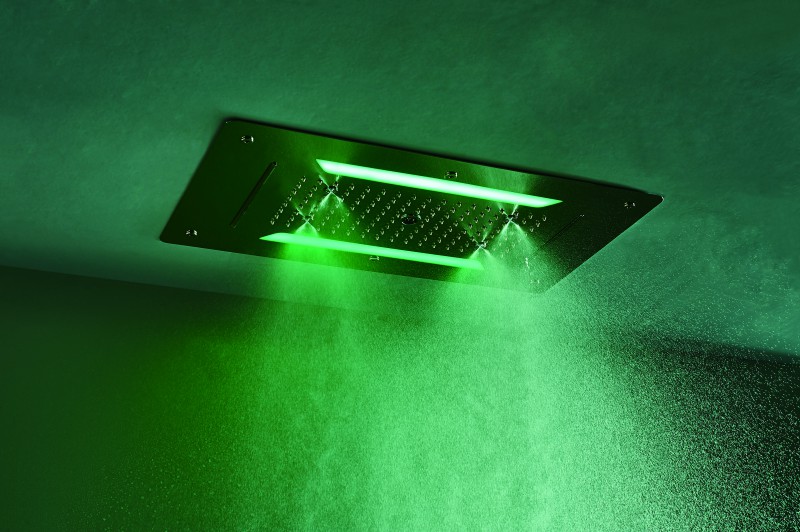
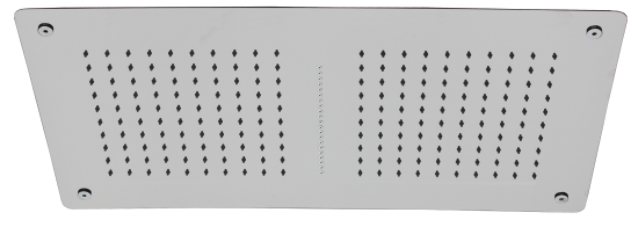
BERNSTEIN RAINFALL CEILING SHOWER DPG5019
STATEMENT
This instructions should only be considered as a standard manual. Modifications applied to updated version of the pro- duct might not be mentioned inside this document. In this case, please just use the manual as a reference. The company reserves modification rights.
ASSEMBLY INSTRUCTIONS
FILL VALVE INSTALLATION
- Please read carefully the following installation instructions in order to avoid component damage or injury to the installer.
- The instructions have been composed based in the latest product specifications. We reserve the right to make modifications to the packaging and specifications without providing prior notification.
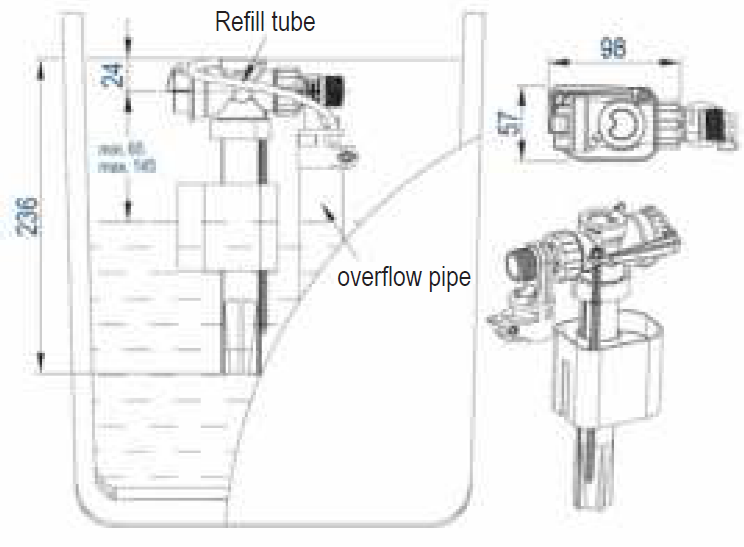
- When installing the fill valve, the critical level on the fill valve (identified on the valve marked ”CL”) should be at least 1”) above the top of the overflow pipe of the flush valve. This is a plumbing code.
- We shall not be responsible for failures that are contributed to the use of parts other than those specified.
- Water Temperature: 2°C to 45°C.
- Water Pressure Range: 0.2 Bar to 8 Bar.
WARNING: Do not use or drop any chlorine or any chemical related components. Use of such products will:Result in damage to tank components and may cause flooding and property damage and void warranty.Do not overtighten nuts, or tank/bowl may crack.
WORK PREPARATIONRemove the inoperative tank fittings and carefully clean the water cistern/tank. Make sure all debris has been removed prior to installing new tank fittings.
FILL VALVE INSTALLATION AND WATER LEVEL ADJUSTMENT
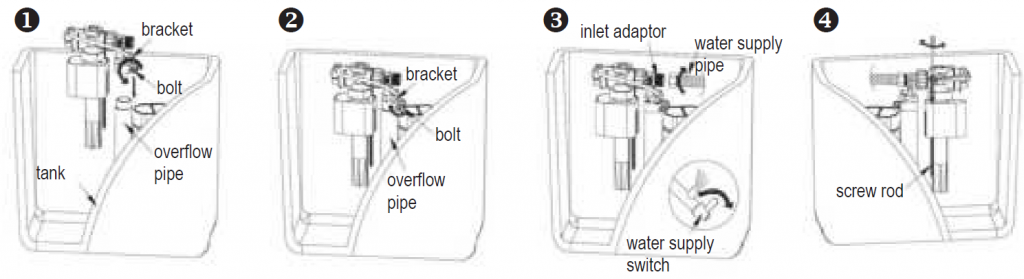
- Unscrew the bracket bolt and locate/install the fill valve onto overflow pipe of flush valve.
- Then tighten the bracket bolt.
- Connect water supply into inlet shank , turn on the water supply valve (angle stop) (Make sure that refill tube has been inserted in the flush valve overflow pipe in the event the toilet requires refill to the bowl).
- Check if the inlet valve is under normal operation and adjust the inlet valve float adjustment thumbscrew clockwise (for higher float & water level) or anticlockwise (for lower float & water level) according to the requirements.
CLEANING FILTER (Filter which is located inside the inlet valve shank is required for cleaning periodically).
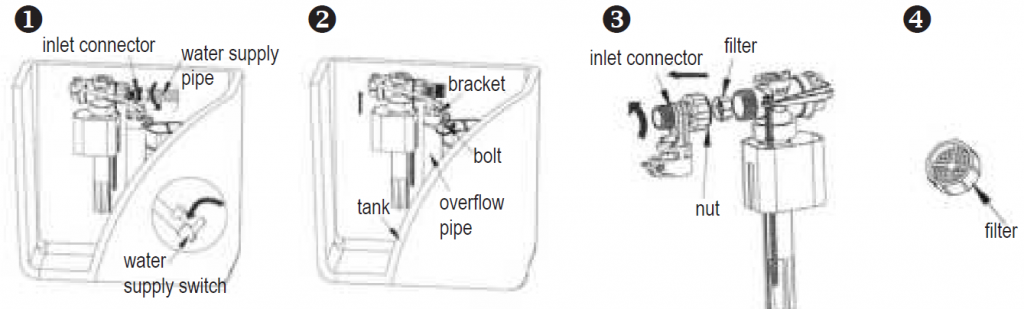
- Shut off the water supply valve (angle stop) then remove the water supply line from the inlet adaptor.
- Unscrew the bracket bolt and remove the fill valve.
- Unscrew fill valve nut, remove inlet connector, nut and filter.
- Clean the filter screen with water.
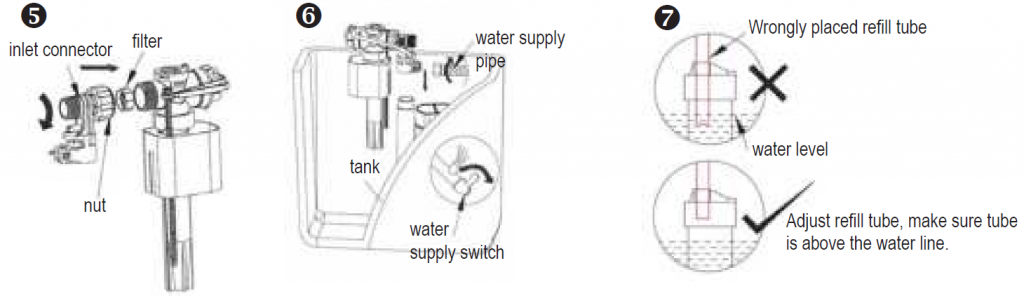
- Install back the clean filter and inlet connector.(Note: The opening of inlet connector goes into the inlet body and screw up the nut).
- Reference point two of „FILL VALVE INSTALLATION AND …“ to re-install the fill valve and turn on water supply.
TROUBLESHOOTING
Issue – Cause – Resolution
Water line is too high or too low.Inlet valve is not adjusted to a suitable position. Adjust the water level to the appropriate water level.
Inlet valve does not shut off.The cistern/tank wall has blocked the movement of the inlet valve float. Adjust the fill valve and make sure float can move freely.The refill tube wasn’t installed properly. See figure attached 3.7 to re-install refill tube correctly.Leakage of flush valve. Make sure none leakage of flush valve.The water level is above overflow pipe of flush valve. Re-adjust water level to appropriate.
Inlet valve does not turn on.Water supply valve/angle stop is off. Turn on the water supply valve/angle stop.The cistern/tank wall has blocked the movement of the inlet valve float. Adjust the fill valve and make sure float can move freely.Filter screen is dirty. Clean filter screen.
![]()
[xyz-ips snippet=”download-snippet”]