
Better Bathrooms Shower Head

Shower Head
- Shower arm supplied separately

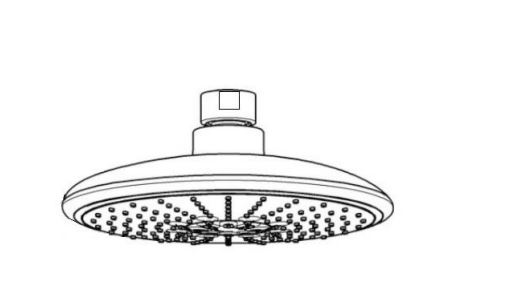
Please note: Image is for illustrative purposes only and may differ slightly from the actual product
- Single-person assembly
- Tools required
- We always recommend using professional tradespeople to install your product
Congratulations on your purchaseAnd welcome to our growing gang of savvy shoppersWe’re on a mission to bring you extraordinary bathroom products, for less. From modern to traditional style ceramics, plus the gorgeous fixtures, fittings, and furniture to match. So, you can fall in love with your space every single day. As one of the UK’s largest independent bathroom stores, we’ve received countless awards; including the National Business Awards UK, the Digital Entrepreneur Awards, and being placed on The Sunday Times Fast Track 100. We hope your new product exceeds your highest expectations. However, if you experience any problems, please:
- call our friendly UK call center on 0871 244 0935 (9 am-7 pm Monday to Friday, or 10 am-4 pm Saturday and Sunday), or
- send us a message via [email protected]
Important information
- Please read these instructions thoroughly and retain them for future reference.
- Manufactured BS EN1112 Shower outlets for sanitary tapware.
Parts

Please note that Parts are for illustrative purposes only and may differ slightly from the actual product
- Washer
- Showerhead
Tools required
Spanner
Installation
Please note: No tools are required
- Place the washer into the swivel joint of the showerhead (please refer to the parts diagram for location).
- Connect the swivel joint to the shower arm (not supplied) and tighten using a spanner, taking care not to damage the nut.
Troubleshooting
Poor flow from showerhead
- This can be caused by poor water flow to the showerhead, check the flow to the showerhead.
- There may be a blockage in the showerhead, clean the showerhead.
Maintenance
- Remove the showerhead and turn on the mixer. Check the flow of water, and if this is poor, it is not an issue with the showerhead, and further investigation is required. Example: insufficient pressure in the system or blockage in the mixer or pipework.
- If your shower head has rubber nozzles, rub these with your finger to remove any blockage then turn on the shower, but do not shower immediately, allow the hand shower to flush through for 10 seconds.
- If the showerhead does not have rubber nozzles and only has holes, brush the holes with a soft brush under warm running water to remove any blockage.
- Replace the shower head if the issue is not a pressure issue, blockage in the mixer, and the showerhead has been cleaned.
Cleaning
To maintain the surface finish of your product, wipe clean after every use, using a clean damp cloth, a mild detergent mixture can be used. Do not use abrasive cleaning agents or materials on the product surface.
If any harsh chemicals come into contact with the surface of the product during bathroom cleaning, rinse off immediately, wipe clean, and dry.![]()
Visit betterbathrooms.comemail [email protected]
[xyz-ips snippet=”download-snippet”]