Stand Fan with WIFIEF47-1F-35R1
PLEASE READ AND SAVE THESE IMPORTANT SAFETY INSTRUCTIONS.
IMPORTANT SAFEGUARDS
Basic safety precautions should always be taken when using electrical appliances, including the following:
- Only use the fan for purposes described in the instruction manual.
- Avoid electrical shock by not immersing the fan, plug, or cord in water or any other liquid and by not spraying these with liquids.
- Close supervision is necessary when any appliance is used by or near children, or near pets.
- Unplug the appliance from any electrical socket when not in use, when moving the fan from one location to another, before adding or removing parts, and before cleaning.
- Avoid contact with any moving parts.
- DO NOT operate without fan grilles properly in place.
- Do not operate any appliance which has a damaged cord plug, or if it malfunctions, or has been damaged in any other way.
- The use of attachments not recommended or sold by the appliance manufacturer may cause hazards.
- Do not use outdoors.
- Disconnect from the mains by removing the plug from the wall outlet. DO NOT pull the cord.
- Always use on a dry, level surface.
- If the supply cord is damaged, it must be replaced by the manufacturer, its service agent, or a similarly qualified person, in order to avoid a hazard.
- This appliance is not intended to be used by people (including children) with reduced physical, sensory or mental capabilities, or a lack of experience and knowledge, unless they are supervised by, or have been given instructions on the use of the appliance, by a person responsible for their safety.
- Do not let children play with the appliance.
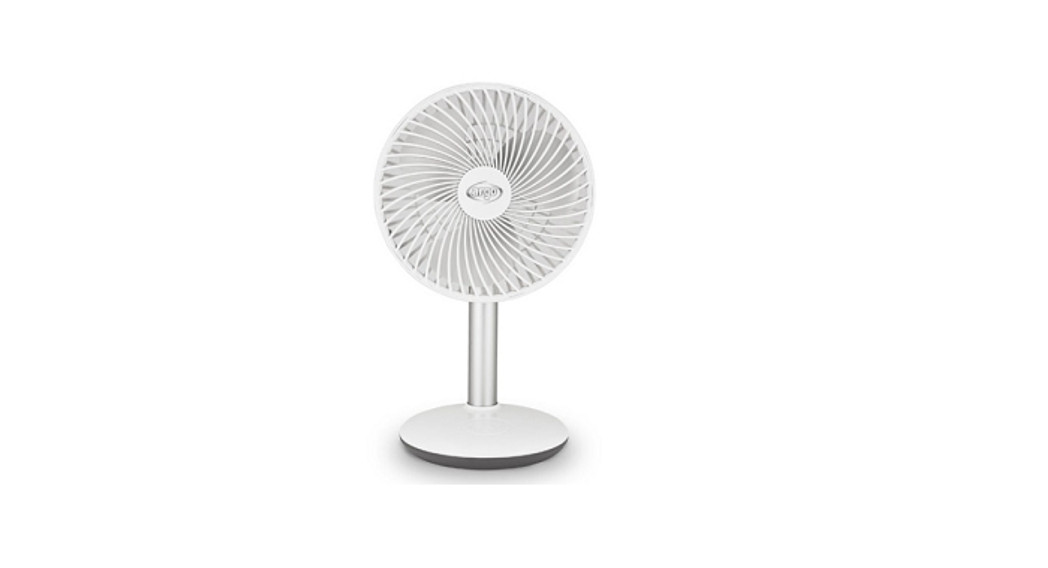
Parts Description
| 1. rear safety grille2. front safety grille3. motor housing4. blade5. grille locking nut6. blade cap7. stand8. base9. height adjustment button10. timer11. oscillating button12. on/off/speed button13. speed button14. Mode |
Assembly
- Remove the locking nut from the fan stand by turning it counterclockwise. Place the fan stand onto the base and fix it in place by replacing the locking nut and locking it tightly by turning it clockwise (see Fig. 1).
- To assemble the safety grille and blade components, loosen the blade cap by turning it clockwise. Then loosen the grille locking nut from the motor housing by turning it anticlockwise.
- Place the rear safety grille firmly onto the motor housing and fasten it by turning the grille lock nut clockwise until tight, making sure that the rear safety grille fits onto the locking lugs on the motor housing (see Fig. 2).
- Push the blade onto the motor shaft and fix in place using the blade cap, by turning it anticlockwise (see Fig. 3).
- Place the front safety grille against the rear safety grille. Align the holes, close the fixing clamps and insert and tighten the safety screw (see Fig. 4/5).

OPERATING INSTRUCTIONS
| Voltage: 22 V | Frequency: 50 Hz | Power: 45 W |
REMOTE CONTROL ASSEMBLYThe remote control requires 2 AAA batteries (not supplied) for operation. To install the batteries, simply press the indentations on the back of the remote control with your thumb and remove the cover. Insert the batteries according to the diagram shown inside. Replace the cover.
Operating
Place the fan base on a dry, level surface.Plug the cord into any standard 220 V AC outlet.Turn the fan on by pressing the ON/OFF button on the remote control or by pressing the on/off/speed button on the control panel. Turn the fan off by pressing the ON/OFF button on the remote control or the on/off/speed button on the control panel.The speed can be adjusted by repeatedly pressing the SPEED button on the remote control or the on/off/speed button on the control panel. You can choose between breeze speed, low speed, medium speed, and high speed. The appropriate LED light on the control panelof the fan will light up.
Oscillation control
To start and stop the fan head from oscillating, press the OSC button on the remote control or the oscillation button on the control panel.
Timer controlTo start and stop the timer, press the TIMER button on the remote control or the timer button on the control panel to go through the timer settings: 0.5h ,1 h, 2h, 4h up to 7.5h. The appropriate LED light on the front of the fan will light up.
Natural breeze and sleep breeze settingSetting 1: Press the MODE button once on the remote control. The fan speed will automatically slow down (natural breeze mode). The appropriate LED light on the control panel will light up.Setting 2: Press the MODE button again on the remote control. This function causes the fan speed to slow down (sleep breeze mode). The appropriate LED light on the control panel will light up.Setting 3: Press the MODE button a third time to switch off the natural breeze and sleep breeze function.
Tilt adjustment (see Fig. 7)The airflow direction can be adjusted simply by moving the fan head up or down as shown in the diagram. Adjust the angle of the fan only after you have made sure it has stopped rotating.
Height adjustment (see Fig. 8)To raise the fan’s height, push the height adjustment button and the upper part of the fan will go up. To lower the fan, press the motor housing down, using your hand until the fan spring is activated. You will hear a click when it is in place.
Cleaning and maintenance
Please follow these instructions to look after your fan correctly and safely.
- Always unplug the fan before cleaning or assembly.
- Do not allow water to drip onto or into the fan motor housing.
- Clean the fan using a soft cloth, moistened with a mild soap solution.
- Do not clean with petrol or thinners.
Fan storageYour fan can be stored either partially disassembled or assembled. It is important to keep it in a safe, dry location.If disassembled before storage, we recommend that you use the original (or an appropriately sized) box.
Correct Disposal of this productThis marking indicates that this product should not be disposed of with other household wastes throughout the EU. To prevent possible harm to the environment or human health from uncontrolled waste disposal, recycle it responsibly to promote the sustainable reuse of material resources.To return your used device, please use the return and collection systems or contact the retailer where the product was purchased. They can take this product for environmentally safe recycling.
Operating via WiFi
Download the appDownload and install the app ‘TUYA’ on your mobile phone for advanced fan operation.
http://smart.tuya.com/downloadhttps://smartapp.tuya.com/smartlife
WiFi configuration
- Make sure you are connected to the WiFi network.
- Open the TUYA app and click ‘Login’ or Register to create an account and password.
- Click ‘+’ in the top right corner of the screen or ‘Add Device’ in the middle of the screen to add a device. Choose ‘Small Home Appliance’ on the left side of the menu, then click the Fan logo.
- Select your WiFi network and enter your WiFi password to enter the ‘Connecting’ page.
- Make sure the fan is connected to the power supply. Press the On/off button to turn on the fan, then click the oscillation button for at least 5 seconds to search the WiFi network. The WiFi indicator is displayed every second. (Make sure your router, mobile phone, and the device are as close as possible.)
- Click ‘Confirm the indicator is blinking rapidly’ to connect to the WiFi network.
- After connecting the fan, the app will automatically enter the control page
NOTE: If no action is taken within 2 minutes, the WiFi configuration will be shut down.Choose ‘Add Device’ again to create a new WiFi configuration.
![]()
Distributed by: OCG RetailEemnesserweg 11-101251 NA Larenthe Netherlands[email protected]
 report this ad
[xyz-ips snippet=”download-snippet”]