![]()
 BY-M1DMDual Omni-directional Lavalier MicInstruction Manual
Introduction
Thanks for choosing BOVA!
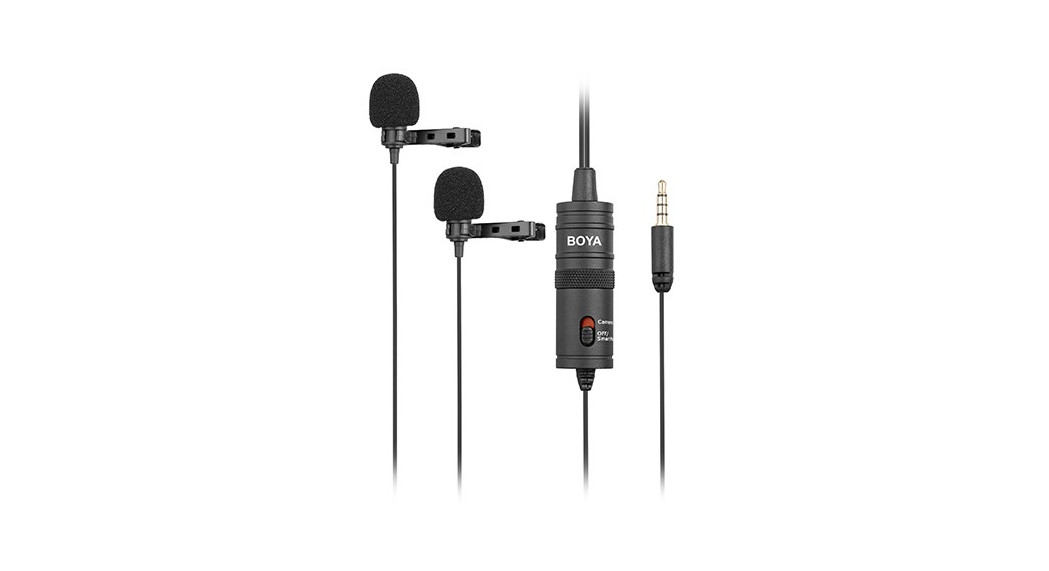
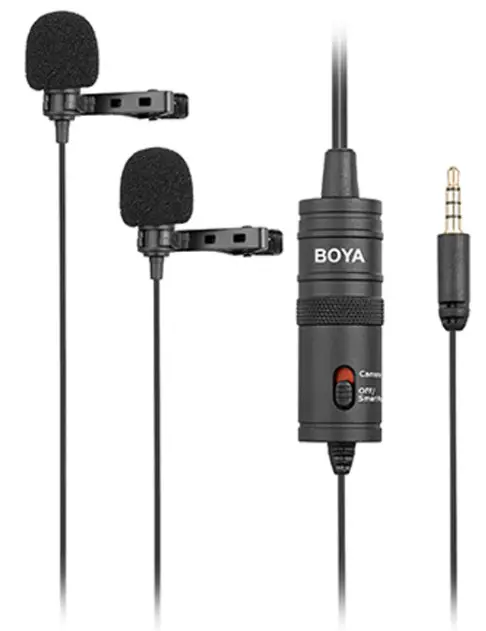
The BOYA BY-M1DM is a Dual Lavalier Universal Microphone, with a single 1/8″ stereo connector, it can be used with smartphones, DSLR cameras, camcorders, audio recorders, PC, and other recording devices.
It consists of two of the well-received omnidirectional lavalier microphones and 4m (13′) length cable, it’s perfect for interviews, presentations, podcasts, webcasts, or any situation where more than one subject needs to be recorded.In order to ensure you have a good experience, please read this manual thoroughly and retain it for future reference.
Package Contents:
- One BY-M1 DM Lavalier microphone
- Foam windscreen *2
- Clothing clip •2
- Velcro ‘2
- Battery (LR44)
- Carrying case
- User Manual
Main features
| # | Item | Description |
| 1 | Omni-directional microphone | Picks up sound. The sound enters through the holes in the top of the capsule. |
| 2 | Powerpack | Provides power for the microphone for use with cameras and other devices requiring a powered mic. |
| 3 | Camera setting | Turns the power onto the microphone. For use with cameras and other devices requiring a powered mic. |
| 4 | OFF/Smartphone setting | Turns the power off to the microphone, For use with Smartphones and other devices requiring an unpowered mic.NOTE: Keep the device in this mode when not in use to save the battery. |
| 5 | 3.5 mm connector | Connects the microphone to the Smartphone, camera, camcorder, or another recording device. |
Features
- Clip-on lapel microphone for Smartphones, cameras, camcorders, audio recorders, PCs, and other audio/video recording devices
- Omni-directional Condenser Microphone
- Excellent for Interviews
- Each Mic Routes to Discrete Channel
- Improved Sensitivity and Signal-to-Noise
- Includes Carrying Pouch
Using the microphone
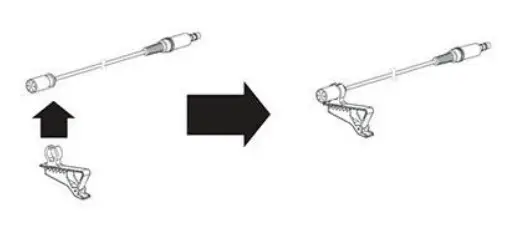
Attaching the microphone to the clothing clip
- Insert the microphone into the plastic loop on the clothing clip.

Mounting the microphone to your Clothing
Attach the microphone to the front of your clothing with the clothing clip, about 20-25cm (8-10 inches) from your face.
- Attach the microphone upside down to reduce excessive breath noises and tonal inconsistencies due to head movements.
- It is recommended that you use the foam windscreen at all times to avoid wind noise, even when recording inside.

Tips and notes:
- Tape a loose loop of the microphone cord to the inside of your clothing.This provides additional strain relief for the microphone cord and isolation from unwanted noise.
- Before recording an important event, record, and playback a short test clip with the microphone attached to ensure the audio recording is functioning properly.
Using the microphone with a Smartphone
CautionNo need to install a battery when using with Smartphone.
- Attach the microphone to your clothing (see previous instructions)
- Move the switch on the power pack to the OFF/Smartphone.
- Plug the 3.5 mm connector into the audio jack of your smartphone.
- Open the audio-only or video recording app and begin recording.
Using the microphone with a camera
- Install battery in right polarities.
- Attach the microphone to your clothing (see previous instructions).
- Move the switch on the power pack to the Camera (on) setting.
- Plug the 3.5 mm connector into the audio input jack of your DSLR, Point and Shoot camera, or camcorder, and begin filming.
Note
Not all cameras have a microphone input. Verify this with your camera manufacturer. Many cameras have headphones, remote control, and other ports that look similar to a microphone input. Make sure that you are using the correct one.
Using the microphone with a laptop
Note
• BOYA BY-M1DM can only use a laptop whose headphone jack and microphone jack is combined,• No need to install the battery.
- Attach the microphone to your clothing (see previous instructions).
- Move the switch on the power pack to the OFF/Smartphone.
- Plug the 3.5 mm connector into the audio jack of your laptop.
- Open the audio app and begin recording.
Using the microphone with other devices
- Install battery in right polarities.
- Attach the microphone to your clothing (see previous instructions).
- Move the switch on the power pack to the Camera (on) setting.
- Plug the 3.5 mm connector into the audio input jack of your device (audio recorder, sampler etc.), and begin recording.
Note
- When move switch on the power pack to the Camera (on), make sure to install the battery in the right polarities.
- No need to install battery when OFF/ Smartphone
- Make sure set the switch first, then connect the microphone with your equipment.
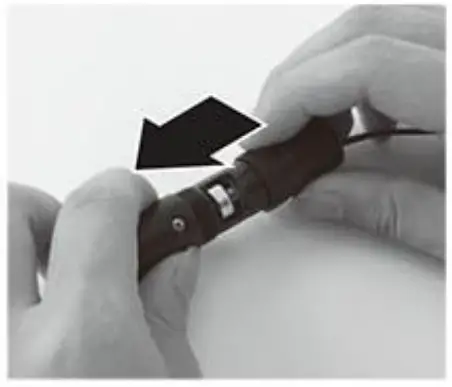
Replacing the battery
- Unscrew the two parts of the power pack and separate the pieces.
- Remove the old battery from its compartment in the power pack,
- Place the new battery, with the + and – oriented as indicated, into the battery compartment in the power pack, The + symbol is stamped inside the compartment for reference.

Troubleshooting
|
Problem |
Solution |
| The microphonedoes not turn on |
The battery may be incorrectly oriented in the battery compartment. Open the battery compartment and make sure the battery is correctly installed. |
| The battery may be exhausted. Replace it with a new one. See the Specifications section for compatible replacements. | |
| The battery terminals are dirty. Open the battery compartment and clean the terminals with a cotton swab. | |
| The battery discharges too quickly | The microphone is being left on (in the Camera position). Turn off the microphone by moving the switch to the Off/Smartphone position. |
| You are using the microphone in extremely hot or cold conditions which drains it quickly. | |
| Too much ambiance noise is being picked up | Make sure that the microphone is as close as possible to the subject. A certain amount of ambient noise is unavoidable in loud environments. |
Specifications
| Transducer: | Electret Condenser |
| Polar pattern: | Omni-directional |
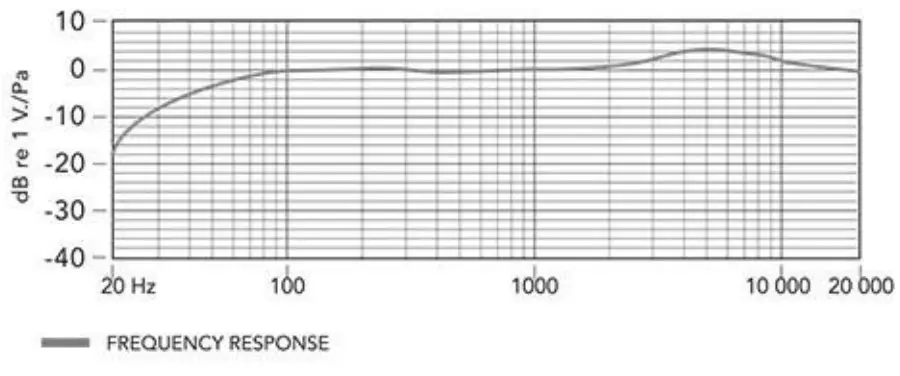
| Frequency Range: | 65Hz— 18KHz |
| Signal / Noise: | 74dB SPI. |
| Sensitivity: | -30cI8 +/- 3dB / OdB=1V/Pa, lkHz |
| Output Impedance: | 1000 Ohm or less |
| Connector: | 3.5mm (1/8″) 4-pole gold plug |
| Power requirement: | LR44 (included) |
| Cable length: | 4m(131t) |
| Net weight: | 68g(2.4 oz) |

 report this ad
![]()
SHENZHEN JIAYZ PHOTO INDUSTRIAL, LTD.The BOYA logo is a trademark that is registered and owned byShenzhen Jiayz Photo Industrial, Ltd,COPY RIGHT 2010-2020Email: [email protected]www.boya-mic.com / www.jiayz.cam
[xyz-ips snippet=”download-snippet”]