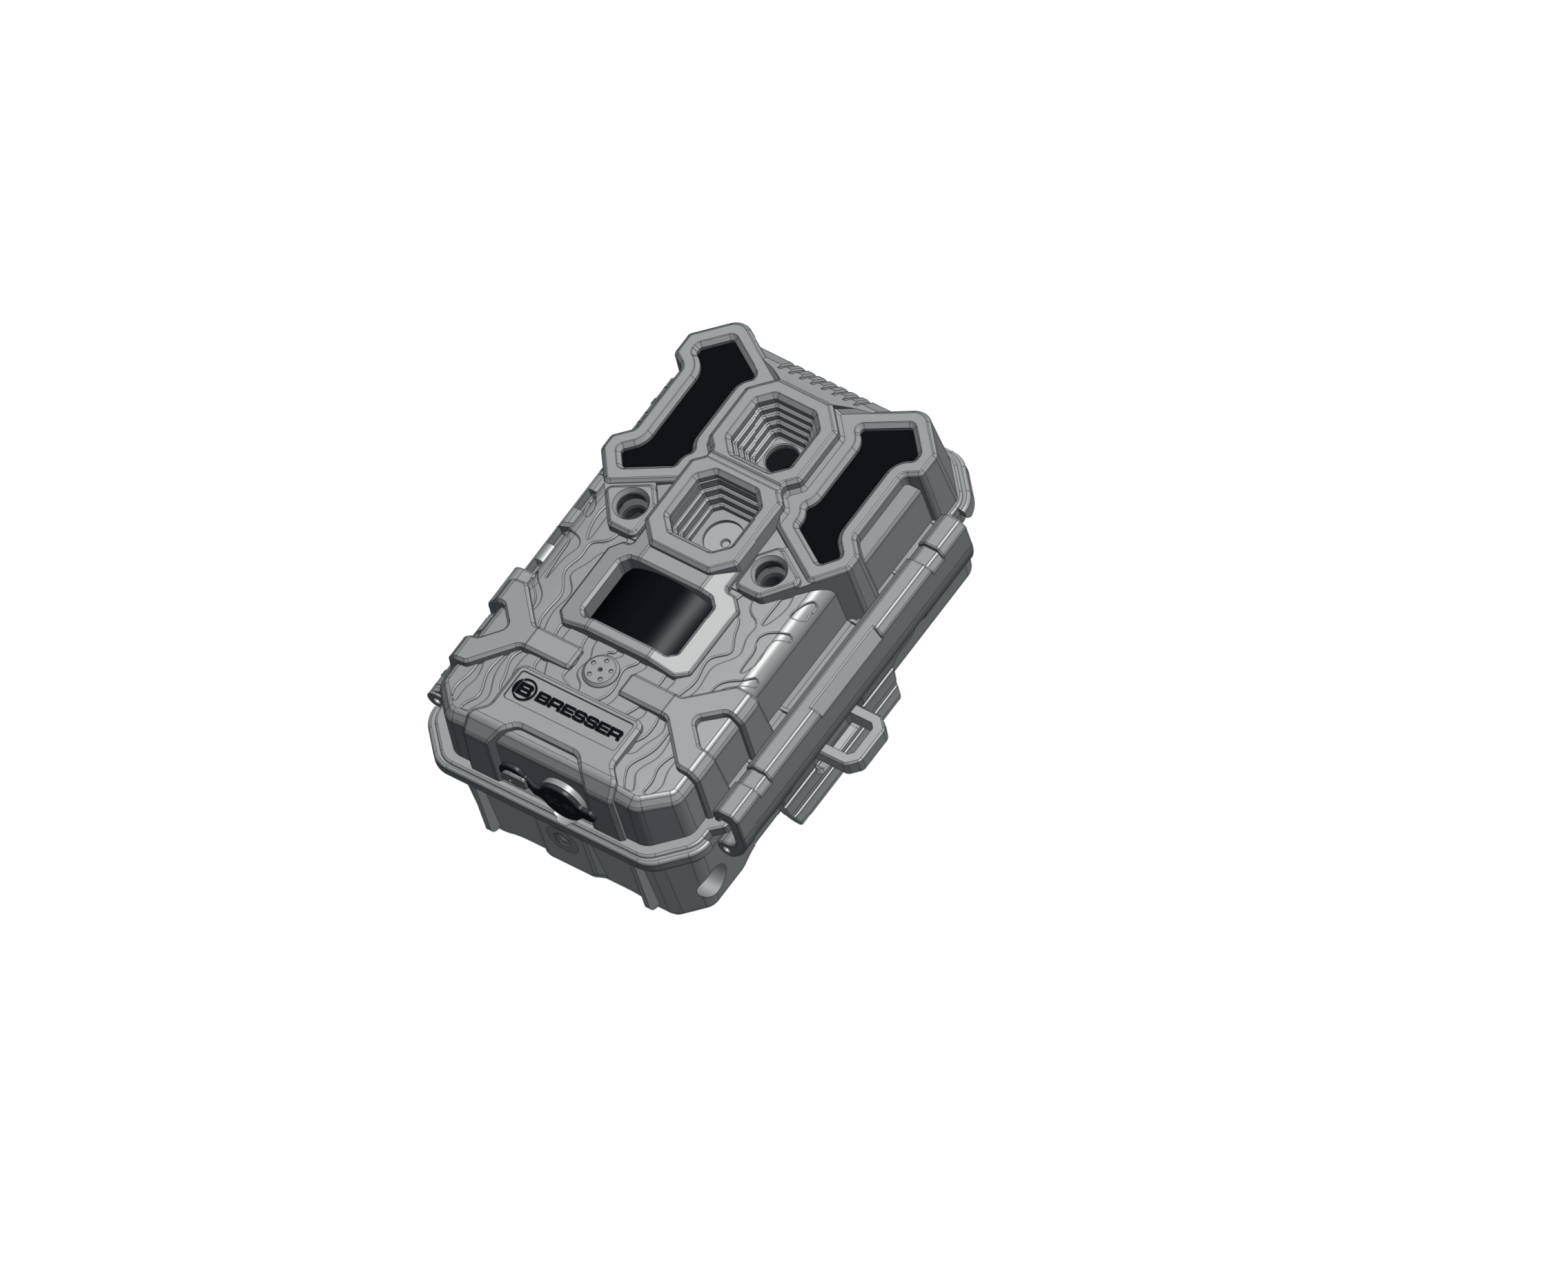
BRESSER 3310007 Observation camera DL-30MP
General Information
About this Instruction Manual
Please read the safety instructions in this manual carefully. To avoid damage to the unit and the risk of injury, only use this product as described in the manual.
Keep the instruction manual handy so that you can easily look up information on all the functions.
| DANGER!You will find this symbol before every section of text that deals with the risk of minor to severe injuries resulting from improper use. |
| ATTENTION!You will find this symbol in front of every section of text which deals with the risk of damage to property or the environment. |
General Warnings
DANGER!This device contains electronic components which operate via a power source (power supply and/or batteries). Only use the device as described in the manual, or you run the risk of an electric shock.Keep batteries out of the reach of children! Make sure you insert the batteries correctly. Empty or damaged batteries could cause burns if they come into contact with the skin. If necessary, wear adequate gloves for protection.
ATTENTION!Do not disassemble the device. In the event of a defect, please contact your dealer. The dealer will contact the Service Centre and can send the device in to be repaired, if necessary.Use only the recommended batteries. Always replace weak or empty batteries with a new, complete set of batteries at full capacity. Do not use batteries from different brands or with different capacities. The batteries should be removed from the unit if it has not been used for a long time.
Do not expose the device to high temperatures. Do not short-circuit the device or batteries or throw them into a fire! Excessive heat or improper handling could trigger a short-circuit, a fire or an explosion.
EC Declaration of Conformity
| Bresser GmbH has issued a „Declaration of Conformity“ in accordance with applicable guidelines and corresponding standards. The full text of the EU declaration of conformity is available at the following internet address: |
http://www.bresser.de/download/9630200/CE/9630200_CE.pdf
DISPOSAL
| Dispose of the packaging materials properly, according to their type, such as paper or cardboard. Contact your local waste-disposal service or environmental authority for information on the proper disposal. |
| Do not dispose of electronic devices in the household garbage! As per Directive 2012/19/EC of the European Parliament on waste electrical and electronic equipment and its adaptation into German law, used electronic devices must be collected separately and recycled in an environmentally friendly manner. |
In accordance with the regulations concerning batteries and rechargeable batteries, disposing of them in the normal household waste is explicitly forbidden. Please make sure to dispose of your used batteries as required by law — at a local collection point or in the retail market. Disposal in domestic waste violates the Battery Directive.
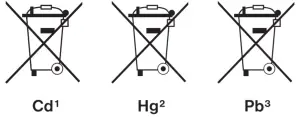
Batteries that contain toxins are marked with a sign and a chemical symbol. “Cd” = cadmium, “Hg” = mercury, “Pb” = lead.
1 battery contains cadmium2 battery contains mercury3 battery contains lead
 |
battery contains cadmium 2 battery contains mercury 3 battery contains lead |
General Information
This Observation Camera is equipped with built-in infrared LEDs, so that it can be triggered by any movement in a location, then take high quality pictures or video clips. As this cam has two separated lens for daytime and nighttime, it maximizes the quality of both pictures and videos. Please refer to the notes below and instructions in this manual to ensure that you are completely satisfied with this product.
Quick Start
- Move the latches and open the front cover
- Load 8 lithium AA or alkaline AA batteries
- Insert the SD card
- Switch to the SETUP Mode
- Press MENU key
- Press UP key to select Camera or Video Mode
- Put it in the right position you would like · Switch to the ON Mode and the camera has started working
Notes Before Use
- When setting camera parameters, please put camera in Setup mode.
- Do not set the camera directly from ON to Setup.
- To replace the battery, SD card, firstly turn camera to OFF mode.
- The color changing of the Indicator1) When camera is updating, indicator light flashes green.2) The indicator light flashes red when it is turned on or ready for operation.3) When battery is lower, the indicator light turns blue.4) When being set to long standby time, the indicator flashes purple.
- Batteries need to be used dry batteries, please do not use rechargeable batteries
- When the SD card is inserted into camera, make sure that the SD card is not in the unprotected position
- When using an external power supply, make sure that the voltage is correct.
- Please take out the battery for long time unused, to avoid leakage of the battery.
- This camera can be not used under water or can be not placed in an environment of strong Acid and alkali
- Please do not touch the lenses with your fingers.
- Keep the lens and battery compartment clean.
- Do not use sharp or hard objects to attack or scratch the screen.
View Drawings
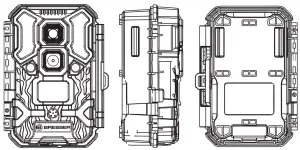
Camera Overview

- PIR
- LDR
- Lens
- IR LED
- LED
- Closure
- Display Screen
- ON-OFF key
- Operation Part
- Battery Case
Standard Accessories
|
1 × Belt 1 × Belt |
1 × USB cable |
|
Power Supply
After opening the latch on the right side of the camera, you will see that it has 8 battery slots. For maximum battery life, we recommend using 8 lithium AA or alkaline AA batteries.
Please be sure to insert each battery with correct polarity (negative or “fl at” end against the long spring of each battery slot)
SD Card
Insert the SD card (OFF mode) before beginning to operate the camera. SD card is supported up to maximum 256 GB capacity.
Operational Modes
The cam has three basic operational modes: OFF, ON and SETUP
OFF Mode
When cam in OFF mode, you can do the following:
- replacing the SD card or batteries
- connecting cam with other device by USB port
It will occur a little of power consumption under OFF mode. If you won’t use it for a long time, please take batteries off.
ON Mode
Once in ON mode no manual controls are needed or possible (the control keys have no effect). The cam will take photos or videos automatically (according to its current parameter settings) when it is triggered by the PIR sensors detection of activity in the area it covers.
SETUP Mode
In the SETUP mode you can check and change the settings of the cam with the help of built-in LCD. Moving the power switch to the SETUP position will turn on the LCD display and you will see an information screen as below.
- Time Stap ON
- Camera Mode
- Image Resolution
- No. of Photos Taken
- SD Card
- Battery Level
- Time Scan ON
- Video Mode
- Audio Recording ON
- Video Resolution
- Available Video Recording Time
Settings
ClockPress OK and use UP/DOWN keys (to change the setting) and LEFT/RIGHT keys ( to move to the next field ) to set the hour (24-hr format only, “00”=midnight,”12″=noon) and minute, then move to the next row to set the year, month and date accordingly. Once all settings are made, press OK to save.
ModeSelect photos or video mode when the camera is triggered.Camera means Photo modeDual = Video
Image SizeSelect image resolution among 5M, 14M and 30M. Higher resolution produces better quality images but creates larger files that will occupy more space of the SD card We recommend 5MP at the beginning.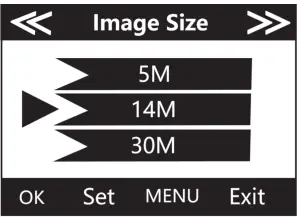
Capture NumberSelects how many photos are taken in sequence per trigger in Camera mode. This setting affects photos taken in Field Scan mode as well.
Video SizeSelects video resolution (in pixels per frame). Higher resolution produces better quality videos, but creates larger files that will occupy more space of the SD card.
Video LengthSets length per captured video clip. Settings begin with 10 second default when parameter is first selected. After stepping down to 5s, video length settings starts over from 60s.
Camera NameAllows the user to set a customized name for the camera. Very useful for identification purpose when multiple cameras are used at the same time since each camera will imprint its name on all photos (but not videos) it captures.
IntervalSelects the length of time that the camera will “wait” until it responds to any additional triggers from the PIR after an animal is first detected and remains within the sensor`s range. During this mode user sets “ignore triggers” interval, the camera will not capture photos/videos. This prevents the card from filling up with too many redundant images.
Coordinate InputUsing the Setup Menu Input Screens” Allows user to input latitude and longitude coordinates for camera’s location. This data will be embedded in files saved on camera’s SD card.
Time Period SetPress OK and use UP/DOWN keys (to change the setting) and LEFT/RIGHT keys ( to move to the next field ) to set time. Once all settings are made, press OK to save.Note: two time blocks can not appear in overlap section, or you will not set it successfully. For example: A 8:00-12:00 B 13:00-23:00, this is OK for set.
Time ScanTime Scan (Time Lapse) recording mode on/off. When activated, Time Scan forces the camera to take photos or videos even when it is not triggered by an nearby live animal, useful for constant monitoring of an area that might be far away from the camera. The user can set start and stop times for up to two in dependent “blocks” of Time Scan recording, as well as the interval time between each photo/video
LanguageSelects user’s preferred language from defined nine languages.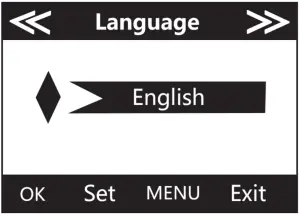
Format SD CardDeletes (erases) all files stored on a card to prepare it for reuse. Always format a card that has been previously used in other devices. Caution! Make sure you have downloaded and backed up all files you want to preserve first! Press OK to execute, press MENU (or select NO then press OK) to exit without formatting.
Default SettingsSelect “Execute” and press OK to restore all parameters to the original factory default settings.
VersionHere it shows the updated Firmware version being currently used in this camera. Make sure you download and use the most updated firmware.
Mounting and Positioning
MountingWe recommend mounting cam on a sturdy tree with a diameter of about 6 in. (15 cm). To get the optimal picture quality, the tree should be about 16-17 ft (5 meters) away from the place to be monitored, with the camera placed at a height of 5 – 6.5 ft. (1.5 ~ 2 m). Also, keep in mind that you will get the best results at night when the subject is within the ideal flash range, no farther than 60` (19 m) and no closer than 10` (3 m) from the camera.
There are two ways to mount cam: using the provided adjustable strap or the tripod socket.
- Using the adjustable strap:Push one end of the strap through the two brackets on the back of cam. Thread the end of the strap through the buckle. Fasten the strap securely around the tree trunk by pulling the end of the strap firmly so there is no slack left.
- Using the tripod socket:The camera is equipped with a socket at the bottom end.
Sensing Angle and Distance Test
To test whether cam can effectively monitor the area you choose, this test is recommended to check the sensing angle and monitoring distance of cam. To perform the test:
- Switch cam to SETUP mode.
- Make movements in front of the camera at several positions within the area where you expect game or subjects to be. Try different distances and angles from camera.
- If emotion indicator LED light blinks, it indicates that position can be sensed.
The results of your testing will help you find the best place where mounting and aiming the cam. The height from the ground for placing the device should vary with animal size appropriately. In general,3 to 6 feet is preferred. You can avoid potential false triggers due to temperature and motion disturbances in front of the camera by not aiming it at a heat source or nearby tree branches or brush (especially on windy days).
Specification
| Art. No. / Product name 3 | 3310007 BRESSER Observation camera DL-30MP |
| Effective Pixels | Day Sensor: 4320 × 3252 (14M); Night Sensor: 2592 × 1944 (5M) |
| Lens | Night Sensor lens (at night): f=7.36mm F/NO:2.8 FOV=55°,HOV=42°; Day Sensor lens (at day) : f=8.45mm F/NO:2.8 FOV=50°,HOV=40.5° |
| IR-Flash Range | High Power LED: 6*850nm LEDS(25m) |
| Display Screen | 2.4 inch HD Color Display |
| Image Size | 30M (6400 × 4800); 14M (4320 × 3240); 5M (2592 × 1944); |
| Video Size | 1920 × 1080; 1280 × 720; 640 × 360 |
| PIR Sensitivity | PIR with 4 sensitivity levels: High / Normal / Low / Auto |
| Response Time | Picture trigger: < 0.25 s, Video trigger: < 0.6s |
| Triggering Interval | 1sec – 60min programmable |
| Shooting Numbers | 1 – 9 programmable |
| Video Length | 5 – 60sec. programmable |
| Power Supply | 8 × AA recommended; DC12V |
| Operating Temperature | -20 – 60°C (Storage temperature: -30 – 70°C) |
| Operating Humidity | 5% – 90% |
| Waterproof | IP67 |
Warranty & Service
The regular guarantee period is 5 years and begins on the day of purchase. To benefit from an extended voluntary guarantee period as stated on the gift box.You can consult the full guarantee terms as well as information on extending the guarantee period and details of our services at www.bresser.de/warranty_terms.
Would you like detailed instructions for this product in a particular language? Then visit our website via the link below (QR code) for available versions. Alternatively you can also send an email to [email protected] or leave a message on +49 (0) 28 72 80 74-220*. Please always state your name, precise address, a valid phone number and email address, as well as the article number and product name.*Number charged at local rates in Germany (the amount you will be charged per phone call will depend on the tariff of your phone provider); calls from abroad will involve higher costs.
Manual Download:
Please be prepared for service requests:
Art. No.: 3310007Product name: BRESSER Observation camera DL-30MP
Instruction manual:Manual_3310007_Observation-camera-DL-30MP_de_BRESSER_v012021a.pdf
Contact
Bresser GmbHGutenbergstraße 2 46414 Rhede · Germanywww.bresser.de
![]() @BresserEurope
@BresserEurope
report this ad
References
[xyz-ips snippet=”download-snippet”]