
The Breville Home Connect
How to register your account
- Download the Breville Home Connect™ app*.

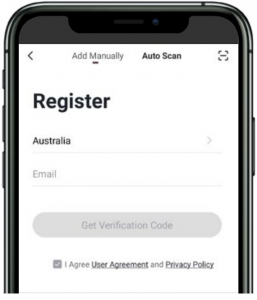
- Open the app and select ‘Register’.Carefully read the user agreement and privacy policy, then select ‘Agree’ when ready to proceed.
- Fill in your details on the sign-up page. Select ‘Get Verification Code’.
- A verification code will be sent to the registered email. Type the code into the app.
- Enter a unique password and select ‘Done’. You are now logged in


How to set up your device
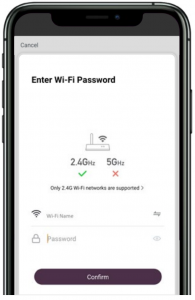
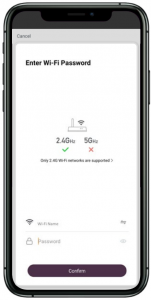
Note: The device does not support 5GHz Wi-Fi. Please ensure to connect to a 2.4GHz Wi-Fi connection.
- Connect your mobile phone to the home Wi-Fi network.
- Refer to information booklet for instructions on how to enable the Wi-Fi on your device.
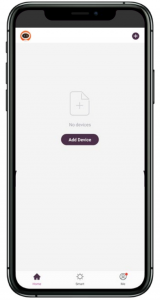
- Log into the Breville Home Connect™ app to take you to the ‘Home’ page. Touch ‘Add Device’ or .


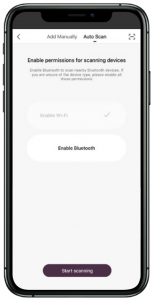
Auto Scan
Note: Refer to information booklet for instructions on how to enable the Wi-Fi on your device.
- Select ‘Auto Scan’, then touch ‘Start Scanning’*.*The mobile device must have Wi-Fi and Bluetooth enabled.
- Enter the password*, then select ‘Confirm’.*You will be asked to enter the password only if it is the first connection of the app to Wi-Fi.
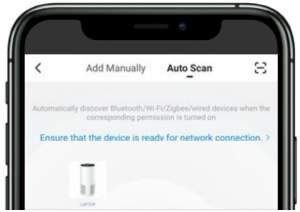
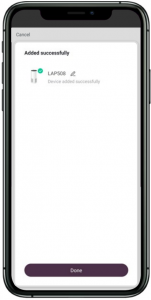
- An icon for the device will display. Select ‘Next’ to finalize.
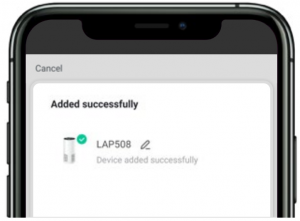
- Change the name by selecting . Select ‘Done’ .
 *The mobile device must have Wi-Fi and Bluetooth enabled.
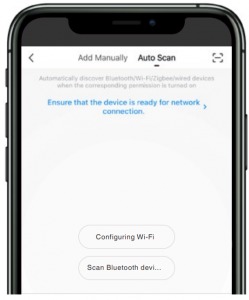 *You will be asked to enter the password only if it is the first connection of the app to Wi-Fi.
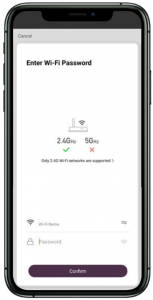
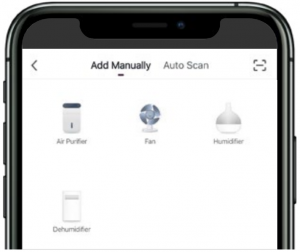
Add Manually – First Attempt (EZ mode)
Note: The app will start in EZ mode by default. If this mode fails, follow the ‘AP mode’ described on the next page.
- Select ‘Add Manually’ and choose the specific product.
- Touch and press the button with the symbol on the control panel for five seconds until it flashes rapidly.Note: Refer to information booklet for instructions on how to enable the Wi-Fi on your device as some devices require pressing alternate or multiple buttons to enable.
- Choose a Wi-Fi network. Enter the password of the home Wi-Fi network, then select ‘Confirm’.
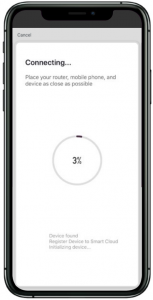
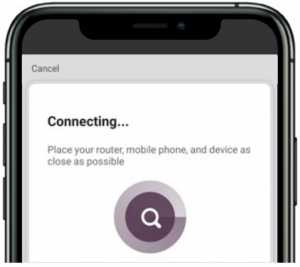
- Once the device is detected, it will start to connect to the app.
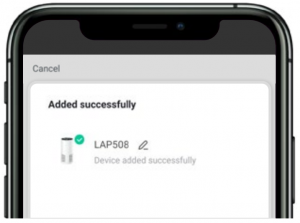
- Change the name by selecting . Select ‘Done’.
- If the connection was successful, you can now start using the app to control your device. Otherwise, follow AP mode set up next.
Add Manually – Second Attempt (AP mode)
Note: If EZ mode fails and the device could not be added, the device can be added by creating an access point (AP mode).
- If EZ mode failed to connect, follow the prompts in the app to automatically begin AP mode. To manually access AP mode, press ‘Net Pairing Mode’ in the top right corner, then select ‘AP mode’.
- Touch and press the button with the symbol on the control panel for five seconds until it flashes slowly.Note: Refer to information booklet for instructions on how to enable the Wi-Fi on your device as some devices require pressing alternate or multiple buttons to enable.
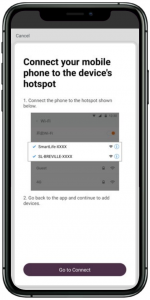
- Connect mobile device to your home Wi-Fi network.
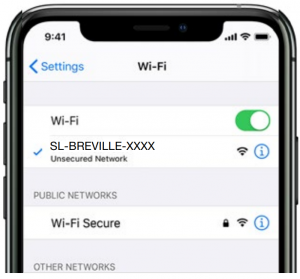
- Select the hotspot beginning with ‘SL-Breville’.
- Return to the ‘Network Configuration’ page and it will begin to add the device.
- Change the name by selecting . Select ‘Done’.
- You can now start using the app to control your device.
Breville Customer Service Centre
Australian CustomersPhone: 1300 139 798Web: www.breville.com
New Zealand CustomersPhone: 0800 273 845Web: www.breville.com

References
[xyz-ips snippet=”download-snippet”]