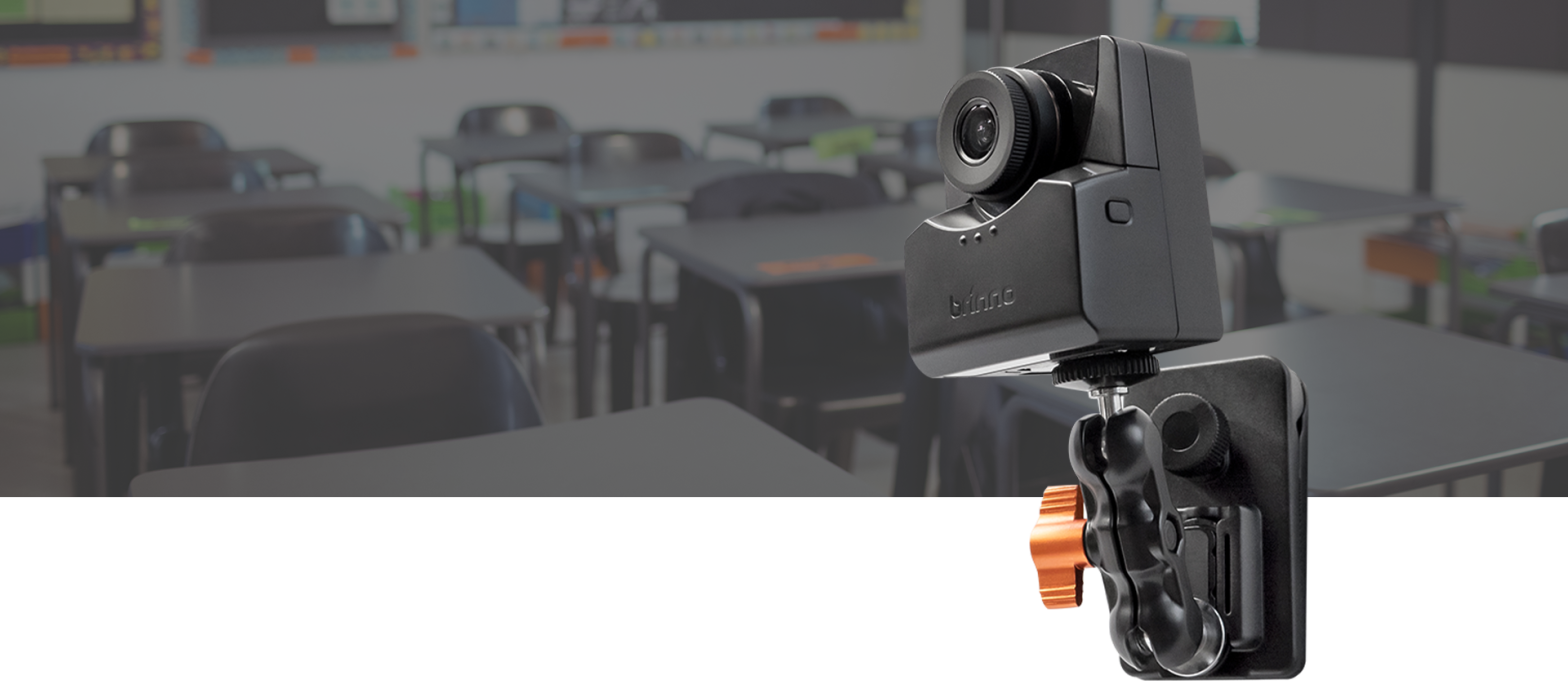

brinno BBT2000 Health Defender Kit

In the box
- TLC2020 Time-lapse Camera x 1
- Accessories box
- Wall clip x 1
- Camera adapter x 1
- Viewfinder x 1
- Cleaning pad x 2
- Mounting tape x 1
Part names
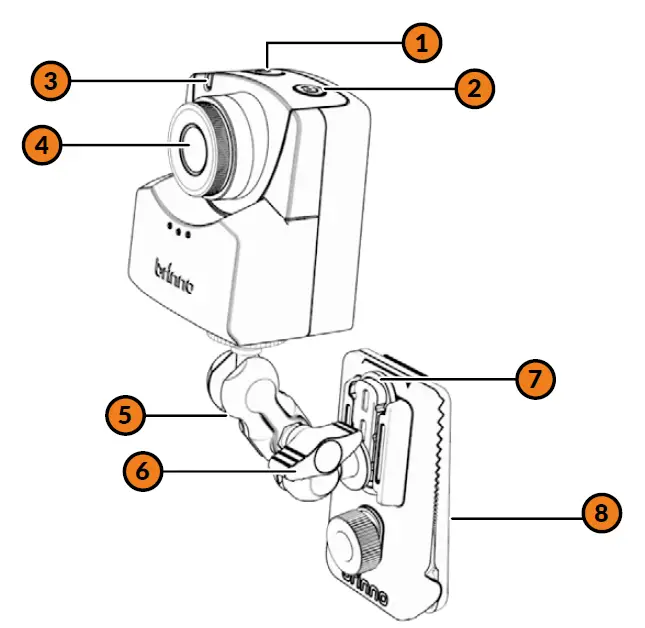
1. Power on/off button2. Shutter/ return screen button3. LED status indicator4. Camera lens5. Camera Mount6. Mount adjuster7. Quick release adapter8. Wall clip
Camera operation
- Power on/off.Power on: Press and hold the power button ( ) for 3 secondsPower off: Press and hold the power button ( ) for 3 seconds
- Start/stop recordingStart shooting: While on the preview screen, press the shutter ( ) button.Stop recording: While the screen is off, touch the shutter ( ) button to stop recording.
- The preview screen turns off while you are recording. Check the LED light indicator, if it is Flashing green then it’s recording.
- You can press the shutter button ( ) at any time to jump back to the preview screen.
Camera settings
- Install the memory card.Δ Supports up to 128GB memory cards. The first time you use a 64GB or 128GB memory card, follow instructions on the LCD screen to format the card before using it the first time.
- Open the battery cover and place the 4 AA batteries in the battery compartment.Δ The use of zinc-carbon batteries is not recommended. For more detailed battery operating instructions, refer to the camera manual (TLC2000 series manual) included in the package.
- Set the date and time. Press the OK key ( ) and adjust the value using the ( ) and ( ) keys.
- Camera parameter settings.
| Menu | Options | Remarks |
| Menu Mode | Full Menu | Full Menu Mode |
| Interval | 10 Min | Take a photo every 10 minutes |
| EXPO mode | Daytime | Suitable for daytime use |
| HDR | On | High dynamic effects |
| Schedule | Daily | Generates one AVI file per day
(this setting is reccomended) |
| 08:00-18:00 | Filming between 8am and 6pm (customizable) | |
| Mon-Fri | Pictures taken from Monday to Friday (customizable) | |
| More Setting > Time Stamp | Yes | This setting will ensure all photos are time and date stamped |
| More Setting > Playback FPS | 1FPS | This video will play one photo per second making it easy to review footage |
Installation steps
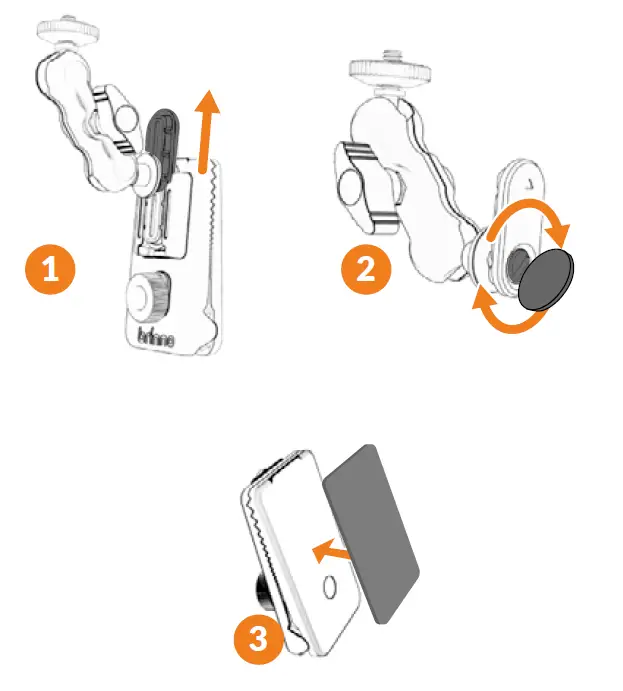
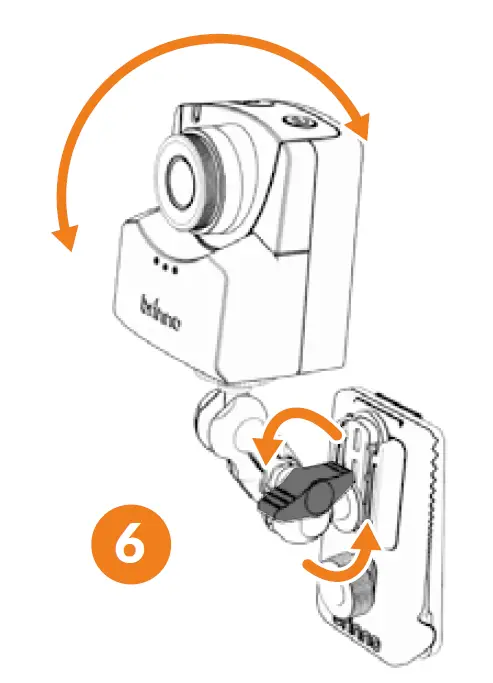
- Attach the camera mount to the quick release adapter.
- Remove the camera mount and quick release adapter. Lock the adapter into place using a coin.
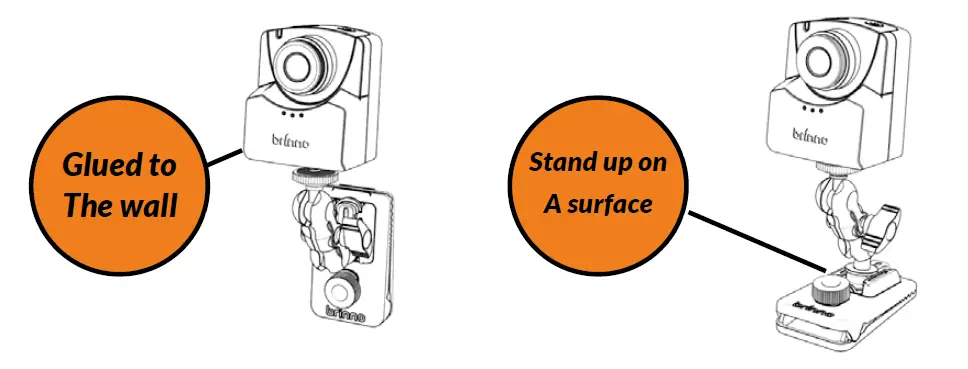
- Clean the back of the wall clip using one cleaning pad and glue on the backing.
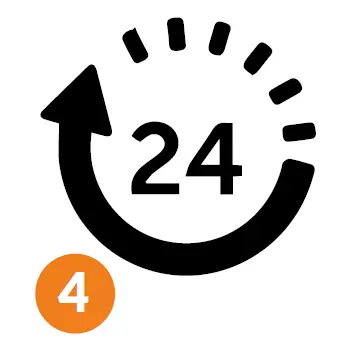
- Select the area where you want to set up the camera, wipe it clean with the other cleaning pad, glue it on the wall and let it dry for 24 hours.
- After 24 hours, install the camera to the camera mount set and then install the whole set into the wall clip.
- Do not tighten the mount adjuster of the camera mount completely at this time, use the ball joint of the mount to find a suitable shooting angle.∆ You can also use the included viewfinder to help you find a good view angle.∆ If the screen turns off while you are setting up the shooting angle, press the OK button to reactivate the preview screen.
- Turn on the camera and press the shutter button to start shooting!

Stop recording
- Press the shutter button to stop recording.
- “PROCESSING” message will appear on the screen as the video is saved to the camera. At the same time, a beep will sound to indicate that the recording is complete.
- The screen returns to the preview screen to prepare for the next shooting session.
Save and view footage
- After stopping recording, press the power button to turn off the camera.
- Remove the MicroSD card or use the USB-C cable to save and view recorded footage.∆ It is recommended that files are backed up regularly (e.g. every two weeks).

References
[xyz-ips snippet=”download-snippet”]