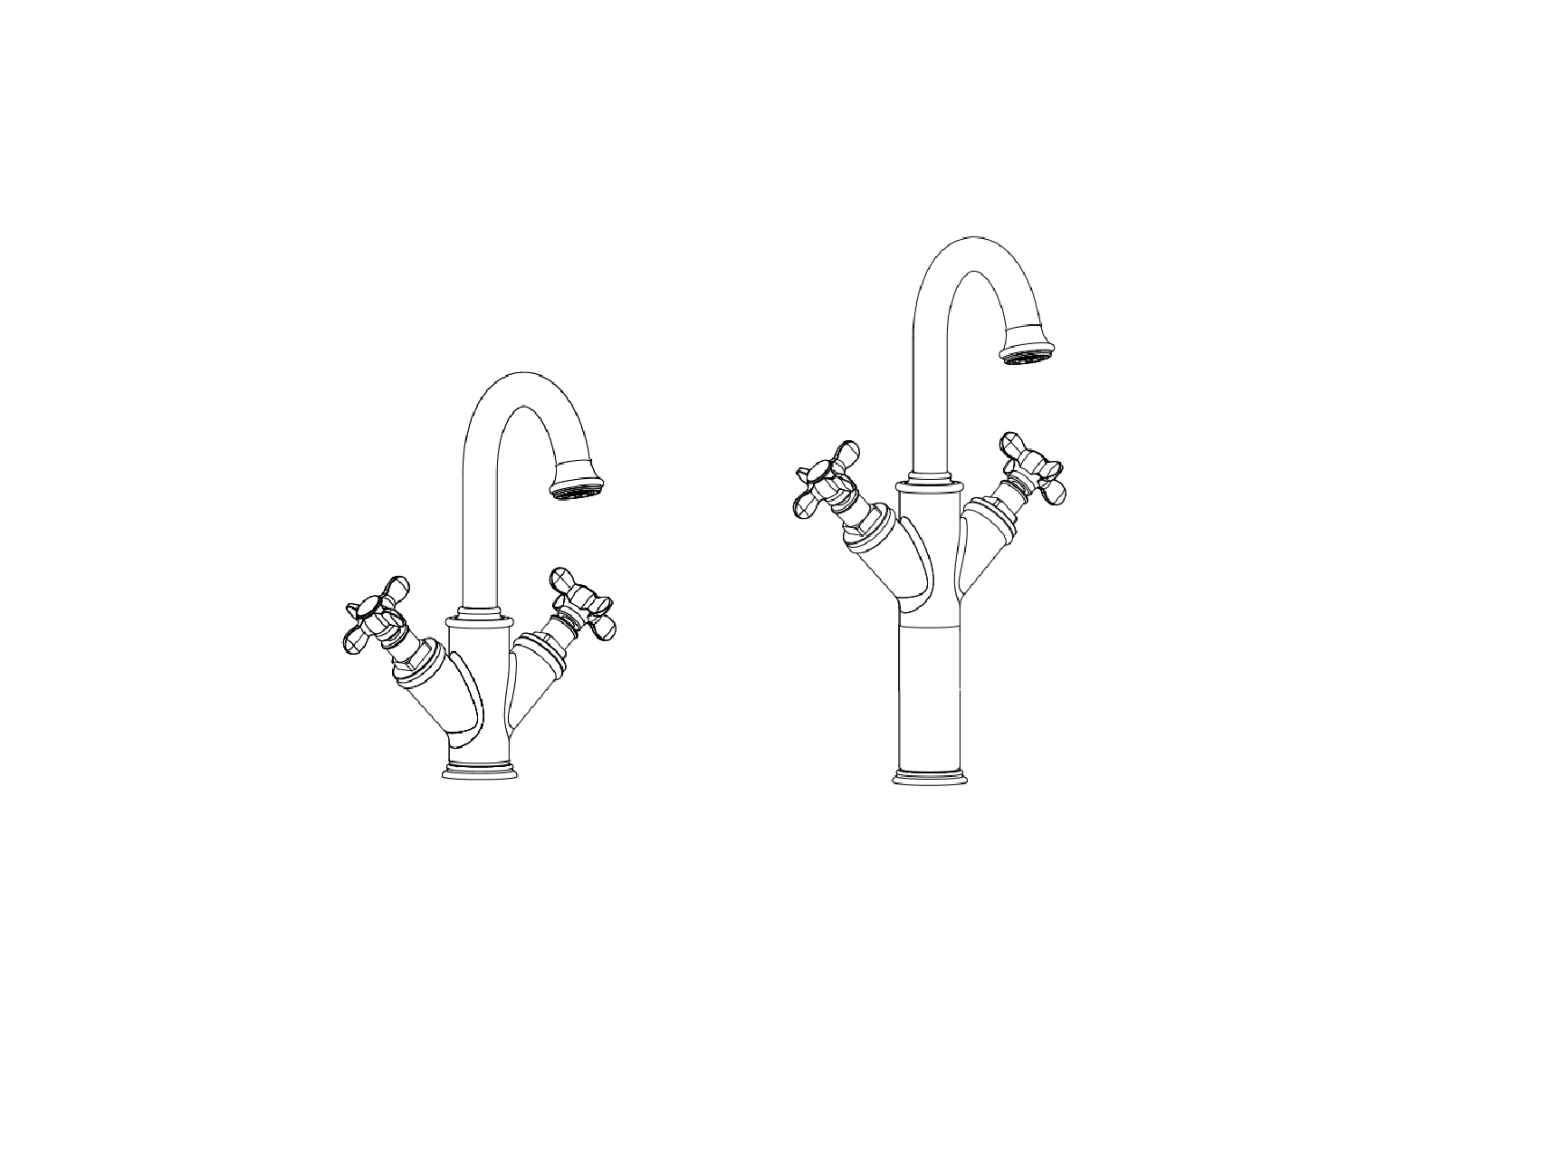
Camden BeBa_25960 Double-handle Basin Mixer Tap
NOTES FOR INSTALLATION
- Installation must be carried out in compliance with The Water Fittings Regulations and Scottish Water Byelaws. Minimum and Maximum working pressure : 0.5 – 5 bar
- Please do not connect hot and cold water supply lines in reverse. This could result in hot water flowing from cold line and cause scalding.
- The feed-water temperature of water shall not exceed 85°C. Exceeding 85° may cause scalding, the service life of faucets might be shortened, or the faucet might be damaged.
- The valve must be installed on the wall that is strong and thick enough.
- After installation, please make sure the faucet is securely mounted.
![]() Warning: Read all the instructions completely before proceeding. We recommend calling a professional if you are uncertain about installing this product.
Warning: Read all the instructions completely before proceeding. We recommend calling a professional if you are uncertain about installing this product.
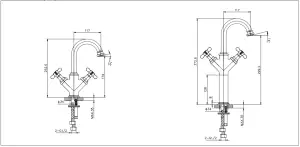
DIMENSIONS(mm)

SHUT OFF WATER SUPPLY
Locate water supply inlets and shut off the water supply valves. These are usually found under the sink or near the water meter.
INSTALLATION
Install the two Inlet Hoses(6C) into the faucet(6A). From Above basin, thrust Inlet Hoses(6C) and Shank(6B) through Hole on basin.
Remove the mounting hardware kit(6B) from the faucet; Install the two Inlet Hoses(6 into the faucet(6A). From Above basin, insert inlet hoses(6C) through Hole on basin.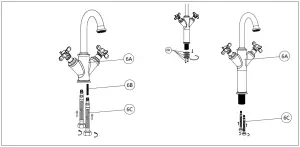


SECURING FAUCET
From underneath basin, secure Faucet Body(7A) by placing Rubber Washer(7F), Metal Gasket(7B) and threading Long Nut(7C) onto Mounting Post(7D). Make sure that the salient point on Metal Gasket(7B) are facing up. Tighten Long Nut(7C) by tool. Secure Long Nut(7C) not to exceed a 1/4 turn.
From underneath basin, secure Faucet Body(7A) by placing Rubber Washer(7B), Metal Gasket(7C) and locknut(7D) onto the threaded sleeve(7F). Fasten the two screws(7E) by using tool.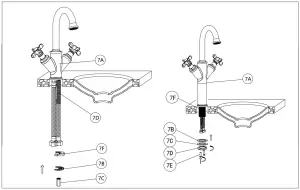

WATER SUPPLY LINES
Check if the washers are included into the connector of the hot and cold flexible hoses. Connect the hot and cold flexible hoses with the angle valves.

UNIT START UP
Turn on hot and cold water supplies, and check for leaks above and below the basin.
VALVE FUNCTIONS
Hot valve(H): open by turning clockwise, close by turning counterclockwise;Cold valve(C): open by turning counterclockwise, close by turning clockwise. Turning angle 90 degree gets the highest water flow.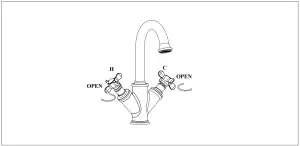

REPLACEMENT OF CARTRIDGE COMMON INSTRUCTION FOR 38Series)
Turn off the valves to release pressure of waterpipe. Unscrew the ceramic cap(1) and remove the bolt(2) with a screwdriver. Take out the handle(3) and sleeve(4). Then disassemble the flange(5)(use tool if needed). Take out the cartridge upward vertically. Assemble a new cartridge by reverse steps.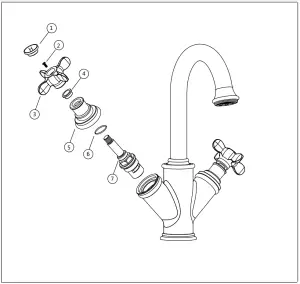

Parts for Maintenance
|
Parts |
Picture for Reference | |
|
Cartridge Cold |
  |
|
|
Cartridge Hot |
  |
|
|
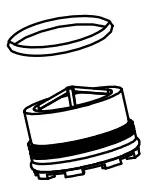
Aerator |
  |
  |
![]()
![]()
![]()
![]()
![]()
![]()
![]()
![]()
CLEANING OF AERATOR


To avoid the dust and impurities from construction that might influence water flow, it is suggested to clean the aerator on a regular basis. Disassemble aerator as per below types and install the aerator by reverse steps.
[xyz-ips snippet=”download-snippet”]

