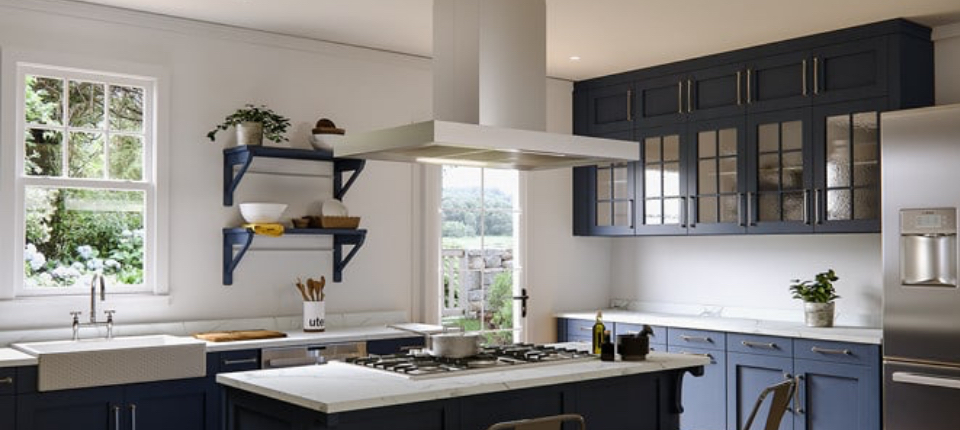
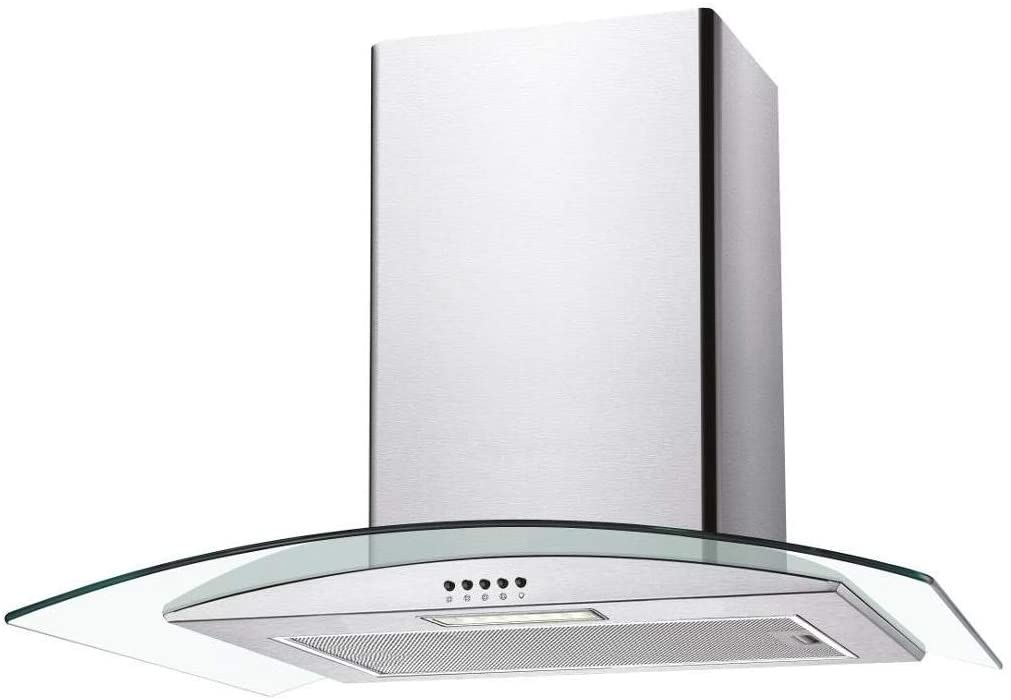
CANDY Classical Cooker Hood
Dear Customer, Thank you for preferring our product. It is very important that you install the cooker hood correctly, so as to use it for a long time, efficiently and reliability. Please read this User’s Manual carefully before installation and using.
WHAT TO DO BEFORE USING
- Please feed your cooker hood with 220 V through a grounded line. “WE SHALL ASSUME NO RESPONSIBILITY FOR THE LOSSES CAUSED BY UNGROUNDED LINES”
- Please connect your cooker hood to chimney outlet where warm gases are discharged and equipment such as heaters or boilers are connected.
- Please plug your cooker hood to an earthed socket, while the buttons on the control panel are in off position.
- Please install the bulb by opening the aluminum cassette filters below your cooker hood.
- Please install your cooker hood using the instructions within the packing.
- The distance between the aluminum cassette filter and oven or hob upper surface must be minimum 75cm for gas ovens, 65 cm for electric ovens.
- Your cooker hood has been manufactured to offer operation with or without smoke hole connection.
CONNECTION TO DUCTING FUNCTION
There is an air discharge outlet on your cooker hood. Please connect the outlet to the chimney outlet, air discharge or atmosphere, by cutting the glass, using aluminum pipe of 12cm diameter. For the vertical outlets, entry of rain water into cooker hood should be prevented. Chimney outlet connection will be provided through this hole. For this purpose, we recommend you to use 120mm diameter pipe with cooker hood. The pipe should be as short as possible and if possible number of bends. This is important for an efficient operation.
RECIRCULATION FUNCTION
Note: If it is necessary to use with recirculation function, you can obtain carbon filter from our authorized dealers. Please remove the cassette aluminum filter on the cooker hood, by pressing the latches inward, and install theACTIVE CARBON FILTER that you have obtained from the service. Your cooker hood is ready to operate with recirculation mode.
INSTALLATION OF THE COOKER HOOD
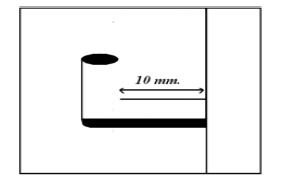
Use the cooker hood frame to mark upper or back connection holes as well as chimney outlet connection. (Figure1- Page13)You can see last page of this manuel). Cut chimney outlet hole. Use 4 screws of 3.5×16 YHB to install the cooker hood onto the kitchen shelf. For the back connection, use an impact drill to open two 7.8mm diameter, 45mm deep holes and place two dowels of 8mm diameter into these two holes. Screw the L brackets so as there is 10mm space between them and holes. (Figure2-Page13). Mount your cooker hood to those brackets through the 2 slots in the back and fix the cooker hood by tightening L brackets. The wall must be intact and drilled without any damage; otherwise it cannot bear the cooker hood. Connect the aluminum spiral pipe to complete installation. After installation of inox model hood, please pull up aluminum folio from surface of hood.
ELECTRICAL CONNECTION
Connect the cooker hood to a grounded wall outlet which is close enough for the length of the cooker hood cable.
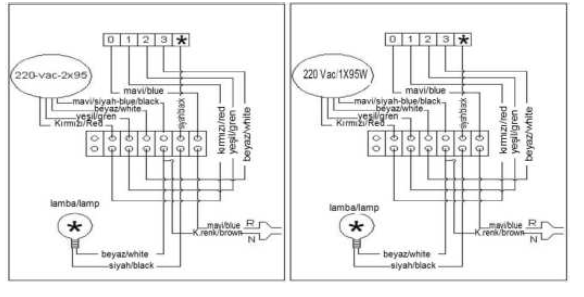
The functions of the buttons are as follows:
0 : Stop the engine1 Powering the first level2 : Powering the second level3 : Powering the third level On and off button of lampNote: While cooking food, push the buttons 1 or 2. For frying or similar meals, use 3.
ALUMINIUM FILTER
The purpose of the cassette aluminum filter is to hold oil particles. Depending on the usage, this filter is clogged by oil. In such a case, remove the filter and wash it with warm water and detergent, either in the sink, or dish washer, dry and re-install.WARNING: ACTIVE CARBON FILTER can not be re-used after washing.
CARBON FILTER (RECIRCULATION FUNCTION)
Carbon filter has been developed to remove odors, and must be replaced once in 4 months.NOTE: Spare filters should be bought from authorized services
RECOMMENDATION
- Do not replace filters while cooker hood is operating.
- Operate the cooker hood only after placing the pan on the oven.
- Transport the cooker hood considering the marks on it, using original packing. Protect from any humidity, water, impact etc. that would damage the equipment.
- Keep the packing waste far from children, and discard the wastes in suitable waste places.
- If you have a trouble with your cooker hood, do not allow interruption of unauthorized persons, only apply to authorized services.
IMPORTANT INSTALLATION AND USAGE NOTES
- Prevent any foreign objects falling into the cooker hood and causing an obstruction within the motor.
- Use aluminum pipe instead of a plastic one for air discharge, apply a screen on the discharge outlet so as to prevent ingress of any foreign objects.
- Prevent any hot oil and carelessly thrown foods on the oven.
- Do not forget any cooking or frying pan on the burning oven.
- You must clean or replace oily cooker hood filter periodically .
- If there is no user signature on the warranty certificate, or the consumer makes misleading or incorrect statements, we reserve our legal remedies. In such a case, warranty period will end immediately.
- The products for which no warranty certificate is presented are outside of warranty cover.
- Aluminum filter must be washed once in 2 months.
DISCLAIMER
We shall have no responsibility for fires or failures occurring due to user’s fault to comply with instructions. This also will make warranty void.
TROUBLESHOOTING CHART
| Check carbon filter (for ones operating with carbon filter) (Carbon filter must be replaced every 3 months
under conditions) . |
X |
|
| Check air outlet chimney . (Air outlet chimney must be
open) |
X | |
| Check the bulbs .(Bulbs must be sound) | X | |
| Check aluminium filter . (Aluminium cassette filter must be washed once a month under normal conditions) | X | X |
| Check lamp switch . (Lamp switch must be on position) | X | |
| Check motor switch . (Motor switch must be on
position) |
X | |
| Check electrical connection . (Mains voltage must be 220-240 V. Extractor must be connected earthed plug) | X | X |
| Check fuse on the electric card box. (Fuse must be
sound) |
X |
TECHNICAL INFORMATION
Model : CFT910/4X
| Voltage | 220/240 V |
| Frequency | 50 Hz |
| Current | 0,80 (A) |
| Power | 1 x 95 W |
| Flow rate | 170 m3/H |
| Lamp | 1x2W led |
| Motor insulation class | H |
| Thermal protection | 120°c |
| Number of motors | 1 |
| Insulation class | CLASS 1 |

[xyz-ips snippet=”download-snippet”]