![]()
 80AZQuick Setup GuideITEM #22451
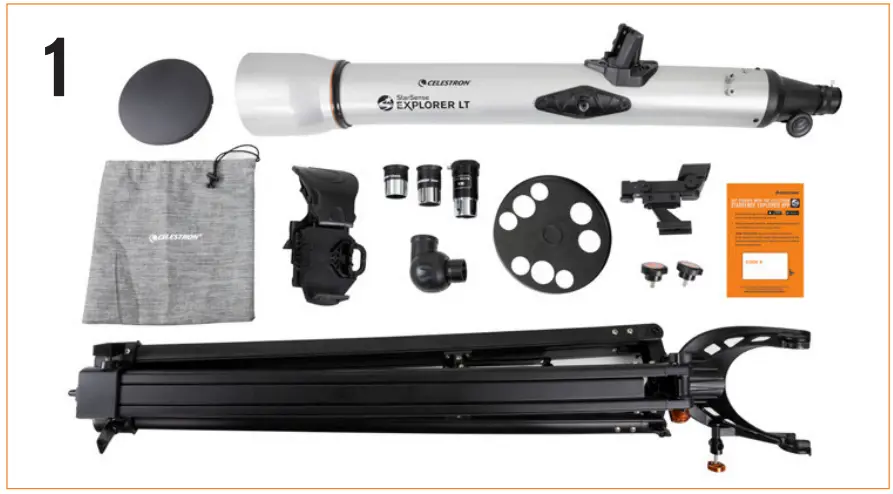 |
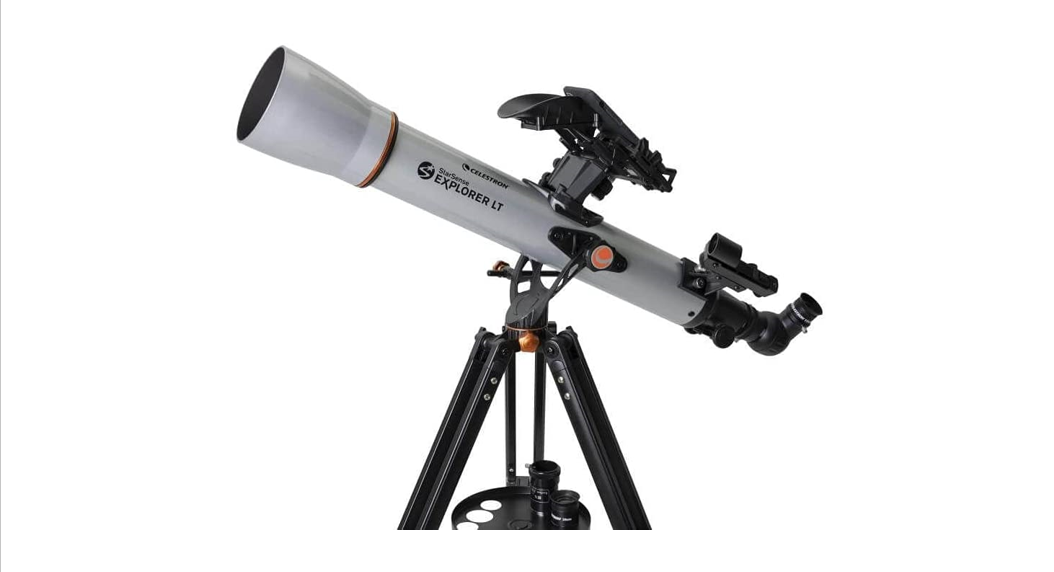
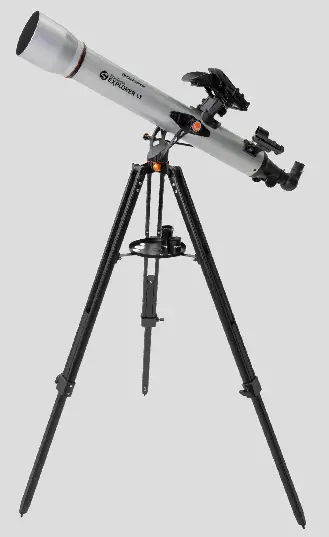
Unpack your telescope and verify that all parts are present. Your StarSense Explorer LT includes:a telescope tube with altitude slow motion rod attached, a lens cap, an accessory bag, a tripod with alt-azimuth yoke mount and center leg brace attached, a StarSense smartphone dock, two eyepieces, a 2x Barlow lens, two tube mounting screws, an erect image diagonal, an eyepiece accessory tray, a StarPointer finderscope, and StarSense Explorer app code card. |
|
To set up the tripod, spread the legs outward until they are fully extended and push down the center leg brace. |
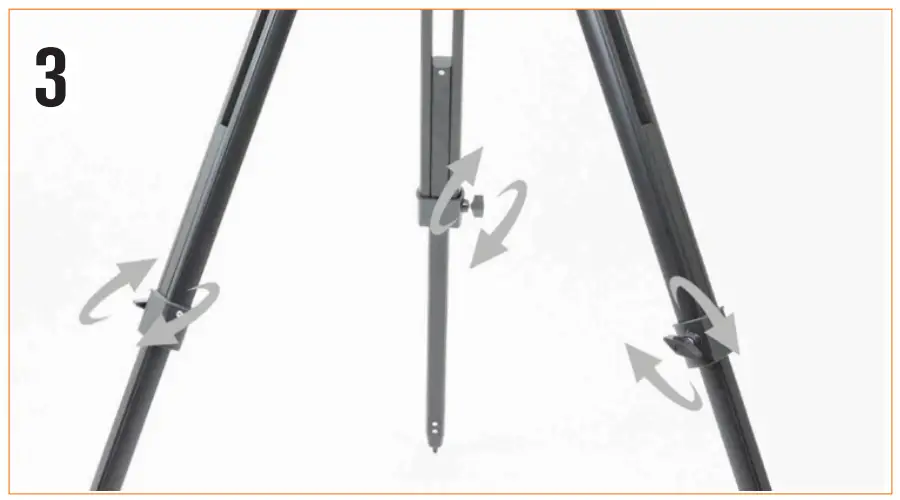 |
Extend the center portion of each of the three tripod legs down about 6 to 12 inches. Use the tightening screw on each leg to secure the extended leg in place. |
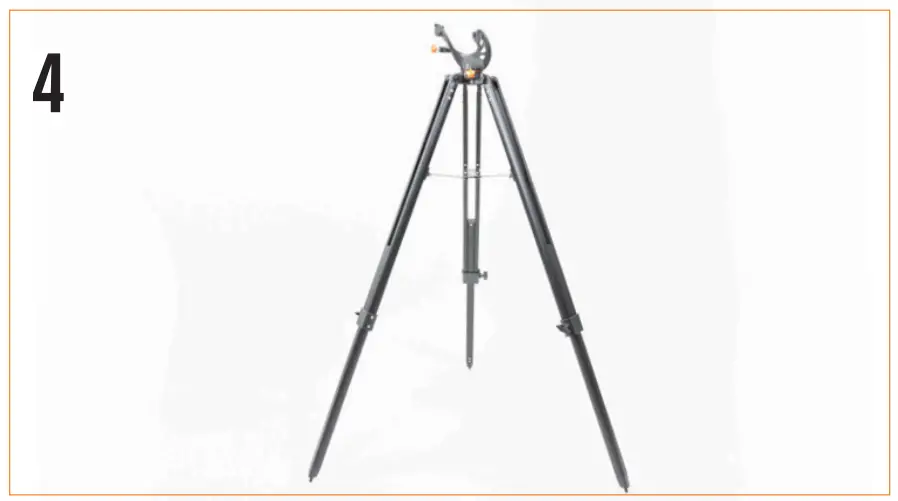 |
Check to ensure that all three legs are the same height once extended to provide a level platform for the telescope. |
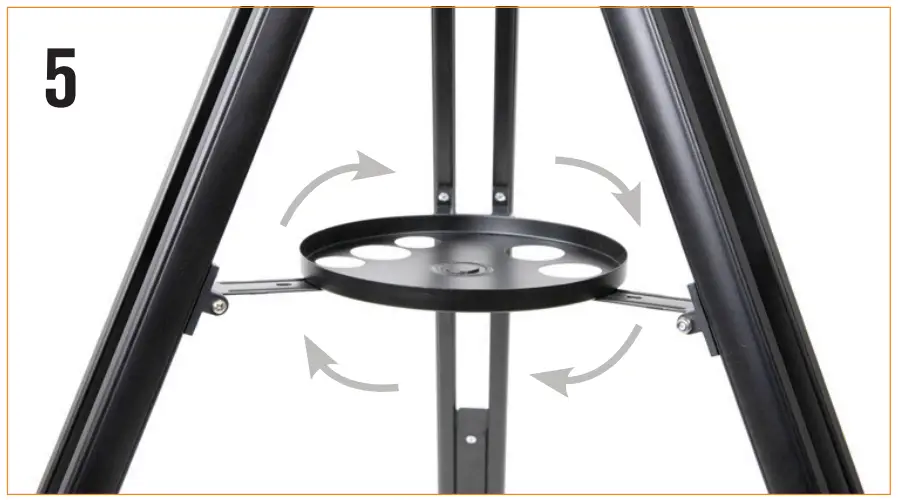 |
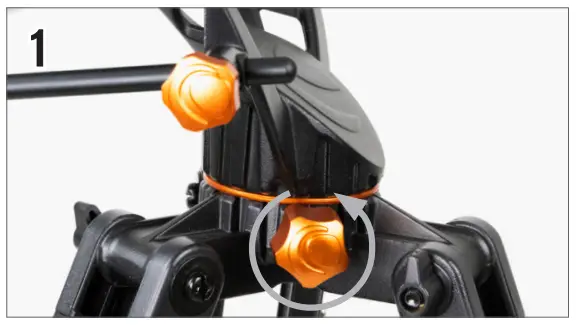
Place the eyepiece accessory tray on top of the tripod’s center leg brace. Thread the tray into the threaded hole in the center of the leg brace until it is fully seated. NOTE: If necessary, rotate the accessory tray counterclockwise until the accessory holesare not covered by the leg brace arms as shown here. |
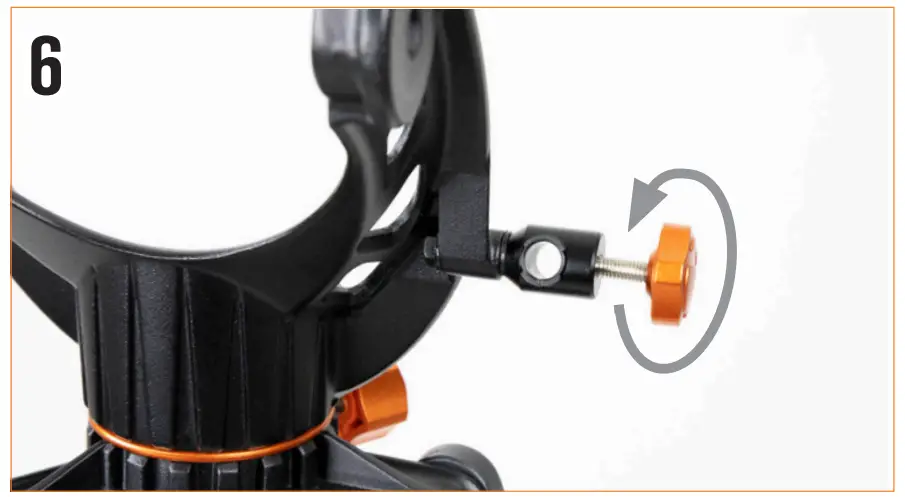 |
Loosen the knob on the altitude rod guide on the side of the yoke mount so the hole is unobstructed. |
 |
Slide the altitude rod into the rod guide on the mount and lower the altitude hubs on the telescope tube into the cradles on the top of each yoke arm. |
 |
Tighten the altitude rod guide screw to hold the telescope in place. |
 |
Insert the two tube mounting screws through the yoke mount and into the hubs on the telescope tube to secure it in place. |
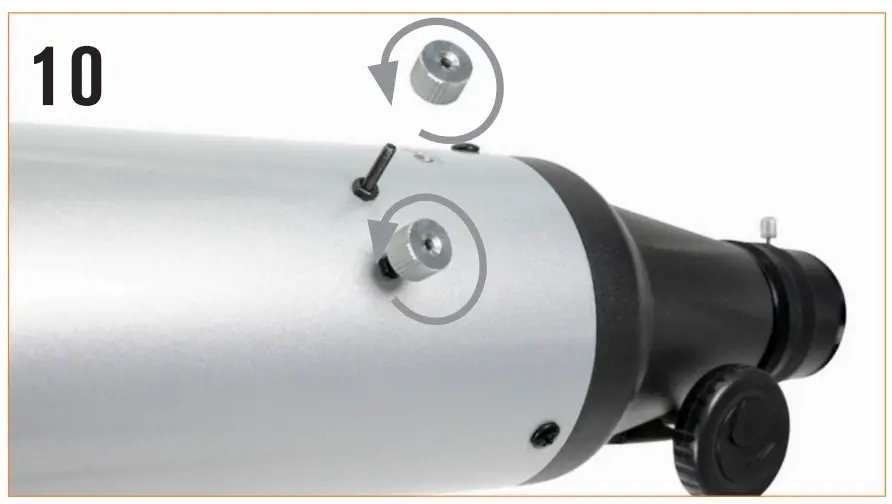 |
To install the finderscope, remove the two silver nuts from the threaded posts on the top of the tube, near the focuser. |
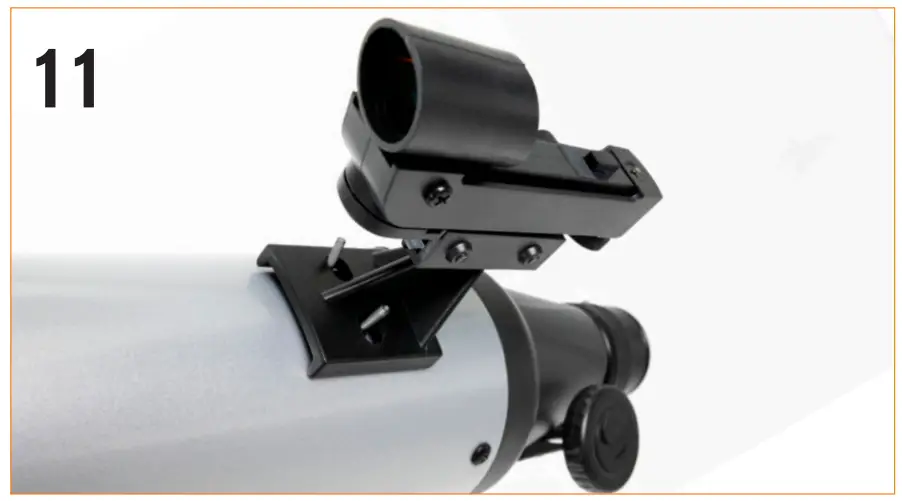 |
Place the two holes in the base of the finderscope over the threaded posts so the finderscope base sits flush on the telescope tube. Make sure that the round window on the finderscope is pointed away from the focuser. |
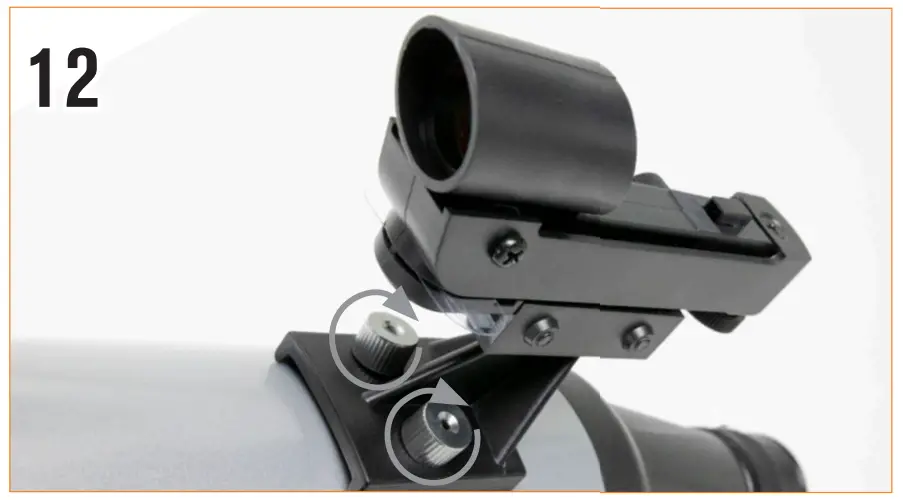 |
Thread the two nuts back onto the threaded posts. |
 |
There is a small clear plastic tab inserted between the battery and the contact. This was included to prevent the battery from discharging during shipment. Pull this out to allow your battery to work. |
|
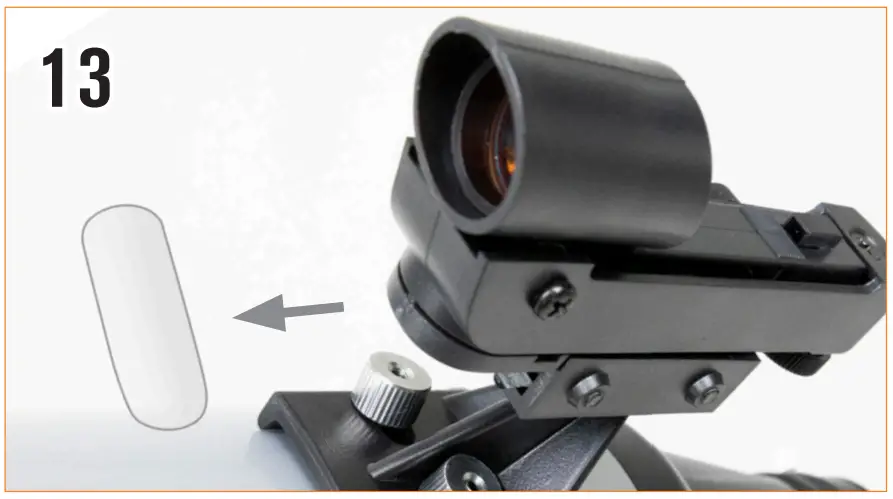
To install the diagonal, loosen the setscrews on the back of the focuser and pull out the small dust cap.Remove the caps from both sides of the diagonal. |
 |
Insert the smaller tube on the diagonal into the back of the focuser and secure it by tightening the setscrews. |
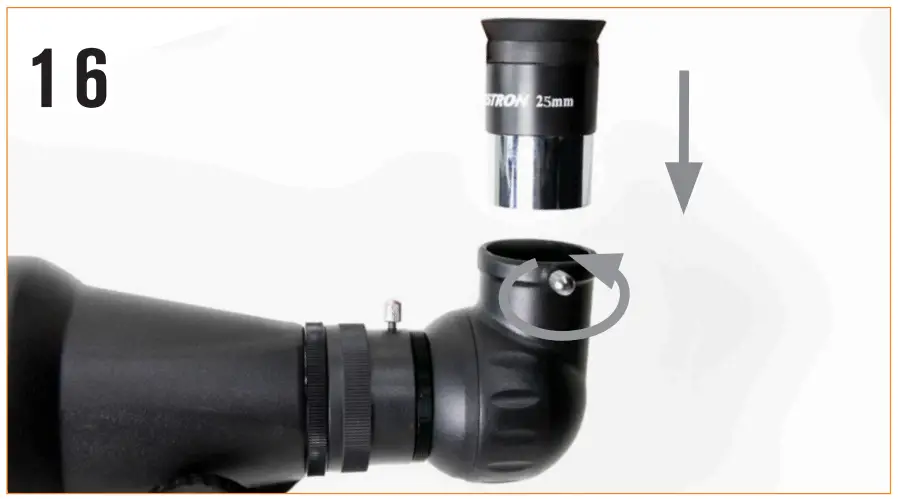 |
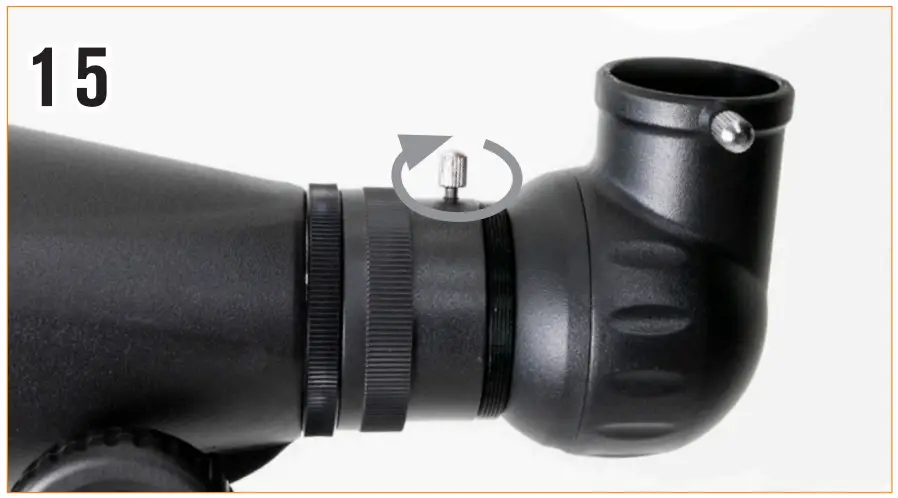
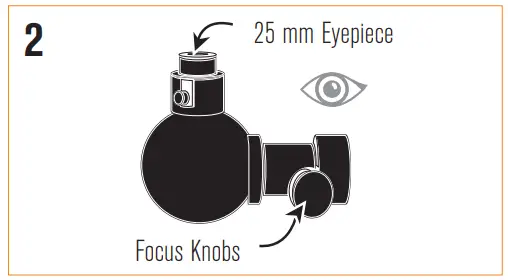
To install the eyepiece, loosen the setscrews on the open end of the star diagonal. Insert the silver barrel on the bottom of the eyepiece into the star diagonal and secure by tightening the setscrews. Always start using your low-power eyepiece (25 mm) to help you find the target you wish to view. You can always change to your high-power eyepiece (10 mm) later. |
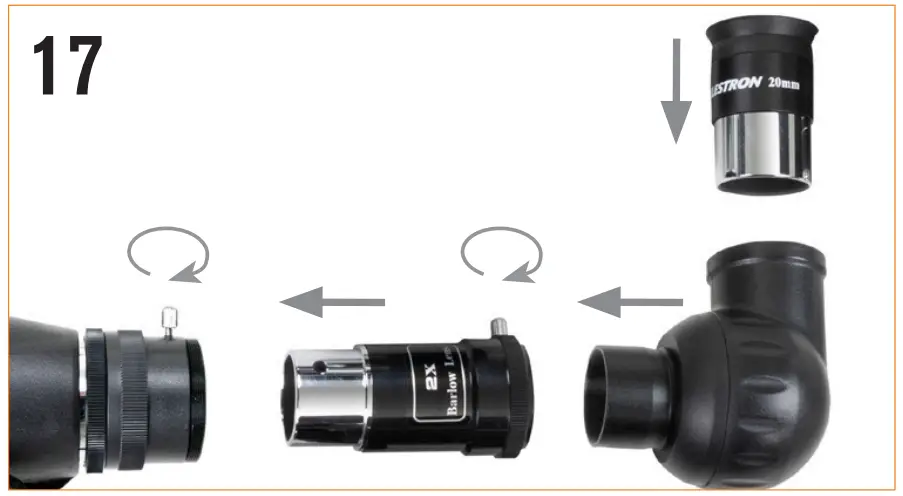 |
To use the Barlow lens, remove your star diagonal from the telescope, insert the Barlow lens into the telescope and insert your star diagonal into the Barlow lens. This will double the magnification of whatever eyepiece you use it with. |
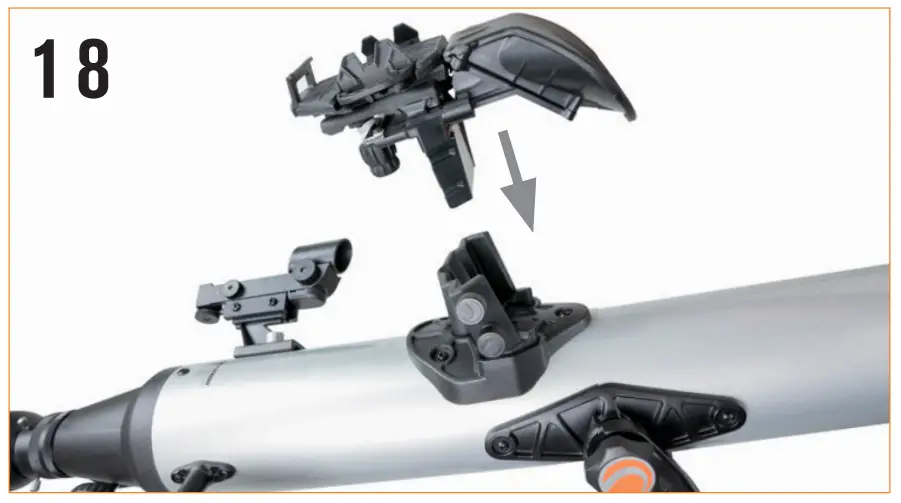 |
To install the StarSense smartphone dock, loosen the two setscrews on the dock mount on the top of the telescope tube and slide the dovetail on the bottom of the dock into the mount. Secure in place by tightening both screws. |
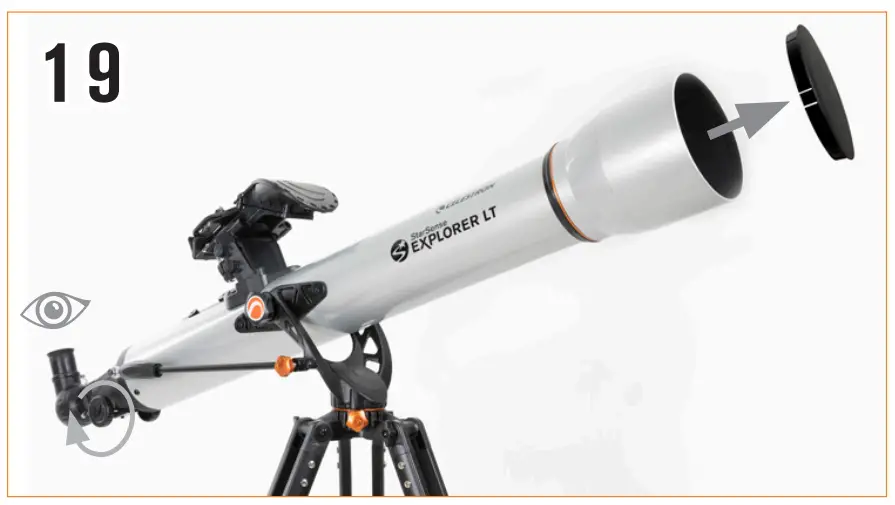 |
Remove the lens cap from the front of the telescope.To observe, look through the eyepiece as shown above. Focus the image by turning the knobs below the focuser. |
Downloading and Activating the App
Before you take your telescope outside, download the StarSense Explorer app to your mobile device. Search for “Celestron StarSense Explorer” in the Apple App Store or Google Play. The app is large, so we recommend downloading it while connected to Wi-Fi.
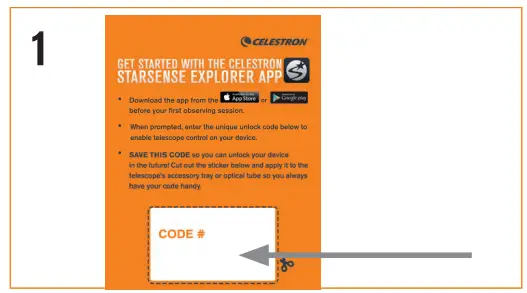
Once you have downloaded the app, locate the orange postcard in your telescope box. Launch the app. When prompted, enter the activation codeon the postcard to activate the app. Your code will unlock up to 5 devices.
Moving the Telescope
 |
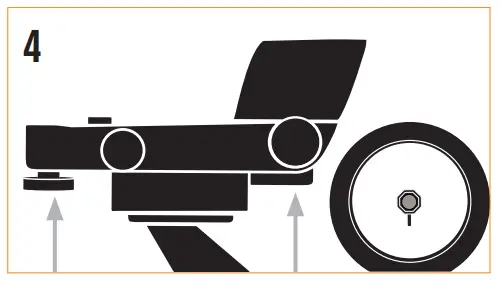
To move the mount left and right, loosen the azimuth tension knob located on the yoke mount between two of the tripod legs. |
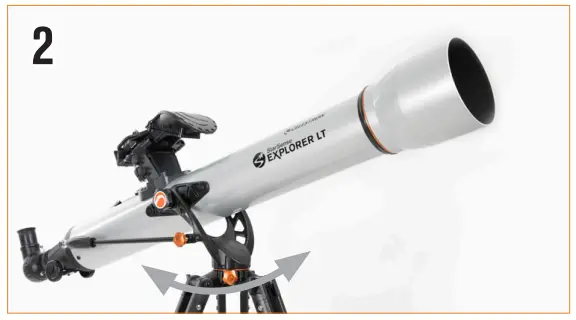 |
Hold the tripod leg with one hand and grab the telescope tube focuser and move it left or right as desired. The amount of tension you feel when moving the telescope can be adjusted by tightening or loosening the knob to a level that is comfortablefor you. |
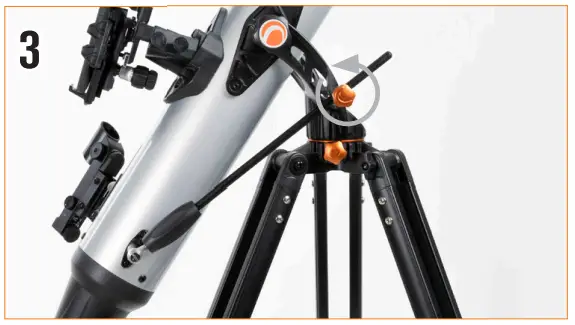 |
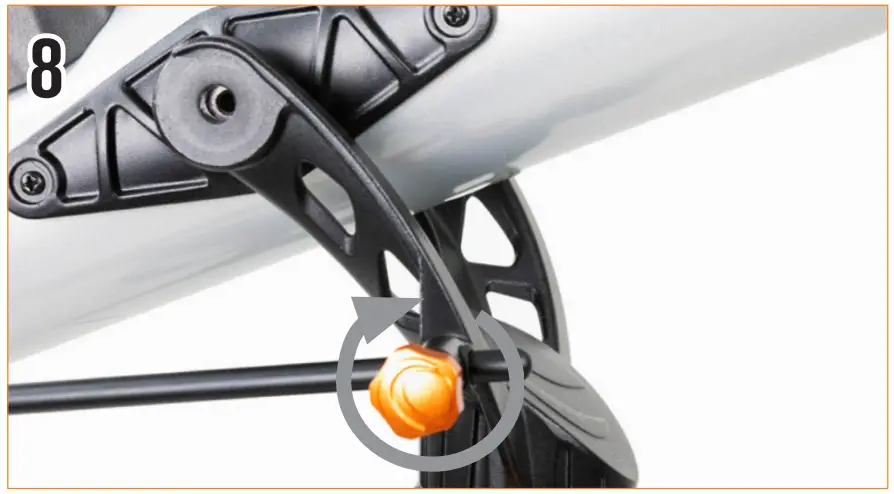
To move the telescope up and down, hold the focuser of the telescope in one hand and loosen the knob on the slow-motion rod guide. The telescope can now be moved up or down as desired. When you are close to your target, tighten the knob to secure the telescope in place. |
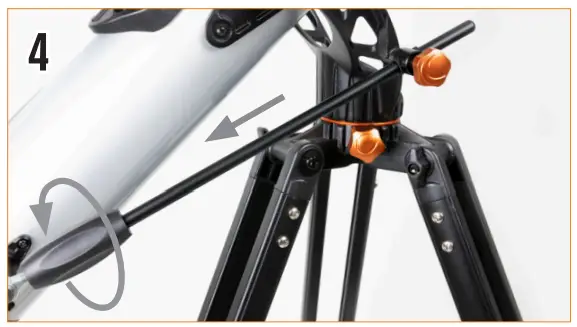 |
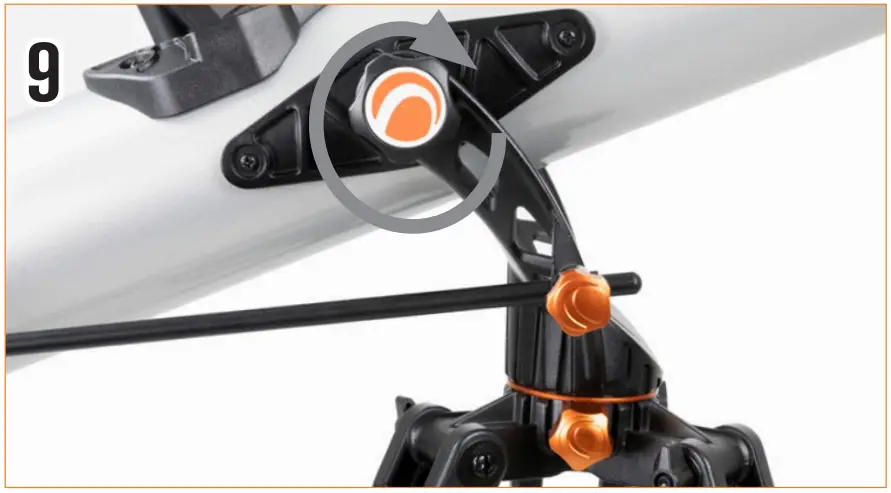
Fine adjustment in the up-and-down direction can be done using the altitude slow motion rod. Keep the rod guide knob locked and rotate the black handle on the slow-motion rod. This allows you to move the telescope in small increments to help center objects or follow celestial objects in the night sky. |
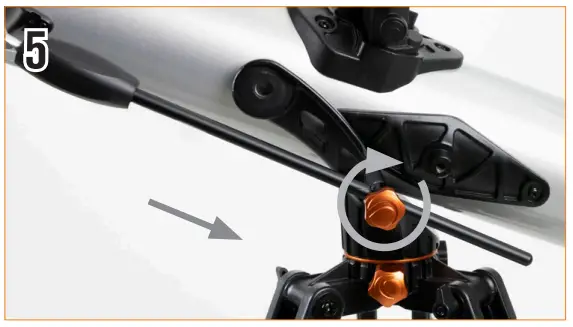 |
The altitude slow motion rod has a limited range of motion of about 15 degrees. If you run into the end of travel and the knob will no longer turn, you can reset it by loosening the rod guide knob and turning the slow-motion rod handle in the opposite direction until you are in the middle of its travel, then retighten therod guide knob. |
Aligning the Finderscope
 |
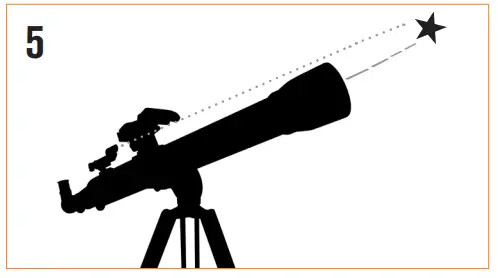
CHOOSE A TARGETTake the telescope outside during the day and find an easily recognizable object, such as a streetlight, car license plate, or sign. The object should be as far away as possible, but at least a quarter-mile away. |
 |
CENTER THE TARGET IN THE EYEPIECELook through the telescope using your lower-powered eyepiece. Move the telescope until theobject you chose lies in the center of the view. If the image is blurry, gently turn the focus knobs on either side of the telescope until it comes into sharp focus.NOTE: The image in your telescope may appear inverted. This is perfectly normal in an astronomical telescope. |
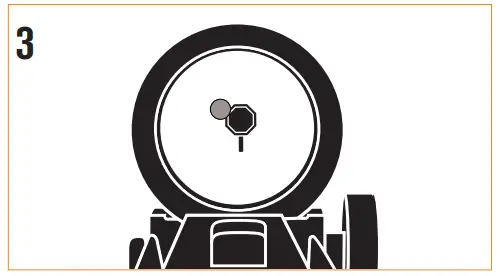 |
LOOK THROUGH FINDERSCOPEOnce the object is centered in your 25 mm eyepiece, look through the finderscope and locate the red dot. |
 |
ADJUST THE FINDERSCOPEWithout moving the telescope, use the two adjustment knobs to move the finder around untilthe red dot appears over the same object you are observing in the telescope’s 25 mm eyepiece. |
 |
YOUR FINDERSCOPE IS NOW ALIGNED!It should not require realignment unless it is bumped or dropped. |
 *SOLAR WARNING!
Never attempt to view the Sun through any telescope without a proper solar filter!
Attaching the Smartphone
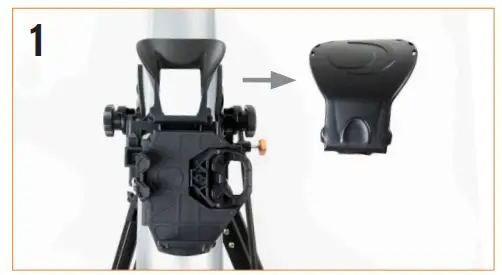 |
Remove the large-cap covering the mirror on the front of the StarSense dock. |
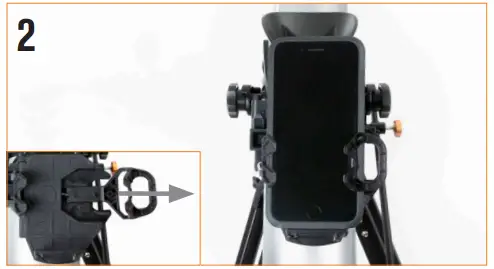 |
Pull open the spring-loaded slider on the top of the phone dock and set the phone into the holder so it is flush with the bottom lip of the phone holder. Slowly release the slider to secure the phone in place. |
Your First Night Out

Congratulations! Your telescope is now set up and you are ready to explore the cosmos. Take the telescope outside, insert your 25 mm eyepiece, remove the lens cap, insert your smartphone into the holder, and launch the StarSense Explorer app. The tutorial in the app will walk you through the steps on finding your first astronomical target.
For more information on this product, please visit the respective product page on celestron.com
SOLAR WARNING:
Never attempt to view the sun through any telescope without a proper solar filter.Need assistance?Contact Celestron Technical Support celestron.com/pages/technical-support08-20
 report this ad
www.celestron.com/pages/warranty
References
[xyz-ips snippet=”download-snippet”]