Owner’s Manual & Safety InstructionsSave This Manual Keep this manual for the safety warnings and precautions, assembly, operating, inspection, maintenance, and cleaning procedures. Write the product’s serial number in the back of the manual near the assembly diagram (or month and year of purchase if the product has no number). Keep this manual and the receipt in a safe and dry place for future reference.
![]()
Visit our website at: http://www.harborfreight.comEmail our technical support at: [email protected]
When unpacking, make sure that the product is intact and undamaged. If any parts are missing or broken, please call 1-888-866-5797 as soon as possible.Copyright© 2021 by Harbor Freight Tools®. All rights reserved.No portion of this manual or any artwork contained herein may be reproduced in any shape or form without the express written consent of Harbor Freight Tools. Diagrams within this manual may not be drawn proportionally. Due to continuing improvements, the actual product may differ slightly from the product described herein. Tools required for assembly and service may not be included.
![]() WARNING
WARNING
Read this material before using this product. Failure to do so can result in serious injury. SAVE THIS MANUAL.
![]()
| WARNING SYMBOLS AND DEFINITIONS | |
 |
This is the safety alert symbol. It is used to alert you to potential personal injury hazards. Obey all safety messages that follow this symbol to avoid possible injury or death. |
| Indicates a hazardous situation that, if not avoided, will result in death or serious injury. | |
| Indicates a hazardous situation which, if not avoided, could result in death or serious injury. | |
| Indicates a hazardous situation which, if not avoided, could result in minor or moderate injury. | |
| NOTICECAUTION | Addresses practices not related to personal injury. |
|
Symbol |
Property or statement |
|
PSI |
Pounds per square inch of pressure |
|
NPT |
National pipe thread, tapered |
|
NPS |
National pipe thread, straight |
 |
WARNING marking concerning Risk of Eye Injury. Wear ANSI-approved eye protection. |
 |
WARNING marking concerning Risk of Hearing Loss. Wear hearing protection. |
 |
WARNING marking concerning Risk of Explosion. |
IMPORTANT SAFETY INSTRUCTIONS
INSTRUCTIONS PERTAINING TO A RISK OF FIRE, ELECTRIC SHOCK, OR INJURY TO PERSONSWARNING – When using air tanks, basic precautions should always be followed, including the following:
General Safety1. To reduce the risks of explosion and injury to persons, read all the instructions before using the air tank.2. The warnings and precautions discussed in this manual cannot cover all possible conditions and situations that may occur. It must be understood by the operator that common sense and caution are factors that cannot be built into this product but must be supplied by the operator.For technical questions, please call 1-888-866-5797. Item 65594 65595Pressurized Tank Handling SafetyPRESSURIZED TANKS CAN EXPLODE WHEN DAMAGED.
1. Protect pressurized or closed tanks from heat, being struck, physical damage, flames, and sparks.2. Always use proper procedures to move pressurized tanks.
Personal Safety1. Stay alert. Watch what you are doing and use common sense when filling or using the air tank. Do not fill or use the air tank while tired or under the influence of drugs, alcohol, or medication.2. Always wear eye protection. Wear ANSI-approved safety goggles.3. Always wear hearing protection when using the air tank. Prolonged exposure to high-intensity noise is able to cause hearing loss.
Use Safety1. Keep the air tank when it is full out of reach of children and other untrained persons. A air tank is dangerous in the hands of untrained users.2. Check for breakage of parts and any other condition that affects the air tank’s operation. If damaged, have the air tank serviced before using. Many accidents are caused by poorly maintained air tanks. There is a risk of bursting if the air tank is damaged.
Service1. Air tank service must be performed only by qualified repair personnel.2. When servicing a air tank, use only identical replacement parts. Use only authorized parts.3. Maintain the air tank with care.4. Safely discharge all air pressure from the air tank before storing the air tank.
Air Source
- Never connect to an air source that is capable of exceeding 200 psi. Over pressurizing the air tank may cause bursting, abnormal operation, breakage of the air tank, or serious injury to persons. Use only clean, dry, regulated compressed air at the rated pressure or within the rated pressure range as marked on the air tank. Always verify prior to filling the air tank that the air source has been adjusted to the rated air pressure or within the rated air-pressure range.
- Never use oxygen, carbon dioxide, combustible gases or any bottled gas as an air source for the air tank. Such gases are capable of explosion and serious injury to persons.
- Obey the manual for the air compressor used to power this air tank.
![]() SAVE THESE INSTRUCTIONS.
SAVE THESE INSTRUCTIONS.
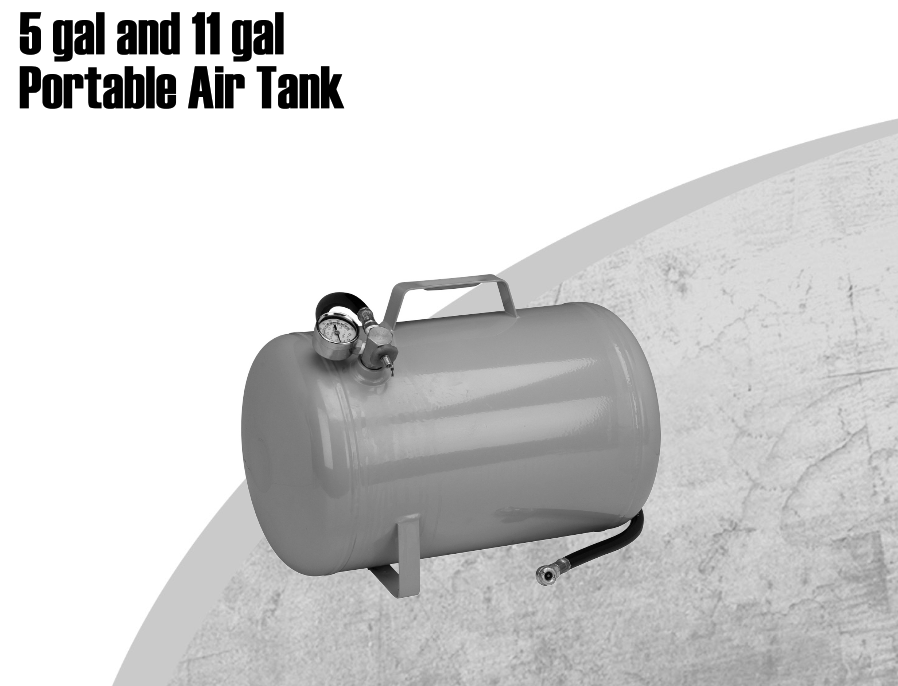
Specifications
| Model | 65594 | 65595 |
| Tank Capacity | 5 gallons | 11 gallons |
| Max. Air Pressure | 125 PSI | |
| Hose Length | 3’ |
Operation
![]() Read the ENTIRE IMPORTANT SAFETY INFORMATION section at the beginning of this document including all text under subheadings therein before set up or use of this product.Note: For additional information regarding the parts listed in the following pages, refer to the Assembly Diagram near the end of this manual.
Read the ENTIRE IMPORTANT SAFETY INFORMATION section at the beginning of this document including all text under subheadings therein before set up or use of this product.Note: For additional information regarding the parts listed in the following pages, refer to the Assembly Diagram near the end of this manual.
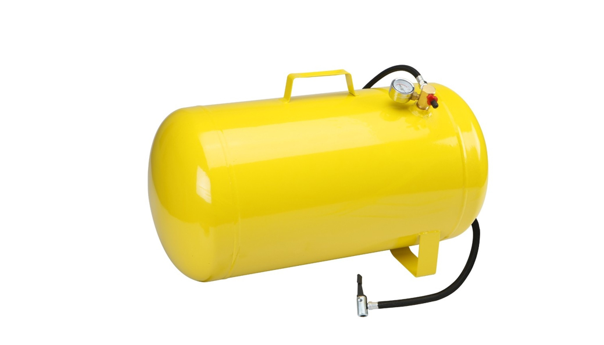
Filling the Tank
1. Take your Air Tank to any source of clean and dry compressed air. A full-service gas station or truck stop is preferable.2. Attach air hose from the service station or low-pressure Air Compressor system to the air fitting on the Manifold (4).3. Begin pumping air into the Air Tank.NOTE: Monitor the Pressure Gauge (3) as you fill the Air Tank. Fill as needed. WARNING! TO PREVENT SERIOUS INJURY: Do not overfill the tank.
Releasing Air From Tank1. Turn the round On/Off Wheel (5) counterclockwise to the open position. This allows air to flow from the Air Tank (1) through the Air Hose (2).2. Next place Outlet Valve at the end of the Air Hose (2) over the valve of the object to be inflated.3. Once the pin inside the Outlet Valve is depressed, air will begin to flow out from the Air Tank into the object being inflated. Once you are finished inflating air into the object, remove the Outlet Valve and the air will stop being released from tank.Warning! Do not overinflate. Do not exceed the maximum pressure rating of any inflatable object. Check pressure frequently during inflation. The Air Tank should be examined periodically. If any damage to the welds is noted do not use the tank.
Inflating1. Press the Air Chuck (7) onto the fill stem of the inflatable item.2. Turn the red Adjustment Dial (6) counterclockwise to ON. This will let the airflow from the Tank and into the Hose (3).DO NOT OVER-INFLATE.3. Once the item is filled with the recommended max. PSI level, remove the Air Chuck from the item’s fill stem.Note: The Tank pressure must exceed the pressure of the item you are illing. If not, the Tank will be unable to expel air. If this happens, increase the Tank pressure and check that the ON/OFF Adjustment Dial is fully open.WARNING! Never ill the tank to over 125 PSI. 4. When done, turn Adjustment Dial to OFF. This will close the valve between the Tank and Hose and keep air from leaking.5. It the Tank will not be used for long period of time, expel air inside Tank and hose. Store in clean and dry location away from children.
Maintenance
1. Regularly drain water condensation from of Tank, which can lead to internal corrosion and damage to the tank. To drain, hold Tank upside down and remove the Bypass Valve Spring (2).2. Due to internal corrosion, do not use the tank beyond the destroy date stamped into the leg of the Tank (1). Safely disable the tank as follows:a. Depressurize the air tank completely, by holding the Bypass Valve Spring open.WARNING! Failure to properly depressurize the tank before proceeding may result in serious personal injury.b. Remove the pressure gauge and hose.c. Deliver the tank to a pressure tank disposal service, if available.d. If a pressure tank disposal service is not available, place the tank in a secure, stable working location and drill at least two 1/2″ (or larger) holes through the side of the tank. Then, deliver to the appropriate recycling center.Storing the Air Tank1. Turn the round On/Off Wheel (5) clockwise to the Off position. This will keep air from leaking out of Air Hose.2. Store in a dry, dust-free location away from children and any flammable materials.3. To remove all air from the Air Tank, pull the Ring (13) until the Gauge indicates zero and the airflow stops.WARNING! If there is any question about a condition being safe or unsafe, do not operate the tool.
Parts List and Assembly Diagram
|
Part |
Description |
Qty. |
| 1 | Air Tank | 1 |
| 2 | Air Hose | 1 |
| 3 | Gauge | 1 |
| 4 | Manifold | 1 |
| 5 | Wheel | 1 |
| 6 | O-ring | 2 |
| 7 | Tire Valve | 1 |
| 8 | E-Ring | 1 |
| 9 | Valve Core | 1 |
| 10 | Spring | 1 |
| 11 | Regulator | 1 |
| 12 | Discharge Valve | 1 |
| 13 | Ring | 1 |

PLEASE READ THE FOLLOWING CAREFULLYTHE MANUFACTURER AND/OR DISTRIBUTOR HAS PROVIDED THE PARTS DIAGRAM IN THIS MANUAL AS A REFERENCE TOOL ONLY. NEITHER THE MANUFACTURER NOR DISTRIBUTOR MAKES ANY REPRESENTATION OR WARRANTY OF ANY KIND TO THE BUYER THAT HE OR SHE IS QUALIFIED TO MAKE ANY REPAIRS TO THE PRODUCT OR THAT HE OR SHE IS QUALIFIED TO REPLACE ANY PARTS OF THE PRODUCT. IN FACT, THE MANUFACTURER AND/OR DISTRIBUTOR EXPRESSLY STATES THAT ALL REPAIRS AND PARTS REPLACEMENTS SHOULD BE UNDERTAKEN BY CERTIFIED AND LICENSED TECHNICIANS AND NOT BY THE BUYER. THE BUYER ASSUMES ALL RISK AND LIABILITY ARISING OUT OF HIS OR HER REPAIRS TO THE ORIGINAL PRODUCT OR REPLACEMENT PARTS THERETO OR ARISING OUT OF HIS OR HER INSTALLATION OF REPLACEMENT PARTS THERETO.
Record Serial Number Here:Note: If the product has no serial number, record the month and year of purchase instead.Note: Some parts are listed and shown for illustration purposes only, and are not available individually as replacement parts. Parts may not be interchangeable. Specify UPC number when ordering:5 gallon (65594): 79236365594111 gallon (65595): 792363655958
LIMITED 90 DAY WARRANTYHarbor Freight Tools Co. makes every effort to assure that its products meet high quality and durability standards, and warrants to the original purchaser that this product is free from defects in materials and workmanship for the period of 90 days from the date of purchase. This warranty does not apply to damage due directly or indirectly, to misuse, abuse, negligence or accidents, repairs or alterations outside our facilities, criminal activity, improper installation, normal wear, and tear, or lack of maintenance. We shall in no event be liable for death, injuries to persons or property, or for incidental, contingent, special or consequential damages arising from the use of our product. Some states do not allow the exclusion or limitation of incidental or consequential damages, so the above limitation or exclusion may not apply to you. THIS WARRANTY IS EXPRESSLY IN LIEU OF ALL OTHER WARRANTIES, EXPRESS OR IMPLIED, INCLUDING THE WARRANTIES OF MERCHANTABILITY AND FITNESS.To take advantage of this warranty, the product or part must be returned to us with transportation charges prepaid. Proof of purchase date and an explanation of the complaint must accompany the merchandise. If our inspection verifies the defect, we will either repair or replace the product at our election or we may elect to refund the purchase price if we cannot readily and quickly provide you with a replacement. We will return repaired products at our expense, but if we determine there is no defect, or that the defect resulted from causes not within the scope of our warranty, then you must bear the cost of returning the product. This warranty gives you specific legal rights and you may also have other rights which vary from state to state.
![]()
26541 Agoura Road • Calabasas, CA 91302 • 1-888-866-5797
References
[xyz-ips snippet=”download-snippet”]