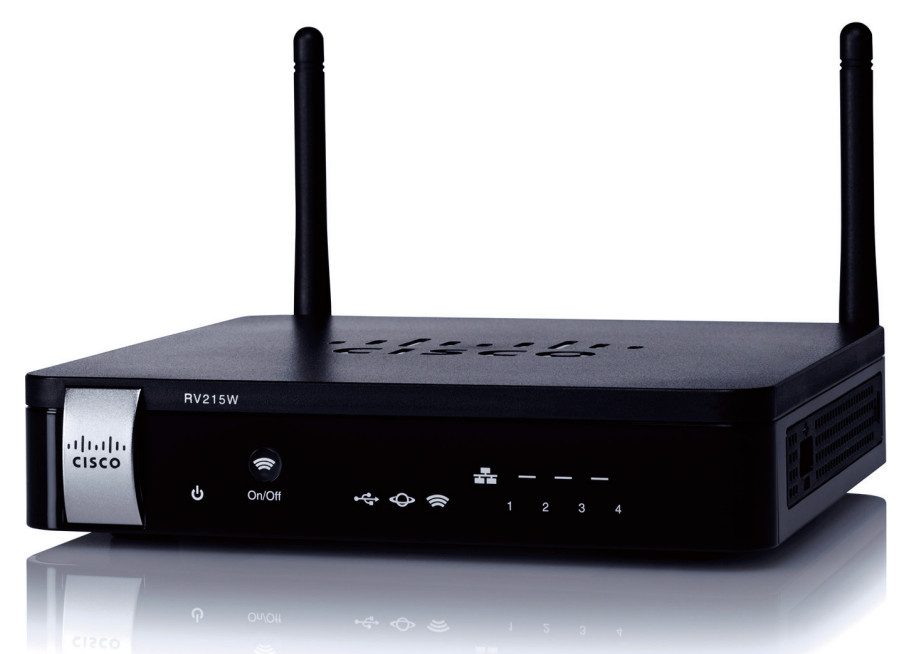
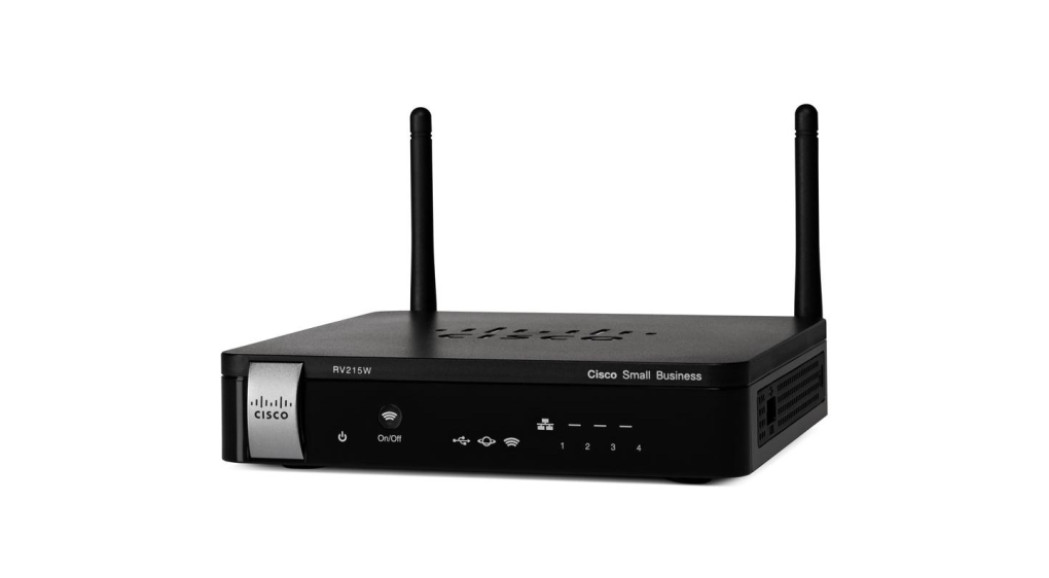
 Quick Start GuideCisco RV215W Wireless-N VPN Firewall


Package Contents
- Wireless-N VPN Firewall
- Ethernet Cable
- Power Adapter
- Quick Start Guide
- Documentation and Software on CD-ROM
Welcome
Thank you for choosing the Cisco RV215W Wireless-N VPN Firewall.This guide describes how to physically install your Cisco RV215W and launch the web-based Device Manager.
Mounting the Cisco RV215W
Placement TipsTo prevent the firewall from overheating or being damaged:
- Ambient Temperature—Do not operate it in an area that exceeds an ambient temperature of 104°F (40°C).
- Air Flow—Be sure that there is adequate airflow around the firewall.
- Mechanical Loading—Be sure that the firewall is level and stable to avoid any hazardous conditions.
Place the device on a flat surface so that it sits on its four rubber feet.
Cisco RV215W Features
Front Panel
  |
Power | Solid green when the device is powered on and booted.Flashes green when the device is booting or loading the firmware. |
  |
USB | Solid green when the USB dongle is recognized and the USB drive is ready.Flashes green every second when the USB dongle is successfully connected to the Internet Service Provider (ISP) and the port is receiving and sending data.Flashes every 3 seconds when an error is detected and the USB dongle is not recognized. Off when no USB device is connected. |
  |
WAN | Solid green when the firewall is connected to the Internet by using a wired connection.Off when it is not connected to the Internet or it is connected by using a USB dongle.Flashes when it is sending or receiving data over the wired connection. |
  |
Wireless | Off when the wireless radio is disabled (switched off).Flashes green when the wireless radio is transmitting or receiving data.The button, when held for 5 seconds or more, switches the wireless radio on or off. The button and the LED is solid green when the wireless radio is enabled (switched on). |
  |
LAN (1-4) | The numbered lights correspond to the LAN ports on the back panel.Lit green when the corresponding port is connected to a device. Flashes green when the port is sending or receiving data. |
Back Panel
RESET—The RESET button has two functions:
- To reboot the unit and retain the current configuration, press and hold RESET for at least 3, but no more than 10 seconds, by using a paper clip or a pen tip.
- To reboot the unit and restore the factory default configuration, press and hold in the RESET button for more than 10 seconds. Changes you have made to the Cisco RV215W configuration are lost.
LAN (1-4)—RJ-45 device connections to link local area network devices, such as PCs, print servers, or switches, to the firewall.WAN (Internet)—Internet device connection for connecting the firewall to a wide area network device, such as a cable or DSL modem.POWER—Switch that toggles power to the device on or off.12VDC—Power port that connects the firewall to the provided 12VDC power adapter.
Side Panel
USB—Type-A USB port on the right side of the housing that supports 3G/4G/LTE USB dongles.
Connecting the Equipment
You must connect a PC to the firewall by using an Ethernet cable to perform the initial configuration. After the initial configuration, administrative tasks can be performed through the network or by using a wireless connection.To connect a PC to the Cisco RV215W for initial configuration:Step 1 Power off all equipment, including the cable or DSL modem, the PC, and the Cisco RV215W.Step 2 Use an Ethernet cable to connect your cable or DSL modem to the WAN port on the firewall.Step 3 Connect another Ethernet cable from one of the LAN (Ethernet) ports to the Ethernet port on the PC.Step 4 Power on the cable or DSL modem and wait until the connection is active.Step 5 Connect the power adapter to the firewall 12VDC port.![]()
![]()
Using the Setup Wizard
The Setup Wizard and Device Manager are supported on Microsoft Internet Explorer 6.0 or later, Mozilla Firefox 3.0 or later, and Apple Safari 3.0 or later. To configure the firewall by using the Setup Wizard:Step 1 Power on the PC that you connected to the LAN1 port in Step 3 of the Connecting the Equipment section. Your PC becomes a DHCP client of the firewall and receives an IP address in 192.168.1.xxx range.Step 2 Launch a web browser window on your PC.Step 3 In the address bar, enter the default IP address of the firewall, 192.168.1.1. A site security certificate message displays. The Cisco RV215W uses a self-signed security certificate. This message appears because the firewall is not known to your PC.Step 4 Click Continue to this website (or the option shown on your particular web browser) to continue. The login page appears.Step 5 Enter the username and password. The default username is cisco. The default password is cisco. Passwords are case-sensitive.Step 6 Click Log In. The Router Setup Wizard is launched.Step 7 Follow the on-screen instructions to set up your firewall. The Router Setup Wizard tries to automatically detect and configure your connection. If it is unable to do so, it might ask you for some information about your Internet connection. Contact your ISP for this information.Step 8 Change the password as instructed by the Router Setup Wizard or follow the instructions in the Changing the Administrator Username and Password section. You are required to log into the device with the new username and password.The Device Manager Getting Started page appears. It displays the most common configuration tasks.Step 9 Click one of the listed tasks or a task listed in the navigation bar to complete the configuration.Step10 Save any additional configuration changes and log out of Device Manager.
Changing the Administrator Username and Password
To change the administrator username and password on the firewall:Step 1 From the Getting Started page, select Change Default Administrator Password or select Administration > Users.Step 2 Check Edit Admin Settings.Step 3 Enter a new username in Administrator Account Settings. We recommend that you do not use cisco.Step 4 Enter the old password.Step 5 Enter the new password. Passwords should not contain dictionary words from any language or be the default password. They should contain a mix of uppercase and lowercase letters, numbers, and symbols. Passwords must be at least 8 but no more than 30 characters in length.Step 6 Enter the new password again to confirm.Step 7 Click Save.
Where to Go From Here
| Support | |
| Cisco Support Community | www.cisco.com/go/smallbizsupport |
| Cisco Support and Resources | www.cisco.com/go/smallbizhelp |
| Phone Support Contacts | www.cisco.com/en/US/support/tsd_cisco_small_business_support_center_contacts.html |
| Cisco Firmware Downloads | www.cisco.com/go/smallbizfirmwareSelect a link to download firmware for Cisco products. No login is required. |
| Cisco Open Source Requests | www.cisco.com/go/smallbiz_opensource_request |
| Cisco Partner Central (Partner Login Required) | www.cisco.com/web/partners/sell/smb |
| Product Documentation | |
| Cisco RV215W Administration Guide | www.cisco.com/go/rv215w |
For EU lot 26 related test results, please check this web page: www.cisco.com/go/eu-lot26-results.


Cisco RV215W Wireless-N VPN Firewall
Americas HeadquartersCisco Systems, Inc.www.cisco.comCisco has more than 200 offices worldwide.Addresses, phone numbers, and fax numbers are listed on the Cisco website at www.cisco.com/go/offices.
78-20778-03C0Cisco and the Cisco logo are trademarks or registered trademarks of Cisco and/or its affiliates in the U.S. and other countries. To view a list of Cisco trademarks, go to this URL: www.cisco.com/go/trademarks. Third-party trademarks mentioned are the property of their respective owners. The use of the word partner does not imply a partnership relationship between Cisco and any other company. (1110R)© 2014 Cisco Systems, Inc. All rights reserved.Printed in China PRC


[xyz-ips snippet=”download-snippet”]


