Climax Technology FP-HUB Wireless Headless Security and Home Automation Panel Installation Guide
Required Equipment
- Phillips head Screwdriver
- Drill and bits for mounting screws OR double‐sided adhesive tapeFP Hub Installation Guide Version 1.0 Published 6/15/18
Introduction
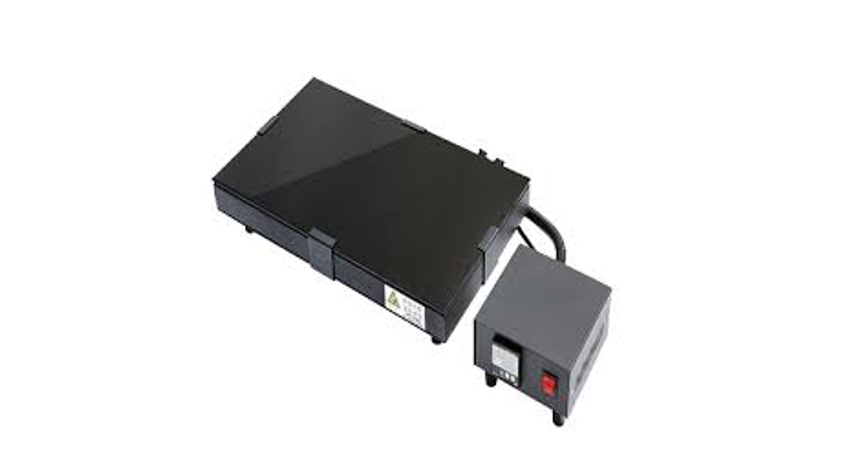
About the PanelThe FP‐HUB is a wireless headless Security and Home Automation panel. The panel offers full Dual‐Path support via cellular and IP broadband connection,. The panel comes with onboard battery backup available for 24 hours of continued monitoring in the event of a power outage.
Technical Specifications
The panel comes with onboard Cellular, RF, Z‐Wave, and Wi‐Fi radios.
- 2 Partitions
- 80 security zones per partition
- 40 user codes per partition
- 1 duress code per partition
- 1 one‐time user per partition
- 24‐hour battery backup
- 85 dbm Onboard Siren
Setting up the Panel
Before starting, verify that you have all the components needed for the installation:
- Panel
- Power Adapter
- Ethernet Cable
- Sensors & Peripherals
Powering Up the Panel
- Locate the customer’s router.
- Connect the panel to the router with an Ethernet cable.
- Connect the power adapter to a wall outlet and the other end to the panel A/C jack.
- The LEDs on the front of the panel will illuminate WHITE and the panel will emit a two‐tone beep to indicate it is on and powering up.
- Replace the panel back plate, tighten the screws, and insert the table stand (for table mounting only).
LED Status
- As the panel powers on, all LEDS will illuminate WHITE then turn off to indicate the panel is powering up.
- Once the panel powers on, the LED will flash YELLOW to indicate the panel is registering with the Cellular network and acquiring an IP address from the router.
- Once the panel successfully registers with the Cellular Network and acquires an IP address, LED will be solid GREEN to indicate an active connection to Alarm.com.
- See Appendix A LED Guide for a comprehensive guide to LED behavior.
Adding Sensors and Peripherals
Security SensorsSecurity Sensors can only be added to the system locally via a Learn Mode based sensor identification.
- Press and hold the Auto Learn button for 10 seconds until the panel emits a one‐tone beep to indicate it has entered Learn Mode. The top LED will turn solid GREEN to indicate the panel is in learn mode.
- Trigger each device following the procedure in the device installation manual.
- When the panel receives a signal from the device it will emit a two tone beep to indicate that it was successfully learned into the panel.
- When all devices are learned in, press and hold the Auto Learn button on the panel for one second to exit learn mode. The panelwill emit a two‐tone beep and the LEDS will turn off to indicate it has returned to its normal mode.
- Configure the sensors remotely via a web portal.
Walk Test and Device MountingOnce all devices are learned in, place the devices in their final locations and run a walk test to ensure that all devices are signaling properly in their final locations.
Walk Test
- Enter Walk Test mode, top LED will blink GREEN while in Walk Test mode
- As sensors are Activated, their action will appear onscreen and the sensor will emit a two‐tone beep
- After all sensors have been triggered, select End Walk Test to exit walk test mode.
- If a sensor trigger did not register on the Walk Test, try moving it closer to the control panel and trigger it again. If the device works then, try using an RF repeater to extend the range of the control panel.
Device MountingOnce devices are signaling in their final locations, they can be mounted according to the instructions provided with each device
System Programming
The system settings can only be programmed remotely via a web portal or app.
Regulatory
FCC ID: GX9FPHUB3
Federal Communication Commission Interference StatementThis equipment has been tested and found to comply with the limits for a Class B digital device, pursuant to Part 15,22,24,27 of the FCC Rules. These limits are designed to provide reasonable protection against harmful interference in a residential installation.
This equipment generates, uses and can radiate radio frequency energy and, if not installed and used in accordance with the instructions, may cause harmful interference to radio communications. However, there is no guarantee that interference will not occur in a particular installation. If this equipment does cause harmful interference to radio or television reception, which can be determined by turning the equipment off and on, the user is encouraged to try to correct the interference by one of the following measures:
- Reorient or relocate the receiving antenna.
- Increase the separation between the equipment and receiver.
- Connect the equipment into an outlet on a circuit different from that to which the receiver is connected.
- Consult the dealer or an experienced radio/TV technician for help.
FCC Caution: To assure continued compliance, any changes or modifications not expressly approved by the party responsible for compliance could void the user’s authority to operate this equipment. (Example ‐ use only shielded interface cables when connecting to computer or peripheral devices).
CC Radiation Exposure StatementThis equipment complies with FCC RF radiation exposure limits set forth for an uncontrolled environment. This equipment should be installed and operated with a minimum distance of 20 centimeters between the radiator and your body.This transmitter must not be co‐located or operating in conjunction with any other antenna or transmitter.
 report this ad
The antennas used for this transmitter must be installed to provide a separation distance of at least 20 cm from all persons and must not be co located or operating in conjunction with any other antenna or transmitter.This device complies with Part 15,22,24,27 of the FCC Rules. Operation is subject to the following two conditions:
- This device may not cause harmful interference, and
- This device must accept any interference received, including interference that may cause undesired operation.
[xyz-ips snippet=”download-snippet”]