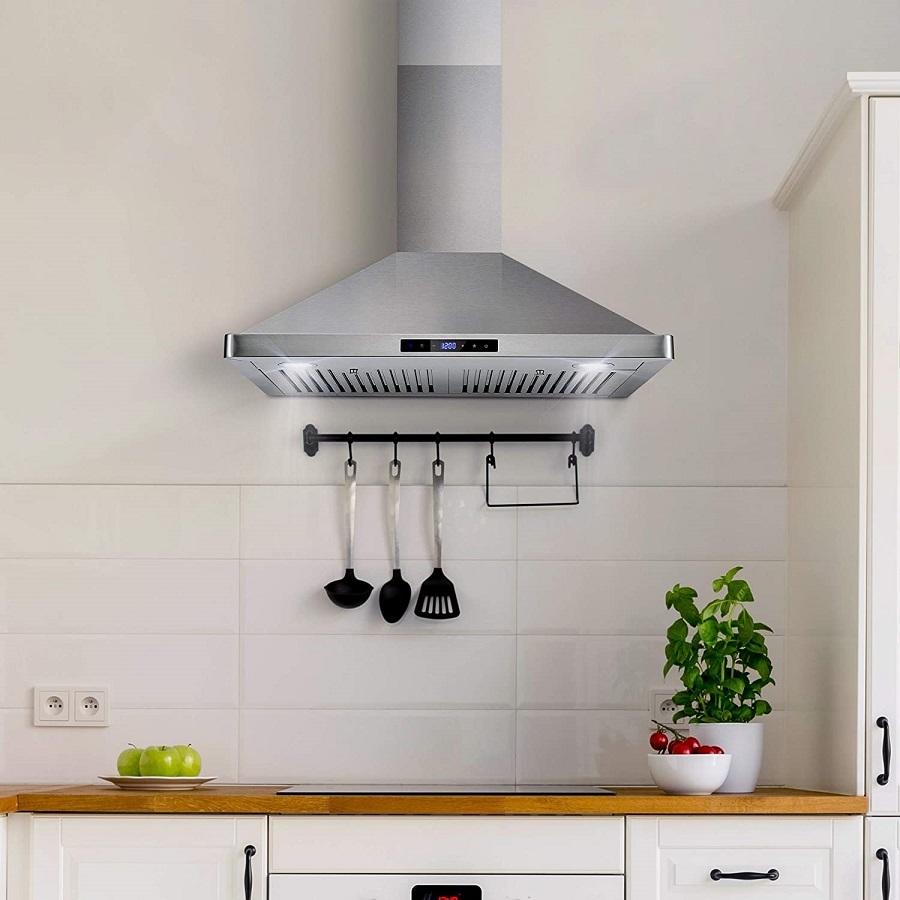

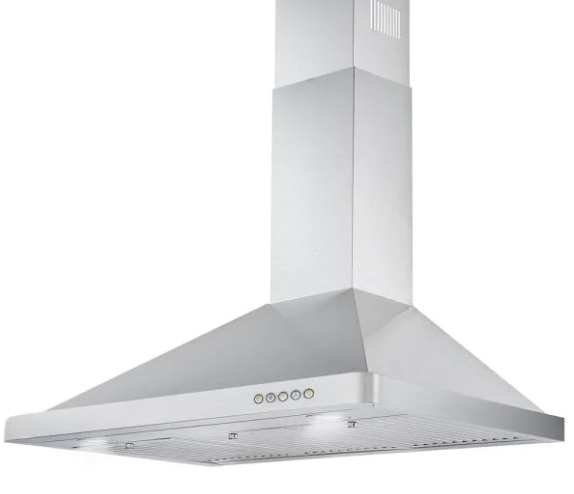
Wall Mount Range Hood
Models
- COS-63175
- COS-63190
- COS-63175S
- COS-63190S
- COS-668WRC75
- COS-668WRC90
- COS-668WRCS75
- COS-668WRCS90
- COS-668A750
- COS-668A900
- COS-668AS750
- COS-668AS900
THANK YOU FOR YOUR PURCHASEThank you for your purchase. We know that you have many brands and products to choose from and we are honored to know that you have decided to take one of our products into your home and hope that you enjoy it.
COSMO appliances are designed according to the strictest safety and performance standard for the North American market. We follow the most advanced manufacturing philosophy. Each appliance leaves the factory after thorough quality inspection and testing. Our distributors and our service partners are ready to answer any questions you may have regarding how to install, use and care for your products. We hope that this manual will help you learn to use the product in the safest and most effective manner.
If you have any questions or concerns, please contact the dealer from whom you purchased it, or contact our Customer Support at: 1-888-784-3108.
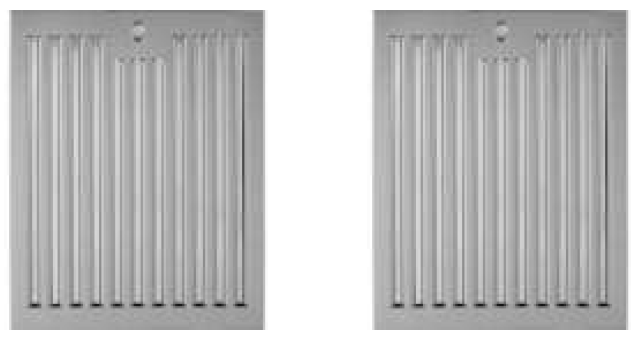
STAINLESS STEEL BAFFLE FILTERS
PARTS DIAGRAM
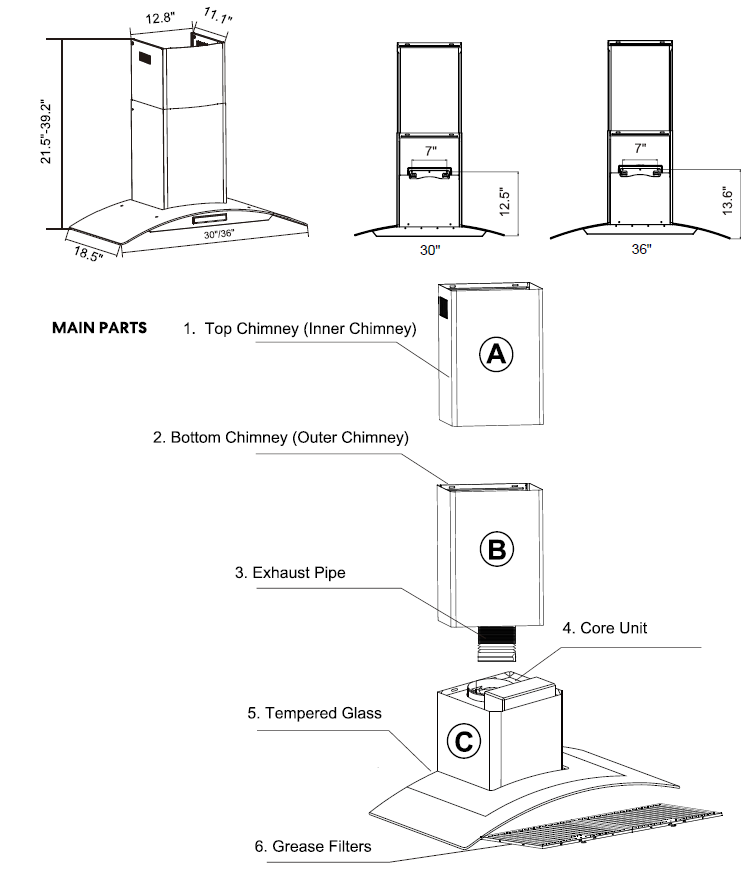

PARTS LIST

BAFFLE FILTER INSTALLATION

RECIRCULATING CHARCOAL FILTERS
Step 1: Remove the ARC-FLOW Baffle Filters.Step 2: Locate the motor (pictured below) and align one of the filters with the right side of the motor.
Step 3: Twist and lock the filter into place.Step 4: Repeat Steps 2-3 on the left side of the motor.
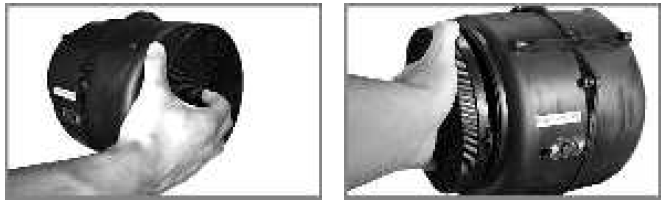
Step 5: Reinstall the ARC-FLOW Baffle Filters back into place.
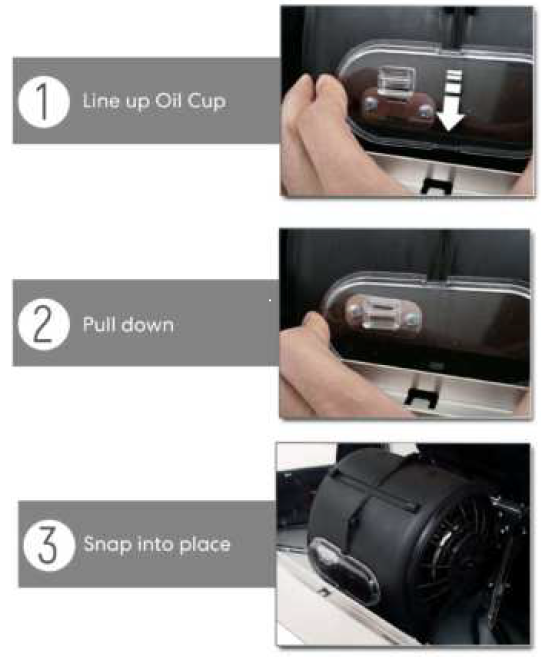
OIL CUP INSTALLATION
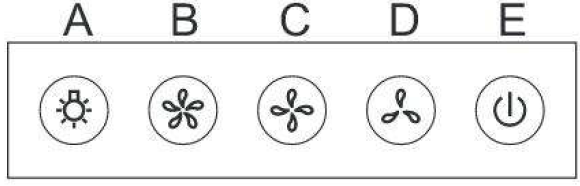
PUSH BUTTON CONTROLS
MAINTENANCE
CAUTION: NEVER PUT YOUR HAND INSIDE OF THE UNIT WHILE ITS OPERATING. FOR THE BEST PERFORMANCE CLEAN YOUR RANGE HOOD REGULARLY.
CLEANING
- Use only mild soap or cleaning solutions to clean the range hoods outer surface. Dry surfaces using a soft
- Stainless Steel cleaner may be used on the external
- Cleaning the Baffle Filters: For daily cleaning, use hot, soapy water and a soft Wipe dry and finish with a damp micro-fiber cloth. Baffle filters can also be cleaned in the dishwasher.
- Clean the Range Hood assembly once every 6
- DO NOT clean the motor or electrical components with water or any other liquid
REPLACING LIGHT BULBS

CAUTION: LAMP UNIT MAY BE HOT! WAIT UNTIL THE UNIT IS COOL. BEFORE ATTEMPTING TO REPLACE THE LEO LAMPS MAKE SURE THE UNIT IS POWERED OFF AND UNPLUGGED.Note: Individual LED bulbs cannot be replaced only LED lamps.
- Remove the baffle filters
- Find the wire connection of the lamp and
- Remove old LED
- Plugin new LED
TROUBLESHOOTING
CAUTION: ALWAYS UNPLUG UNIT FROM POWER BEFORE SERVICING
| PROBLEM | SOLUTION | TOOLS |
| My range hood is noisy | A. Check inside the range hood for any loose debris and remove.
If your range hood is still noisy after checking, please call 1-888-784-3108. |
Phillips Screwdriver |
| My range hood has poor performance | A. The range hood and cooktop are too far away from each other.
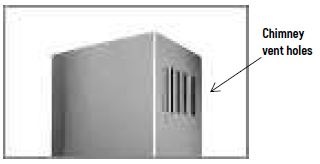
Optimal distance is 24″ to 36″ B. There are too many open windows or doors in the area. Close some doors or windows. C. The motor performance has decreased due to wear. Replace motor. D. Check and make sure the tape holding down the damper flaps at the vent hole are removed before use. E. The oil cup is full and needs to be cleaned out. F. The filters are clogged and need to be cleaned. |
Phillips Screwdriver |
| My range hood shakes | A. The installation is not secure. Check again and make sure the installation hardware is securely mounted.
B. The fan is broken or not balanced. Re-align or replace fan. C. The motor is loose. Check and make sure the motor is solidly mounted to the unit. D. Baffle filter is loose and is not installed correctly. Read page 12 for installation instructions. |
Phillips Screwdriver |
| Range Hood does not turn on | A. Make sure that range hood is plugged into powered outlet. Test outlet with other device if not working.
B. Remove baffle filters, reach inside behind the control panel and locate the wire with clip. Make sure control panel is securely plugged in. |
Phillips Screwdriver |
| Light bulbs went out | A. Replace with a new LED lamp assembly.
B. Remove baffle filters, reach inside behind the control panel and locate the wire with clip behind the light housing. Make sure the light is securely plugged in. |
WARRANTY AND SERVICE
For full warranty details on this product please visit: http://www.cosmoappliances.com/warranty
TO RECEIVE WARRANTY SERVICE, YOUR PRODUCT MUST BE REGISTERED. TO REGISTER, VISIT: WWW.COSMOAPPLIANCES.COM/WARRANTY
SCAN TO REGISTER 
IMPORTANT:
Do Not Return This Product To The Store If you have a problem with this product, please contact Cosmo Customer Support at +1(888)784-3108
DATED PROOF OF PURCHASE, MODEL #, AND SERIAL # REQUIRED FOR WARRANTY SERVICE
Correct Disposal of this product:
This marking indicates that this appliance should not be disposed with other household wastes. To prevent possible harm to the environment or human health from uncontrolled waste disposal, recycle it responsibly to promote the sustainable reuse of material resources.
Cosmo is constantly making efforts to improve the quality and performance of our products, so we may make changes to our appliances without updating this manual.
[xyz-ips snippet=”download-snippet”]