
 PRICE & QUALITY DELIVERED
Middle East MTLi FZ LLC Dubai UAEEurope Cozytrix BV Heilo The Netherlandscozytrix.com QR CODE
Instruction manual
PRICE & QUALITY DELIVERED– cozytrix.com –
PRODUCT INFORMATION AND INSTRUCTIONS
![]() Carefully follow the enclosed step-by-step instructions to assemble the Toilet Seat. Take an organized approach, laying out all of the components in an orderly fashion and keeping them all together to ensure that nothing is broken or you hurt yourself by standing on them.
Carefully follow the enclosed step-by-step instructions to assemble the Toilet Seat. Take an organized approach, laying out all of the components in an orderly fashion and keeping them all together to ensure that nothing is broken or you hurt yourself by standing on them.
Please keep this instruction manual for future reference. It contains important information.cozytrix.com![]()
COMPONENTS |
||
| A | x2 | |
| B |  |
x2 |
| C | x2 | |
| D |  |
x2 |
| E |  |
x2 |
| F | x2 | |
| G |  |
x1 |
ASSEMBLY INSTRUCTIONS
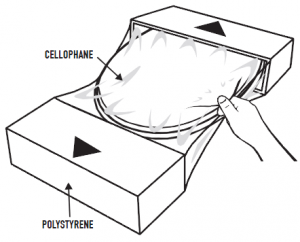
- Remove all of the packaging from the toilet seat, i.e. cellophane and polystyrene etc.
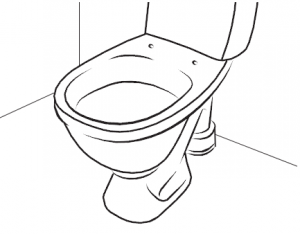
- Keep your porcelain toilet ready and clean with any previous toilet seat already removed.
 3. Insert parts (C) into the holes in the porcelain toilet. C C
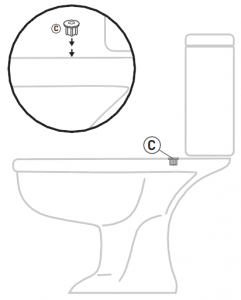 4. Turn the toilet seat upside down and insert the screw connectors (A) through parts (B) and then screw them into the underside of the toilet seat at the hinges.
 This means your toilet seat can be adjusted to fit various sizes of toilet bowls with the distance of the holes on your porcelain toilet being anywhere between 13-20 cm apart.
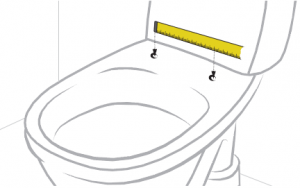 The other hole on part (B) will align with any of the other 3 holes on the hinge as required.
 Furthermore, if these adjustments do not work to fit the holes on your porcelain toilet, you can also adjust the hinge by moving them to the inside or outside of the hinge fixture:
 This enables you to increase or decrease the distance between the hinges on your toilet seat even further.Please note you will need the appropriate `cross’ screwdriver from your toolbox to make this adjustment.
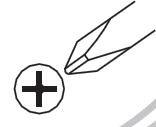 5. Once screwed in securely, turn the toilet seat the right way up and push the screw connectors (A) through parts (C).
 6. You will find the screw connectors (A) on the underside of the porcelain toilet bowl.
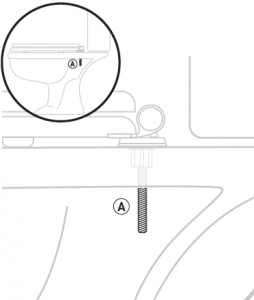 7. On both screw connectors (A), add parts (D) and (E) in that order, and hold them in place by twisting the nut (F) on to the screw connector (A).
8. Secure these parts on the screw connectors (A) tight against the underside of the porcelain toilet bowl using the allen key (G).
9. Please note that there is a very thin layer of adhesive protective plastic covering all of the design graphics on your new toilet seat. Once the toilet seat is secured in place, find the edge of the protective film and pull it off, it should come off of each surface area as a complete section.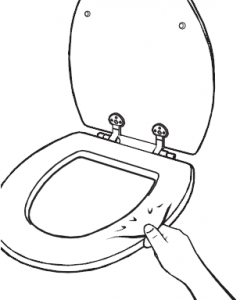 cozytrix.com
References
[xyz-ips snippet=”download-snippet”]