CSL Satellite FinderUser Manual
Mod.-No.: 303603/20190628ZH009
Thank you for choosing this CSL product and for placing your trust in our company.Please read this manual carefully before installation to ensure your long-termenjoyment of this product. For future reference, please keep this manual. Beforeusing the delivered product, check that it is complete, faultless and undamaged.
1. Scope of delivery
- Satellite finder
- Connection cable
- User manual
2. Technical specifications

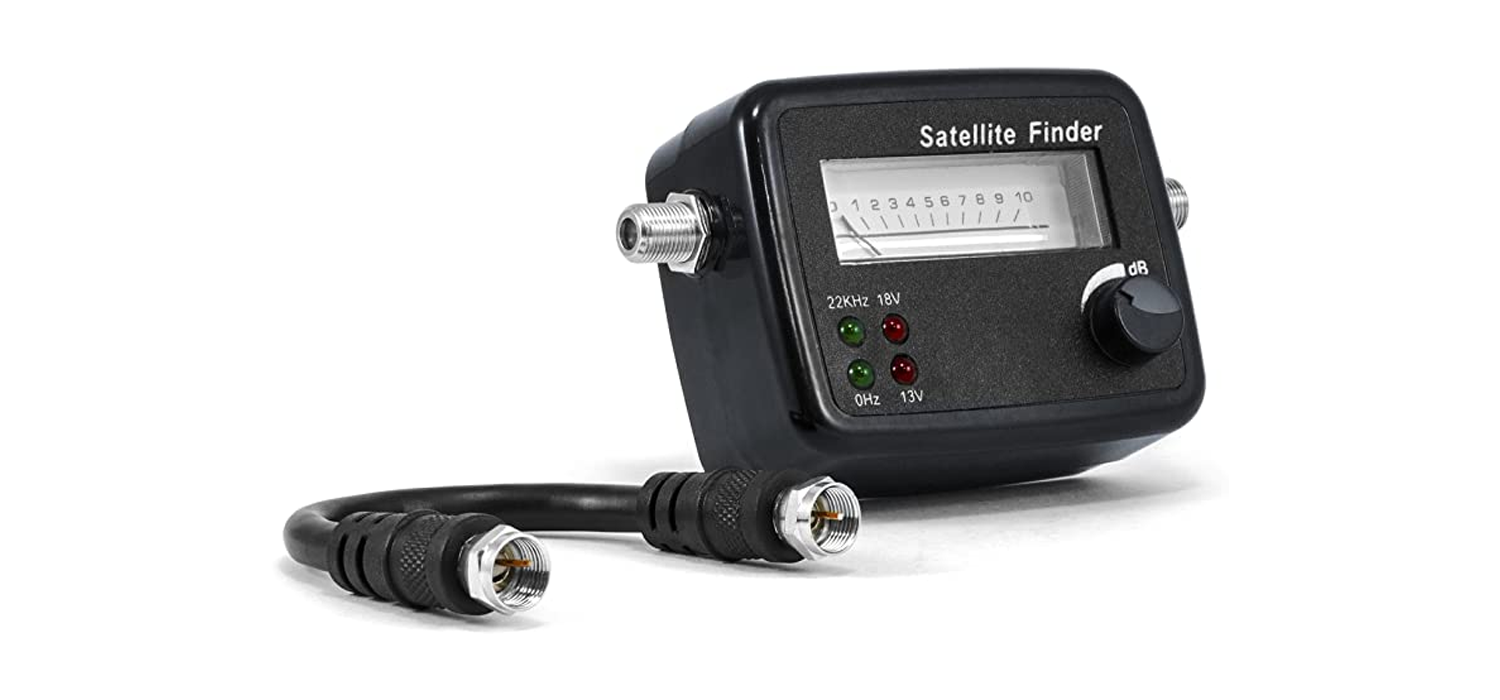
3. Function
The satellite finder provides you with an easily readable scale to find the optimal position for your satellite system. The signal strength is also indicated by a buzzer, so that you can fully concentrate on the installation.
4. Connection and start up
Note: The satellite finder is intended for precise adjustment and optimization of the receiving signal. You have to determine the satellite and its position first and roughly align the satellite dish accordingly. You can use a compass or a more comfortable satellite finder app for smartphones.
First disconnect the receiver or the multi-switch from the power supply. Then connect the satellite finder with the cable coming from the receiver or the multi- switch. The appropriate connector on the reverse side is labelled “to REC”. Link the connection cable included with the opposite connector on the satellite finder and the connector on your Low Noise Block (LNB). Ensure that the sensitivity control dial is set to minimum sensitivity. Thereafter, connect the receiver or multi-switch to the power mains and switch on the receiver so that the Low Noise Block and the satellite finder can be powered up. Roughly align the satellite dish and then set the sensitivity so that the pointer on the scale stops approximately at Value 5. Perform the fine adjustment of the satellite dish. Move the LNB until the needle on the scale points to a higher value. Reduce the sensitivity on the rotary controller until the needle has moved back to the middle of the scale and the LNB can be adjusted even more accurately. Repeat these steps several times until the optimal position has been reached. Fasten the satellite dish to ensure that its position can no longer be changed. The alignment has now been completed.
Note: The reception signal is too high for the satellite finder when the pointer jumps to the maximum value. Lower the sensitivity at the rotary controller in this case. An attenuation unit or an attenuation controller between the LNB and the satellite finder may be required when you use a very large satellite dish or a high-performance LNB.
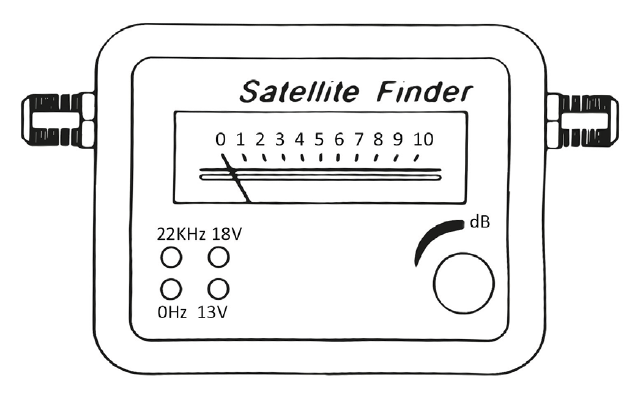
5. Control displays
If you operate a multi-user SAT system with Quattro LNB, you need to measure the polarisation plane (13V vertical, 18V horizontal) to find the correct connection to the multi-switch. The control display enables you to determine the polarisation. The satellite finder also has LEDs to indicate the switch signal (22 KHz on / 0 Hz off).
6. Safety instructions and disclaimer
Do not attempt to service this product by yourself as opening or removing covers may result in fire, electric shock or equipment damage. The product is only disconnected from the voltage system when the plug has been removed from the socket. Please avoid any contact to the electric current. Disregard of tis warning could lead to coming into contact with the operating voltage, or could generate a short circuit. Pull out the plug before lightning storm or if you do not regularly use this product, to prevent a short- circuit. This device is only licensed for indoor use and dry areas. Please protect it from water, rain, snow or high humidity and keep it away from high temperature and direct sunlight.
Do not expose this product to extreme and sudden changes of temperature or heavy vibrations; this may lead to damage to the electronic part of this unit.Check the product for signs of damage before putting it in operation. In case the device received any damage, it should not be used. Please contact our customer support. Please observe the relevant national provisions and legal restrictions. Do not use the device for anything other than intended and as described in the manual.
Any attempt of repairs or alterations by someone other than the original supplier will invalidate the guarantee and result in refusal of warranty claims. The machine may only be used by persons who are familiar with the operating manual and the applicable regulations concerning working safety and accident prevention.
This device is not intended to be used by persons (including children) with limited physical, sensory or mental aptitude or lack of experience and/or knowledge unless they are supervised by a person responsible for their safety or have received instructions as to how the device is used properly. The technical specifications of this product may change without prior notice.
7. Disposal Instructions
The European Directive (WEEE) requires that old electrical and electronic appliances shall be disposed of separately from normal household garbage for optimal recycling. The component parts must be separated, collected and sent for recycling or disposal in an environment-friendly manner. Otherwise, toxic and dangerous substances could cause enduring damage to the environment by an incorrect disposal. As a consumer you are legally obligated (Electrical and Electronic Equipment Act-ElektroG) to return end-of-life electrical and electronic equipment to their manufacturer, point of sale, public collection points or importer of charge. The relevant local laws apply here. The symbol on the product, in the instructions or on its packing points out these regulations. The reuse or recycling of materials and old units makes an important contribution towards protecting the environment.
WEEE guideline: 2012/19/EUWEEE register No: DE 67896761
WD Plus GmbH, herewith declares that this product 303603/20190628ZH009 conforms to the principle requirements and other relevant stipulations. The complete Declaration of Conformity can be obtained from: WD Plus GmbH, Wohlenbergstraße 16, 30179 Hanover
[xyz-ips snippet=”download-snippet”]