
CURT Class 3 Trailer Hitch Installation Guide

Level of Difficulty
EasyInstallation difficulty levels are based on time and effort involved and may vary depending on the installer level of expertise, condition of the vehicle and proper tools and equipment.
WARNINGNever exceed the vehicle manufacturer’s recommended towing capacity.
Product Photo

Weight Carrying Capacity
Gross trailer weight (GTW) – 3,500 lbs.
Tongue weight (TW) – 350 lbs.
Weight Distribution Capacity
Weight distribution (WD) – 5,000 lbs.
WD tongue weight (WDTW) – 500 lbs.
Parts List
Tools Required
Ratchet – Torque wrench
Socket extension, 9″ – Screwdriver
Socket, 10mm – Socket, 11/16″
Socket, 19mm – —-
* For a tools reference guide visit curtmfg.com/trailer-hitch-installation
NOTICE
Visit www.curtmfg.com for a full-color copy of this instruction manual, as well as helpful videos, guides and much more!
Before you begin installation, read all instructions thoroughly.
Proper tools will improve the quality of installation and reduce the time required.
This installation requires drilling and the use of fishwire to install hardware. No drilling is required.
Periodic inspection of the trailer hitch should be performed to ensure all mounting hardware remains tight and structural components are secure.
To help prevent damage to the product or vehicle, refer to the specified torque specifications when securing hardware during the installation process.
SAFETY INSTRUCTIONS
Safety glasses should be worn at all times while installing this product.
Product Registration and Warranty
CURT stands behind our products with industry-leading warranties. To get copies of the product warranties, register your purchase or provide feedback, visit: warranty.curtgroup.com/surveys
CURTMFG.COM · PRODUCT SUPPORT: 877.287.8634 · 13068-INS-RA · 05/13/2020 · ECN7022 · PAGE 1
ASSEMBLY

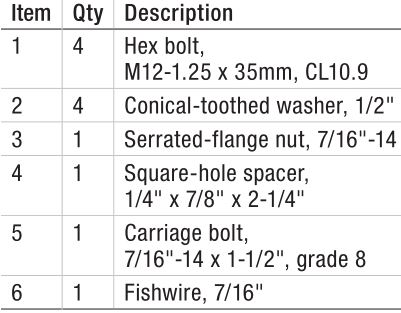
WELDNUT CLEANING
To remove debris from weldnuts in frame, spary lubricant or compressed air into the hole.For heavy debris, use a wire brush. Take care not to damage threads.
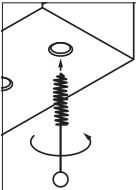
FISHWIRE TECHNIQUE
Insert coiled end of fishwire tool through hitch mounting hole in vehicle frame rail and out the access hole. Pass coiled end of fishwire through spacer and thread bolt into coil. Kink wire to keep spacer separate from bolt as shown. Pull fishwire, spacer and bolt through frame and out mounting hole. Use fishwire to guide hitch during mounting and prevent loss of bolt or spacer inside frame rail.
CURTMFG.COM · PRODUCT SUPPORT: 877.287.8634 · 13068-INS-RA · 05/13/2020 · ECN7022 · PAGE 2
Step 1
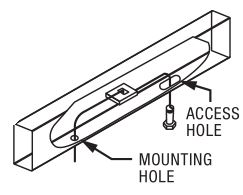
If present, remove five fasteners and the plastic fascia covering from the driver-side frame rail. Return fasteners and plastic shield to the vehicle owner. Note: You may trim the fascia and re-attach after hitch installation.
Step 2
Locate two weldnuts near the end of each frame rail. Clean the weldnuts of debris and rust to ease hitch installation. See diagram.
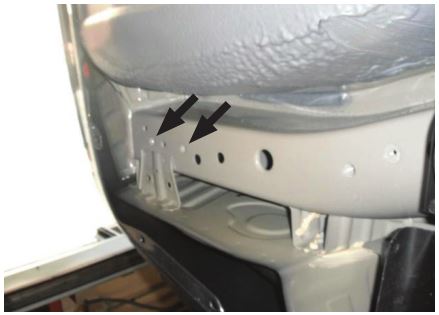
WELDNUT CLEANINGTo remove debris from weldnuts in frame, spary lubricant or compressed air into the hole.For heavy debris, use a wire brush. Take care not to damage threads.
Step 3
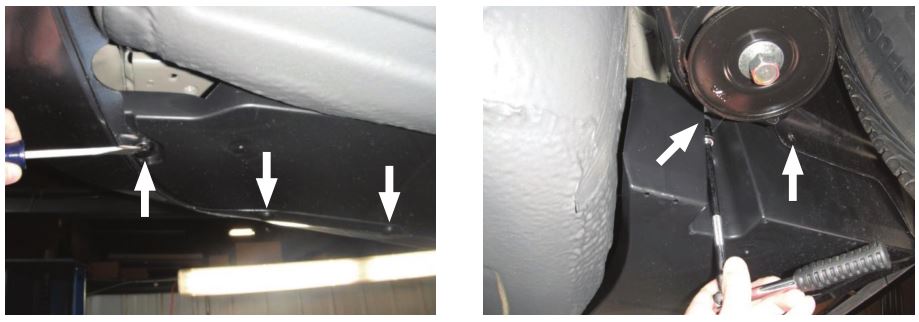
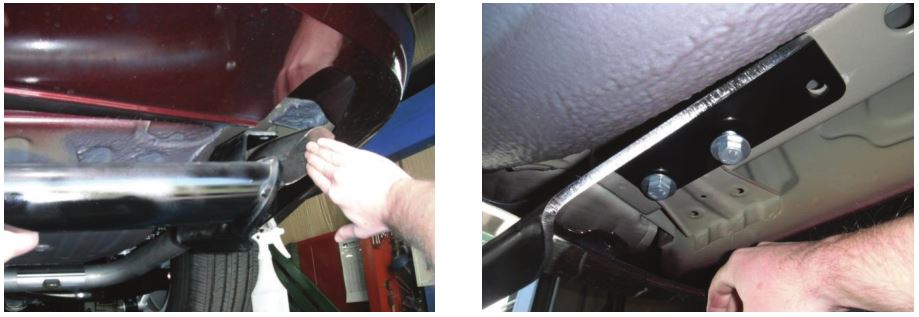
Raise the trailer hitch into position by sliding the passenger side-plate over the exhaust first. Secure the hitch into position using M12-1.25 x 35mm bolts (#1) and 1/2″ conical-toothed washers (#2).
Step 4
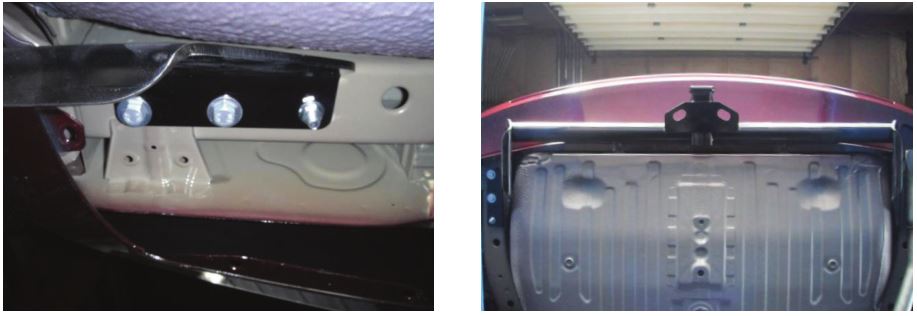
On the driver-side frame rail, fishwire (#6) a 7/16-14 x 1-1/2″ carriage bolt (5) and squarehole spacer (#4) through the access hole and into the existing hole in the bottom of the frame rail. Secure with 7/16″ serrated-flange nut (#3). See fishwire technique diagram.

FISHWIRE TECHNIQUE
Insert coiled end of fishwire tool through hitch mounting hole in vehicle frame rail and out the access hole. Pass coiled end of fishwire through spacer and thread bolt into coil. Kink wire to keep spacer seperate from bolt as shown. Pull fishwire, spacer and bolt through frame and out mounting hole. Use fishwire to guide hitch during mounting and prevent loss of bolt or spacer inside frame rail.
CURTMFG.COM · PRODUCT SUPPORT: 877.287.8634 · 13068-INS-RA · 05/13/2020 · ECN7022 · PAGE 3
Step 5
Torque all M12 hardware to 86 ft-lbs. Torque all 7/16″ hardware to 70 ft-lbs.
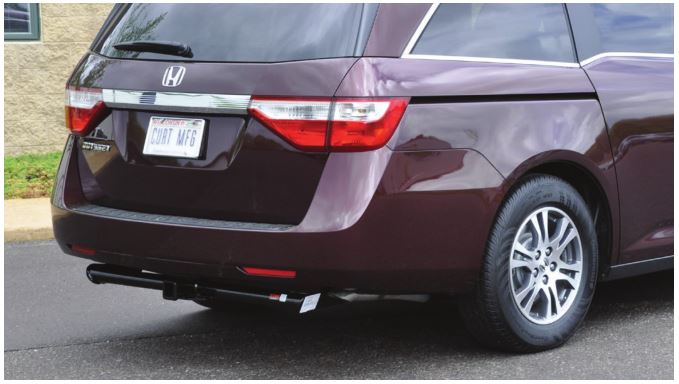
Final Installed Image
TOWING BASICS & SAFETY INFORMATION
For information on safely towing your trailer, visit curtmfg.com/understanding-towing.
CURTMFG.COM · PRODUCT SUPPORT: 877.287.8634 · 13068-INS-RA · 05/13/2020 · ECN7022 ·
References
[xyz-ips snippet=”download-snippet”]