![]() DKVM-4U4-PORT USB KVM SWITCHQUICK INSTALLATION GUIDE
DKVM-4U4-PORT USB KVM SWITCHQUICK INSTALLATION GUIDE
Package Contents
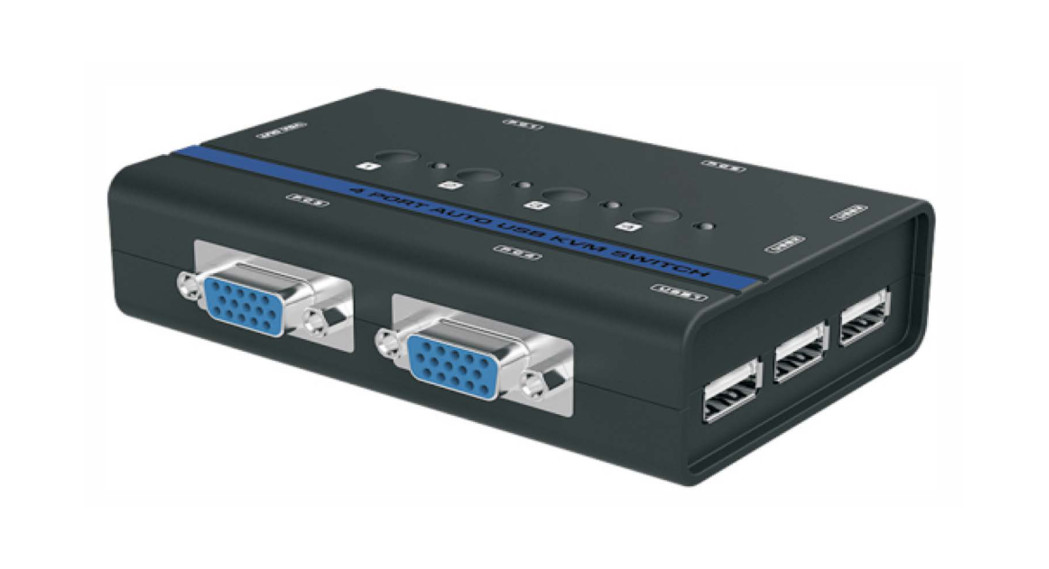
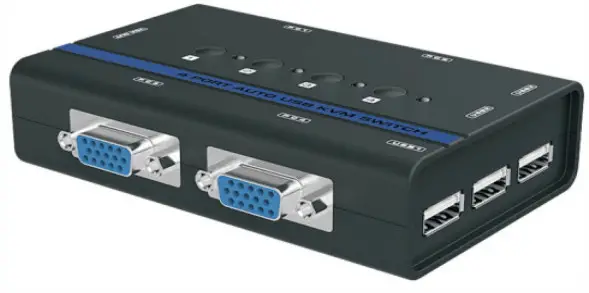
4-PORT USB KVM SWITCHDKVM-4UKVM CABLE WITH VGA AND USB (X 2)CONNECT THE DKVM-4U TO YOUR COMPUTERSQUICK INSTALLATION GUIDEIf any of these items are missing from your packaging, please contact your reseller.
Installing the KVM-4U The DKVM-4U
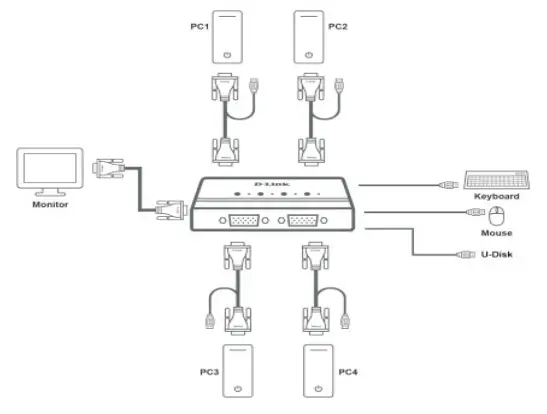
supports hot-plugging. You don’t need to turn your computers off before installing the device.A. Attach your USB keyboard connector to the console USB port of DKVM-4U.B. Attach your USB mouse connector to the console USB port of DKVM-4U.C. Attach your monitor’s HDB 15 VGA connector to the console port of DKVM-4U.The following steps below apply to each computer that you are using with your DKVM-4U.D. Attach the KVM cable (VGA connector) to the VGA port located on the DKVM-4U.E. Attach the KVM cable (USB connector) to the USB port located on the back of your computer case.F. Attach the KVM cable (VGA connector) to the VGA port located on the back of your computer case.Installation of the DKVM-4U is now complete.
Switching with the DKVM-4U
The DKVM-4U features the 1, 2, 3, 4 buttons located on the top panel to switch quickly and easily between your computers.Note: Don’t switch PC without finishing PC boot-up.Hot KeysYou can also use the keyboard Hot Keys to switch between your computers. Press the Home I Caps Lock / Scroll Lock / Num Lock key twice within 2 seconds to enter Hot Key switching mode. A beep confirms that the Hot Key mode is activated. By default, the Home key is used to enter the Hot Key mode. Alternatively, you can use the Caps Lock, Scroll Lock, or Num Lock keys.
| Press Home + Home … | Enter Hot Key mode by default | |
| …then press Caps Lock | Enter Caps Lock Hot Key mode |
| …then press Scroll Lock | Enter Scroll Lock Hot Key mode |
| …then press Num Lock | Enter Num Lock Hot Key mode |
| …then press |
Switch to PC1 / PC2 /… |
| …then press |
Switch to next PC |
| …then press |
Switch to the previous PC |
| …then press |
Toggle the audible beep confirmations on and off |
| …then press |
Start auto scan mode, which will switch to the next PC automatically after the scan interval expires (5 seconds by default). Press any key to stop auto-scan mode |
Troubleshooting
- WHEN TURNING THE COMPUTER ON, THE KEYBOARD IS NOT DETECTED, OR A KEYBOARD / MOUSE ERROR MESSAGE IS DISPLAYED.If the computer’s BIOS does not support USB boot-up, the system may be unable to detect the mouse and keyboard during startup. Please ensure that your PC BIOS supports USB boot-up, and upgrade your PC’s firmware if necessary.
- THE COMPUTER’S BIOS IS CORRECTLY CONFIGURED BUT THE COMPUTER IS STILL UNABLE TO DETECT THE MOUSE AND KEYBOARD.Be sure to directly connect the USB KVM switch to the USB port on the PC’s motherboard rather than through a port on a PCI card, Card Bus, or USB Hub.
- WHEN SWITCHING TO PC2, THE COMPUTER STILL DISPLAYS PC1.The KVM switch may not function correctly while a computer is powered off or still booting up. Ensure that the second PC is powered on and use the hotkey to switch between computers.
- THE IMAGE ON MY MONITOR IS NOT CLEAR.Check the following:– Verify that all video monitor cables are Inserted properly.– Try lowering the resolution and refresh rate of your monitor.– Try using a shorter video cable.– Try rescanning for VGA signal from monitor again.
 report this ad
DKVM -4U
References
[xyz-ips snippet=”download-snippet”]