D-Link Wi-Fi USB Adapter

System Requirements
- An available USB slot
- Windows® 10, 8.1, 7
- An 802.11ac, 802.11n, or 802.11g wireless network
- 20MB of free hard drive space
Before You Begin
Before installing your new D-Link wireless adapter, please verify the following:
- Remove any previous installations of wireless adapters.
- Disable any built-in wireless and/or Ethernet adapters.
- Verify the settings such as the wireless network name (SSID) and security settings of the network(s) you want to connect to.
Installation
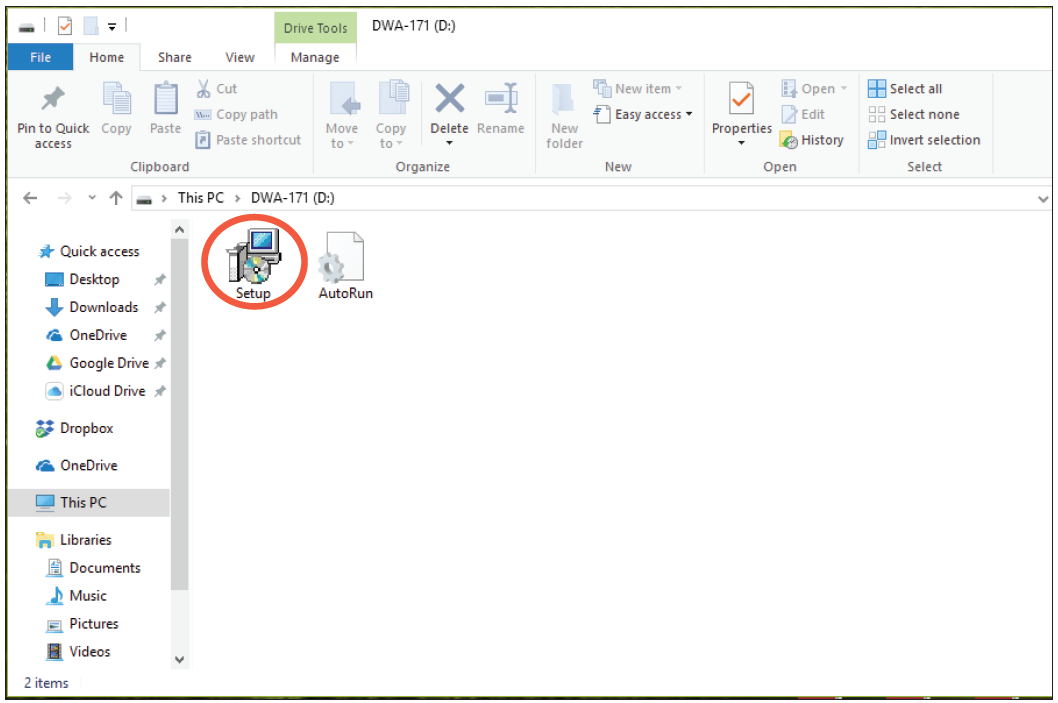
- Insert the DWA-171 into a USB port on your PC. The setup wizard should start automatically.Note: If the setup wizard does not automatically start, navigate a file manager to the virtual CD-ROM and double-click Setup.exe

- Follow the on-screen instructions in the setup wizard.
Connect to Your Wireless Network
There are two ways to connect to a wireless network:A. Wireless Utility – Connect to your wireless network using the wireless utility method.B. WPS Setup – Use if your wireless router supports WPS (Wi-Fi Protected Setup). Simply press the WPS button on your adapter and your router to automatically configure and connect.
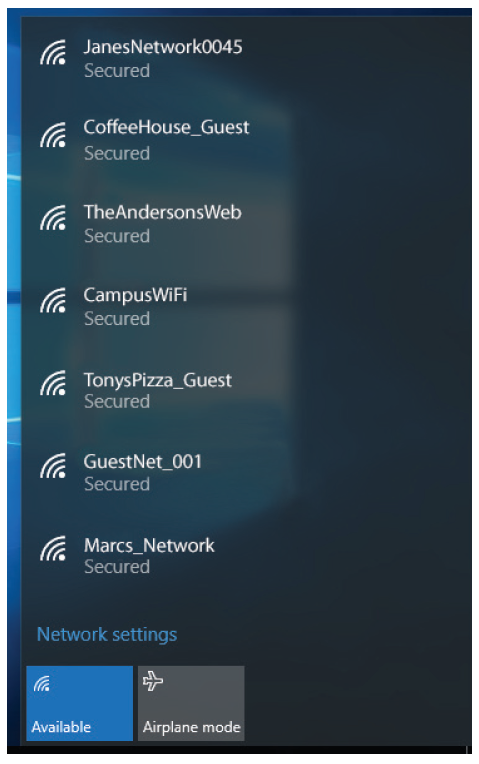
A. Wireless Utility
Open your wireless utility and select the network you want to connect to. If the network is secure, you will be prompted to enter the Wi-Fi password.
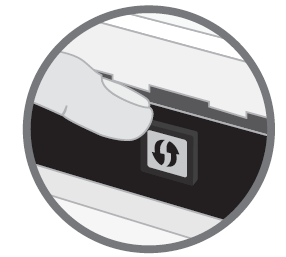
B. WPS Setup
Connect to your wireless network using the WPS button setup method.
- Press the WPS button (or launch the WPS process) on your wireless router or access point. Please consult your router or access point’s user manual on how to start the WPS process.
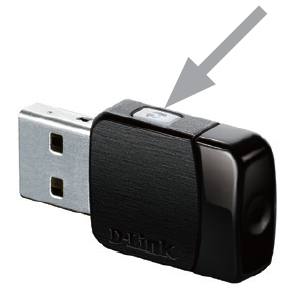
- Within two minutes, press the WPS button on your DWA-171 adapter.
- Within a minute, your adapter will be securely connected to your wireless network.
![]()
References
[xyz-ips snippet=”download-snippet”]