DAWN ENTERPRISES INC.
INSTALLATION INSTRUCTIONS
INSTALLATION PACKAGE INCLUDES:
A) 1 Alcohol WipeB) Instruction SheetPLEASE READ ALL INSTRUCTIONS BEFORE BEGINNING INSTALLATION
CLEAN & PREP:
Clean the surface where the Rear Bumper Protector is to be installed using the enclosed alcohol wipes. Wipe off any excess residue with a clean cloth. Make sure that the Rear Bumper Protector is at room temperature. The recommended temperature for the surface of your vehicle is at least 75°F for proper installation. If the surface is cold, use a heat gun or a hairdryer to warm before proceeding with the installation to ensure a strong bond between the double-sided tape and your vehicle.
INSTALLATION:
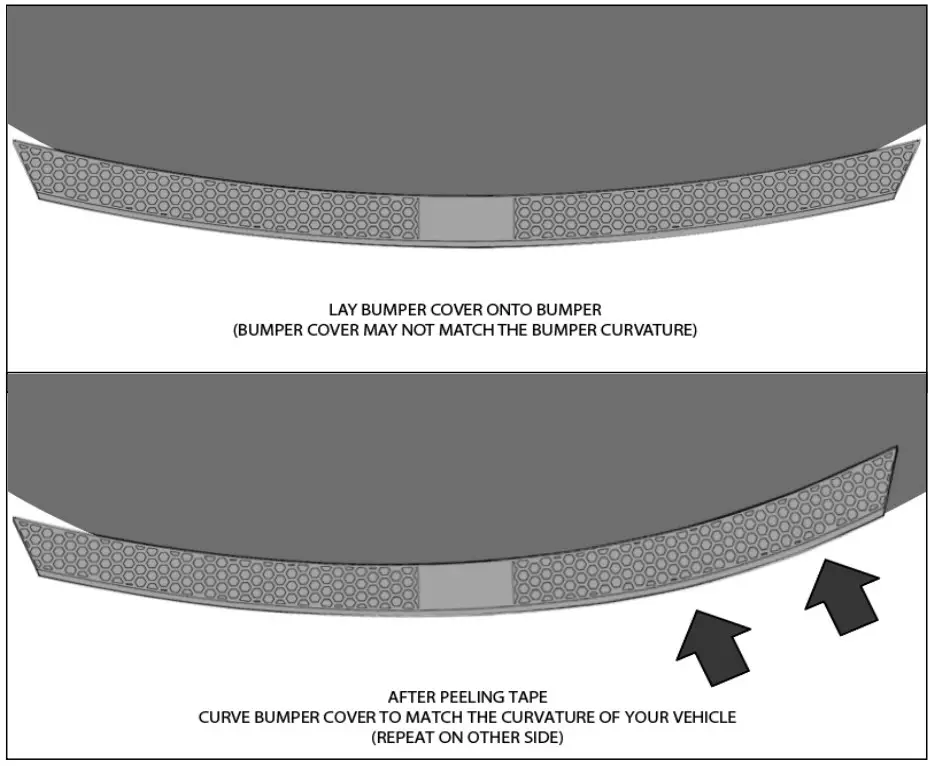
Rear Bumper Protectors are flexible, so it can bend to the shape of your vehicle’s bumper. In most cases, it will not be in the shape of your bumper right out of the box (you will not be able to set it down and have it fit perfectly–you must bend it while you are installing it to conform to your bumper’s shape).First, with the tape liner still on, place the Rear Bumper Protector onto the bumper (The small arrow should be directly in front of the Trunk Latch to make sure it is perfectly centered-see Diagram A). The Rear Bumper Protector should be at the edge of your bumper as shown in Diagram B (some applications have a “Lip” on it, where it will hang off the edge of the bumper and conform against the vehicle when applied). Make a grease pencil mark in front of the arrow and remove the Rear Bumper Protector.Proceed to remove the tape liner off, and then stick the mid-section ONLY onto the bumper, lining up the arrow with your grease pencil mark and/or the trunk latch.Next, starting in the center, proceed to take one side of the Rear Bumper Protector and slowly guide it against the edge of your bumper to make it bend to the shape of your bumper (see Diagram C).Proceed with the opposite side, and your Rear Bumper Protector will be perfectly installed! When you are finished installing it, use a soft cloth and firmly press down to ensure good adhesion.DO NOT TOUCH THE EXPOSED ADHESIVE with your fingers as the installation is underway.
ATTENTION: This part is flexible and will CONFORM to your bumper as you install it.
! SEE INSTALLATION DIAGRAMS ON THE REVERSE SIDE OF THIS INSTALLATION SHEET!
DIAGRAM A
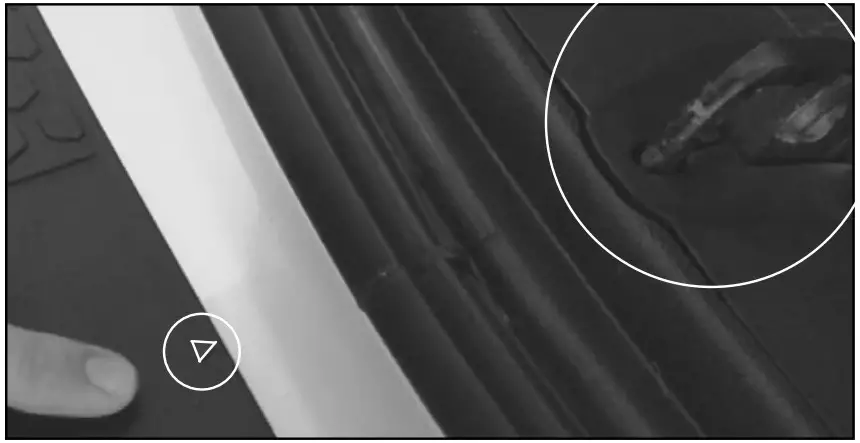
DIAGRAM B
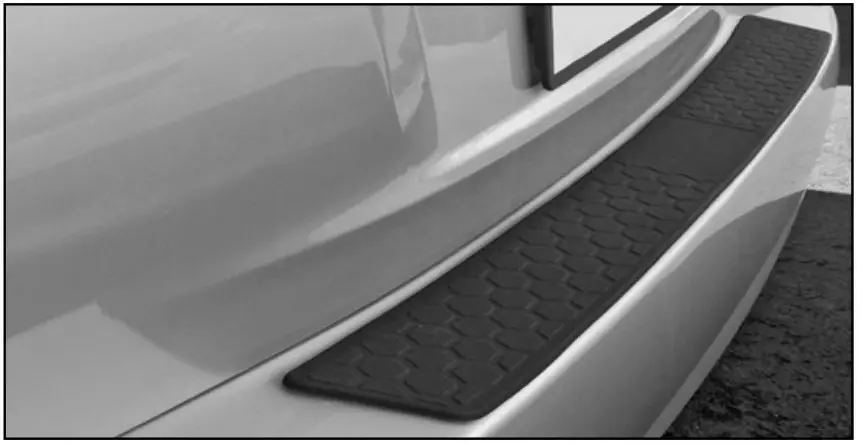
DIAGRAM C

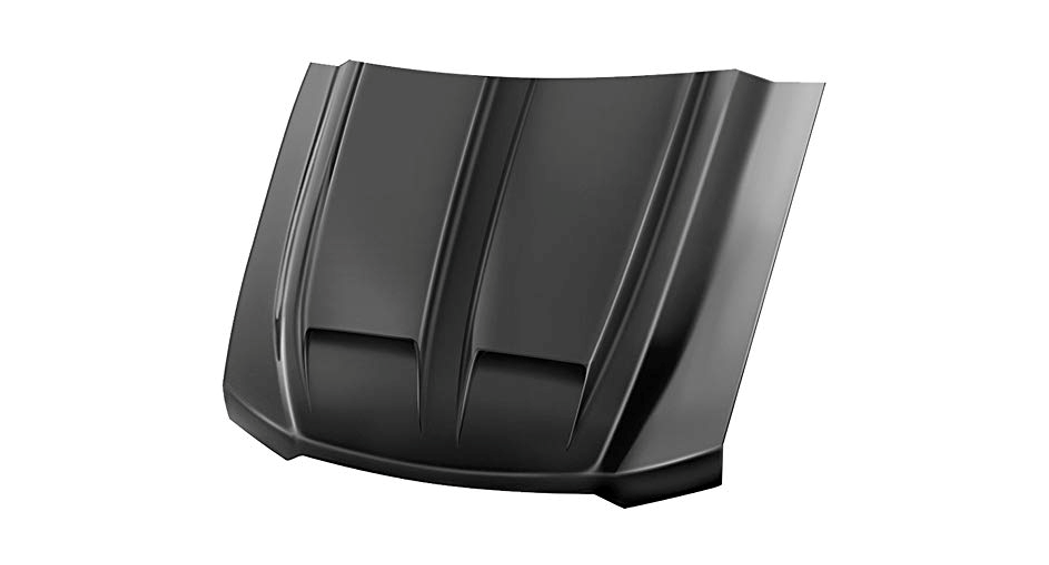
There are basic installation instructions for all models. Please note that the pictures shown are not necessarily of your vehicle.*Make sure to dry-fit (prior to installation)Check location, and make sure decklid/hatch does not touch or hit prior to installation).
[xyz-ips snippet=”download-snippet”]