Devanco MV-00297 Wireless keypad Instructions Instructions
Warning: Micanan MV00297 Wireless Keypad is only compatible with Micanan Full Function Logic Boards or with Micanan MK00648 external radio receiver.
package contents
- Installation guide
- 2 mounting screws
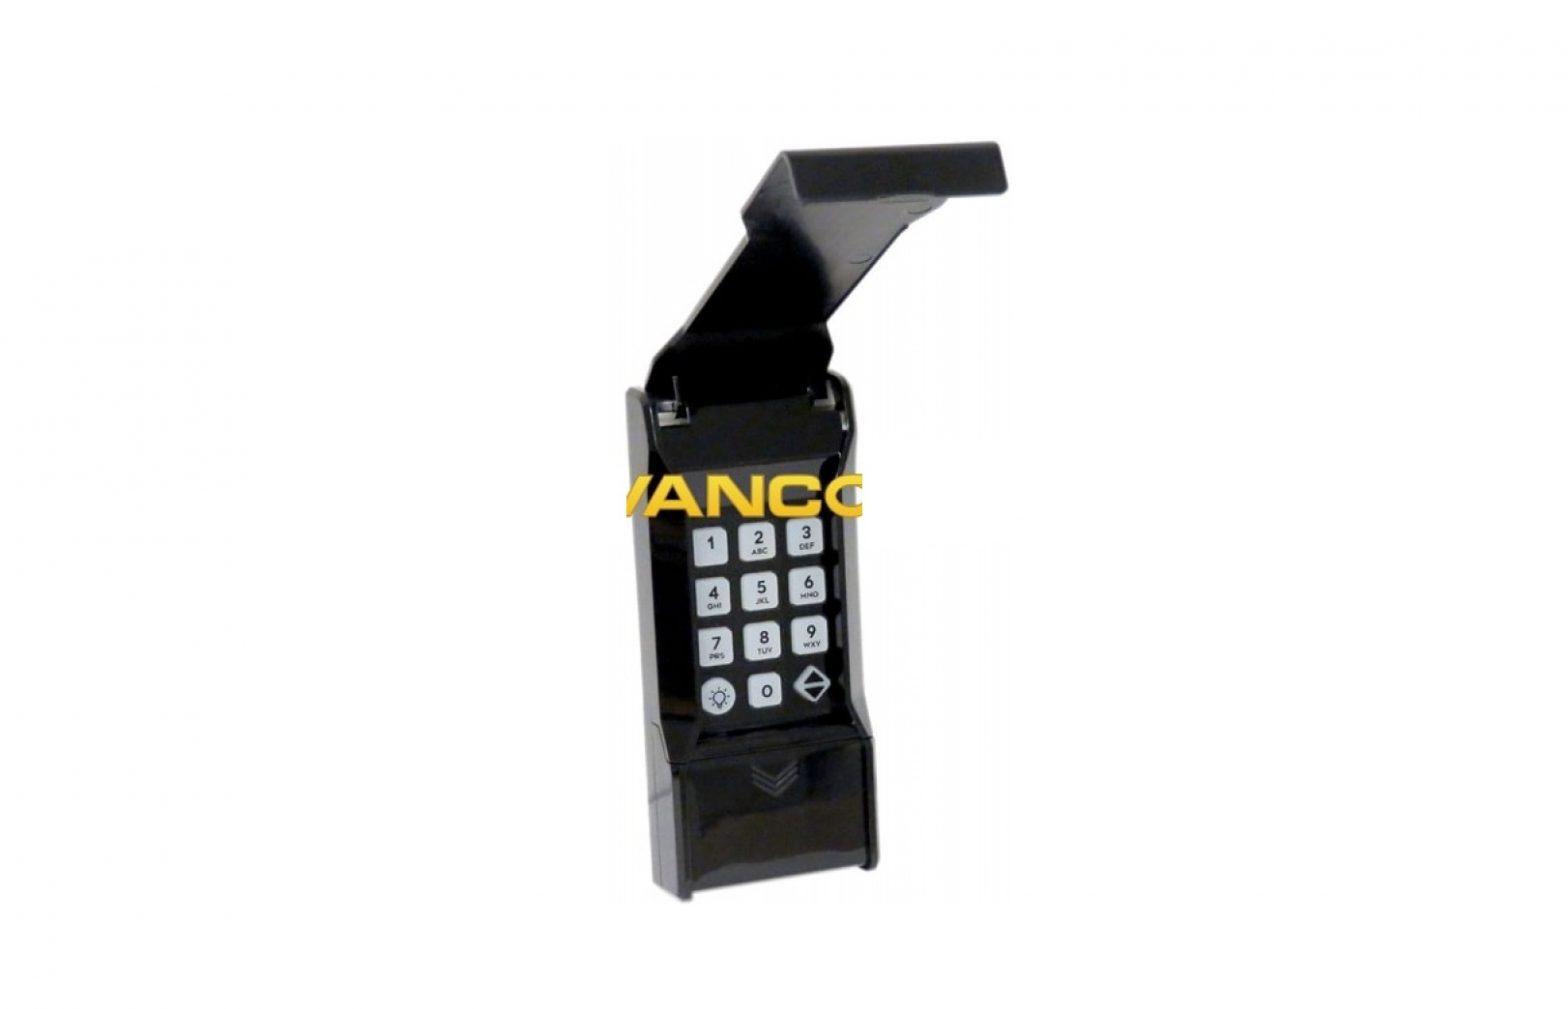
- Micanan MV00297 Wireless Keypad (9 volt battery included)
programming
Note: Unit can be programmed with garage door in either up or down position.
PIN number Setup

- Open the cover of the wireless keypad, then press “Reset/On/Off” button on the wireless keypad. The keypad light will turn on.
- To enter user configuration mode, press keys “2” and “8”simultaneously. Now the keypad light will turn off.
- Enter master PIN (default is 6277 until changed). The keypad light will flash twice indicating that the master PIN is correct.
- To add user PIN numbers press “1” (key pad light flashes once) then press 4digit PIN numbur tc.. add new user PIN (key pad light flashes once). Multiple PIN numbers can be added by pressing new 4-digit pin after key pad light flashes. To exit, press “Reset/On/Off” button.
Delete PIN number
- Enter the user configuration mode and then press “2”, (key pad light flashes twice). Then press 4-digit PIN number to remove user PIN. Multiple PIN numbers can be removed by pressing new 4-digit pin after back light flashes. To exit, press “Reset/On/Off” button.
- To remove all user PIN numbers, press “3”, (key pad light flashes 3 times). To exit, press “Reset/On/Off”” button.
- To change Master PIN, press 4. Key pad light will flash 4 times, enter new 4-digit PIN. To exit, press “Reset/On/Off” button.Note: To add or delete PIN numbers, user must enter into configuration mode using the master PIN.
Programming
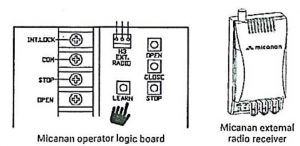
- Press and hold the “LEARN” button on the Micanan operator control board or the Micanan external radio receiver until the LED turns ON (indicating that the operator is ready to learn the wireless keypad). The operator will remain in learn made for 10 seconds.

- Open the cover of the wireless keypad, then push “Reset/On/Off” button on the wireless keypad. The keypad will light. Then enter the 4-digit PIN number. The key pad light will blink and the LED on the operator logic board or the external radio reciever will blink and then turn OFF. * Illumination may not be visible in direct sunlight.Note: If you do not start step 2 within 10 seconds after step 1, the wireless keypad will deactivate and you will have to start these steps again. Programming is now complete
battery replacement
Note: Replace the 9 volt battery when keypad light becomes dim or does not light up.
- Raise Wireless Keypad Cover to expose battery cover.
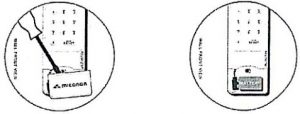
- Snap open battery cover with a coin or flat edge of a screw driver and remove old battery.
- Replace 9V battery, then re-install battery cover. Battery replacement is now complete.
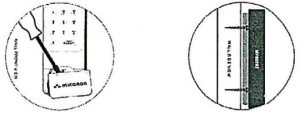
mounting
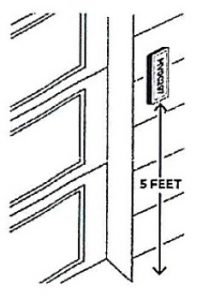
- Choose a convenient location that does not interfere with the normal opening and closing operation of the door but within sight of the door.
- Two screws are included for proper mounting into wood or other similar material. A 5/64″ pilot hole may need to be drilled for the mounting screws. If mounting to other materials consult a qualified building or hardware specialist for the proper hardware to insure secure mounting.
- Insert top screw into top pilot hole, leaving head of screw 1/16″ away from wall.
- Slide and lock back keyhole slot over exposed screw and’position unit vertically
- Snap open battery cover with a coin or flat edge of a screwdriver and remove battery door to expose bottom screw mounting hole.
- Insert bottom screw and tighten and re-install battery door. Mounting is now complete.

PIN number Setup:
- 1. Open the cover of the wireless keypad, then press Reset/On/Off button on the wireless keypad. The keypad light will turn on.
- To enter user configuration mode, press keys ‘2’ and ‘8’ simultaneously. Now the keypad light will turn off.
- Enter master PIN (default is 6277 until changed). The keypad light will flash twice indicating that the master PIN is correct.
- To add user PIN numbers press 1 (key pad light flashes once) then press 4 digit PIN number to add new user PIN. Multiple PIN numbers can be added by pressing new 4 digit pin after key pad light flashes. To exit, press Reset/On/Off button
Delete PIN number:
- Enter the user configuration mode and then press 2, (key pad light flashes twice). Then press 4 digit PIN number to remove user PIN. Multiple PIN numbers can be removed by pressing new 4 digit pin after back light flashes. To exit, press Reset/On/Off button.
- To remove All User PIN Numbers, press 3, (key pad light flashes 3 times). To exit, press Reset/On/Off button.
- To change Master PIN, press 4. Key pad light will flash 4 times, enter new 4 digit PIN and keypad light will flashNote : To add or delete PIN numbers, user must enter into configuration mode using the master PIN.
PROGRAMMING:
- Press and hold the “LEARN” button on the operator control board until the LED turns ON (indicating that the operator is ready to learn the wireless keypad). The operator will remain in learn mode for about 15 seconds.
- Open the cover of the wireless keypad, then push Reset/On/Off button on the wireless keypad. The keypad will light. The press the 4 digit PIN number. The key pad light will blink and the LED on the operator logic board will blink and then turn OFF.Note: If you do not start step 2 within 10 seconds after step , the wireless keypad will deactivate and you will have to start this step again.
For more information, please visit www.devancocanada.com or call toll free at 855-931-3334
[xyz-ips snippet=”download-snippet”]