![]()
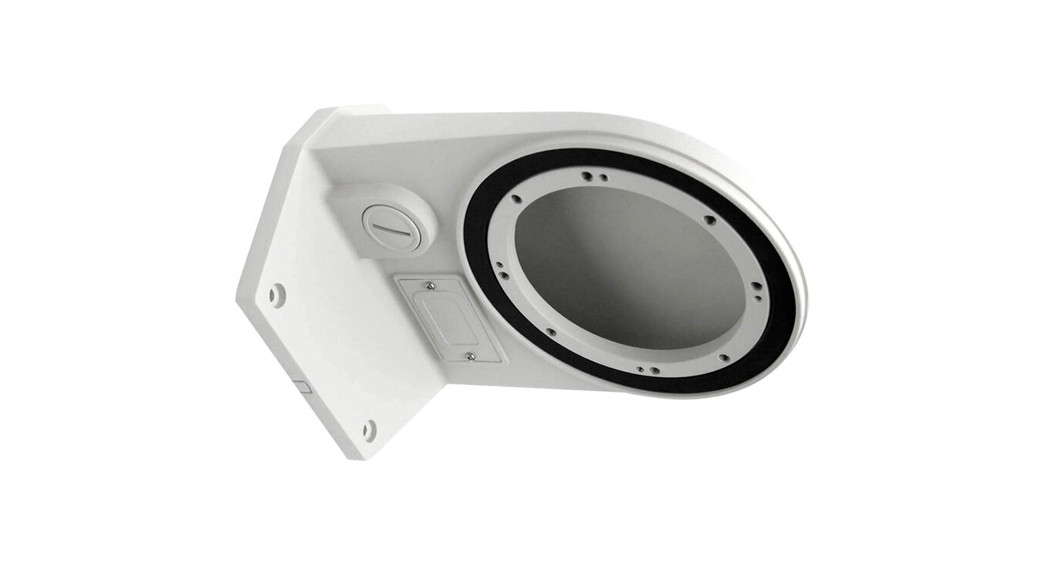
Quick Start GuideWall mount bracket for white analog PTZ camerasDWC-P220WMW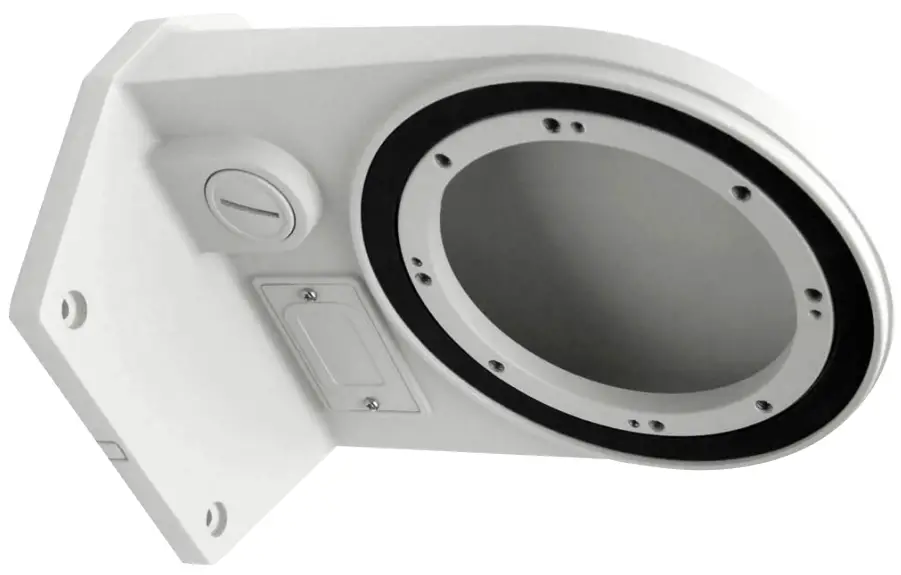
| WHAT’S IN THE BOX | |
| 4x plastic anchors (6pi) | 4x machine screws, PH O-ring (M6x16) |
| 4x tapping screws, PH (6×40) | 4x machine screws, torque (M6x16) |
| 4x machine screws, BH O-ring (M6x9) | 1x quick setup guide |
| 4x machine screws, PH O-ring (M4x16) |
NOTE: Download all your support materials and tools in one place.
- Go to: http://www.digital-watchdog.com/resources
- Search your product by entering the part number in the `Search by Product’ search bar. Resultsfor applicable part numbers will populate automatically based on the part number you enter.
- Click `Search’. All supporting materials, including manuals and quick start guide (QSGs) will appear in the results.

Attention: This document is intended to serve as a quick reference for initial set-up. It is recommended that the user read the entire instruction manual for complete and proper installation and usage.
Tel: +1 (866) 446-3595 / (813) 888-9555 Technical Support Hours: 9:00AM 8:00PM EST, Monday thru Fridaydigital-watchdog.com
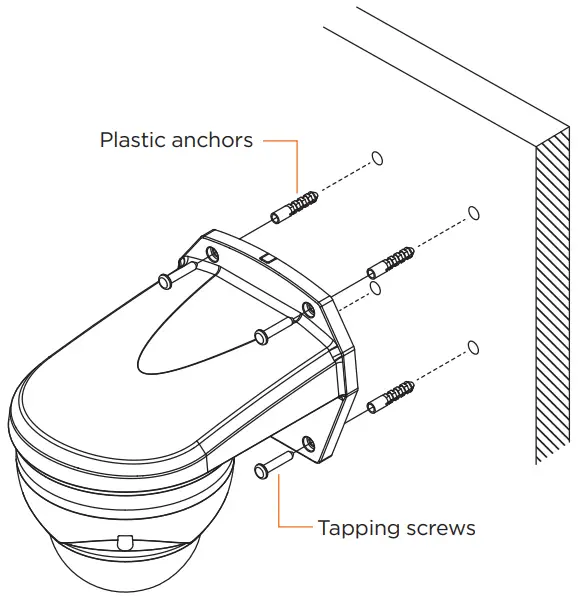
INSTALLING THE MOUNTING ACCESSORY
- Using the mounting accessory, mark and drill the necessary holes in the mounting surface. The wall mount bracket must be attached to a structure such as hardwood, wall stud, concrete, or a suitable material capable of supporting the final mount assembly.
- Attach the wall mount bracket to the structure using the plastic anchors and tapping screws (PTS1 M6x40L) as illustrated in the figure.
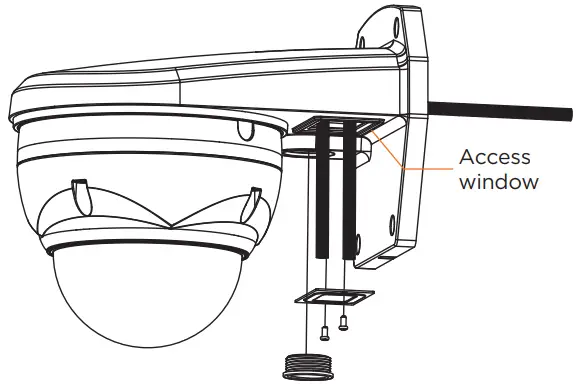
- Pass wires through the mounting accessory’s access window, located on the bottom of the bracket.
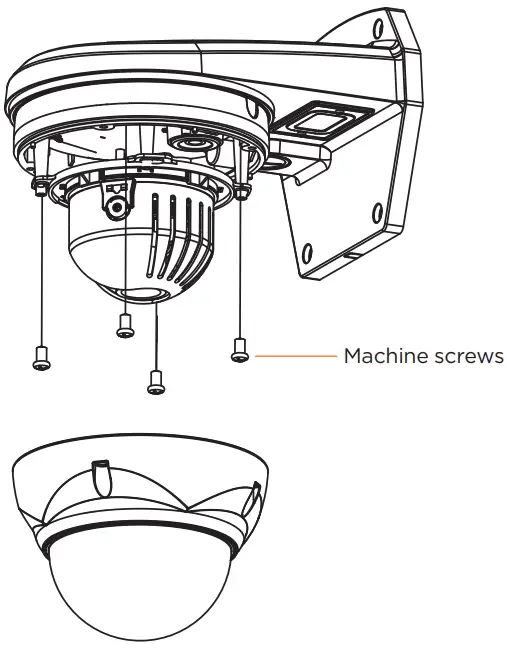
- Secure the camera to the wall mount using the safety wires and make the necessary connections to the camera. See the camera’s manual for more information.
- Use the machine screws included with the camera to attach the camera to the mounting bracket.
- Once the camera is mounted securely to the mounting accessory, complete the installation by securing the camera’s dome cover back on.
 |
 |
 |
Rev Date: 02/20Copyright © Digital Watchdog. All rights reserved. Specifications and pricing are subject to change without notice.
References
[xyz-ips snippet=”download-snippet”]