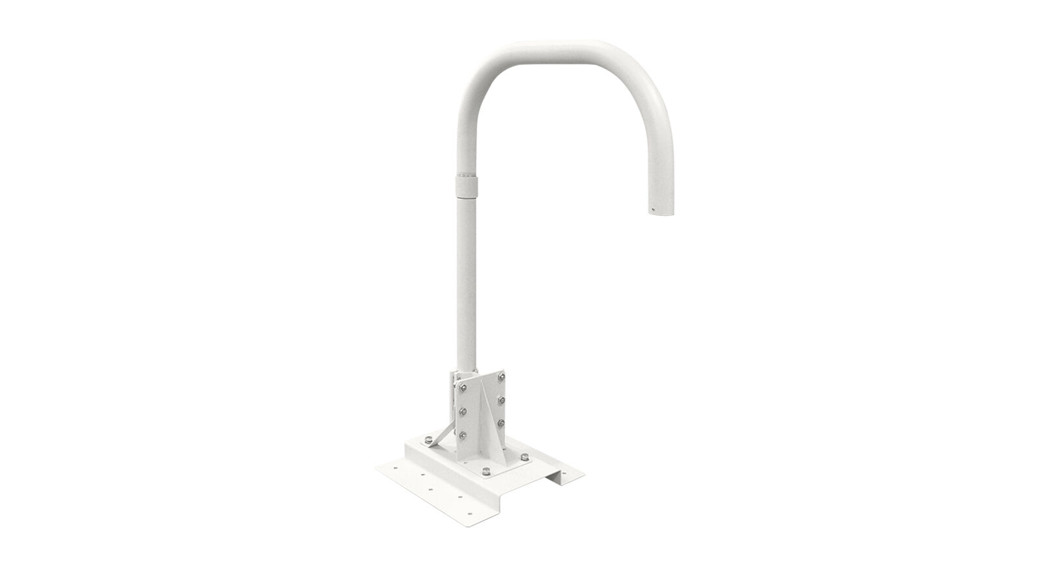
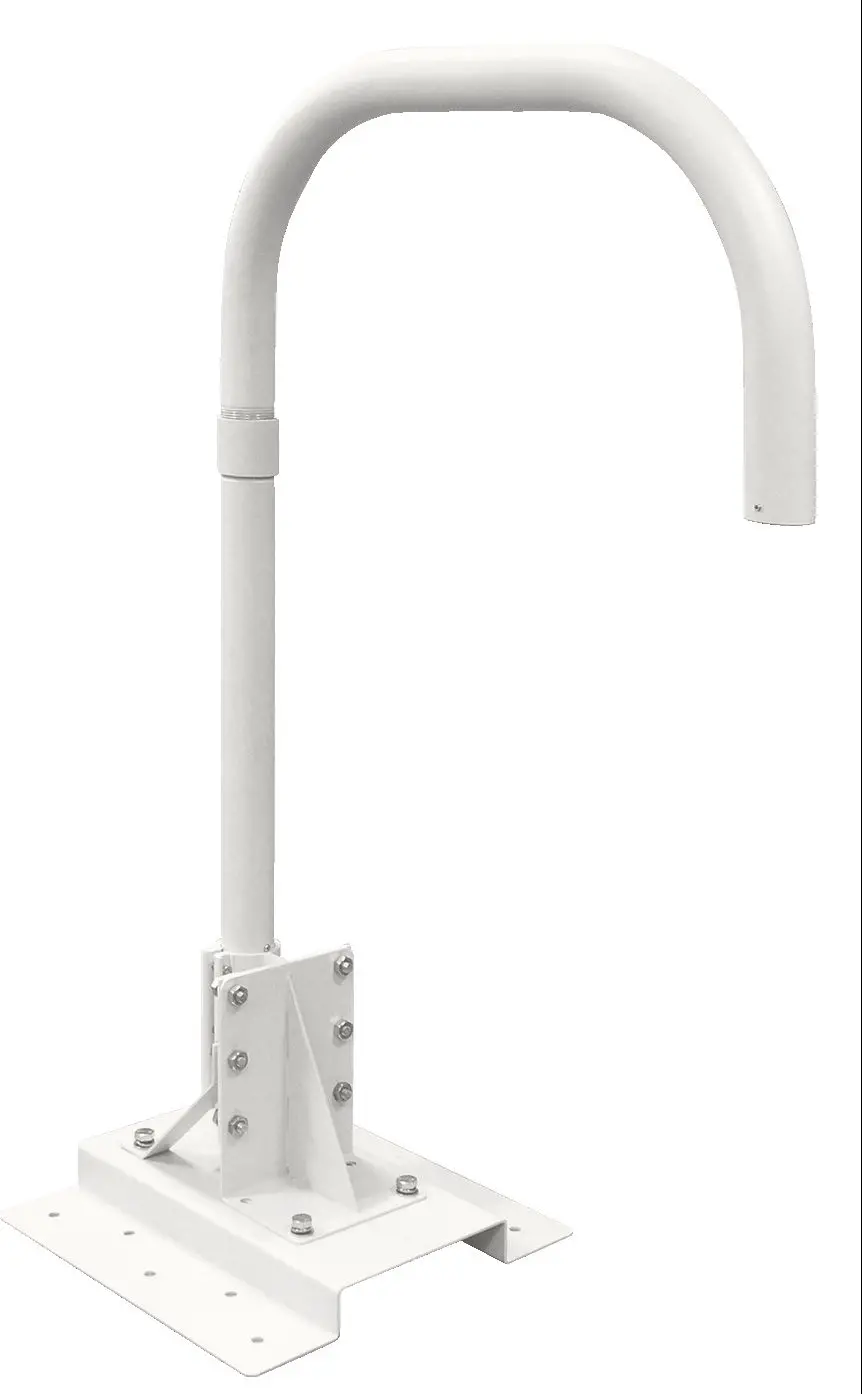
Complete Surveillance SolutaionsQuick Start GuideParapet mount bracket for white IP PTZ camerasDWC-P336PARAMW

|
WHAT’S IN THE BOX |
|
| 1x Teflon tape | 12x hex screws (M10x30) |
| 3x nuts (M6) | 12x nuts (M10) |
| 3x wrench screws (M6x30) | 12x spring washers (M10) |
| 1x hex Allen wrench (2.5) | 12x flat washers (M10) |
| 1x hex Allen wrench (5) | 1x quick setup guide |
NOTE: Download all your support materials and tools in one place.
- Go to: http://www.digital-watchdog.com/resources
- Search your product by entering the part number in the ‘Search by Product’ search bar. Results for applicable part numbers will populate automatically based on the part number you enter.
- Click ‘Search. All supporting materials, including manuals and quick start guide (QSGs), will appear in the results.


INSTALLING THE MOUNTING ACCESSORY
Before the installation
- The hardware necessary to install the mount depends on your installation requirements.
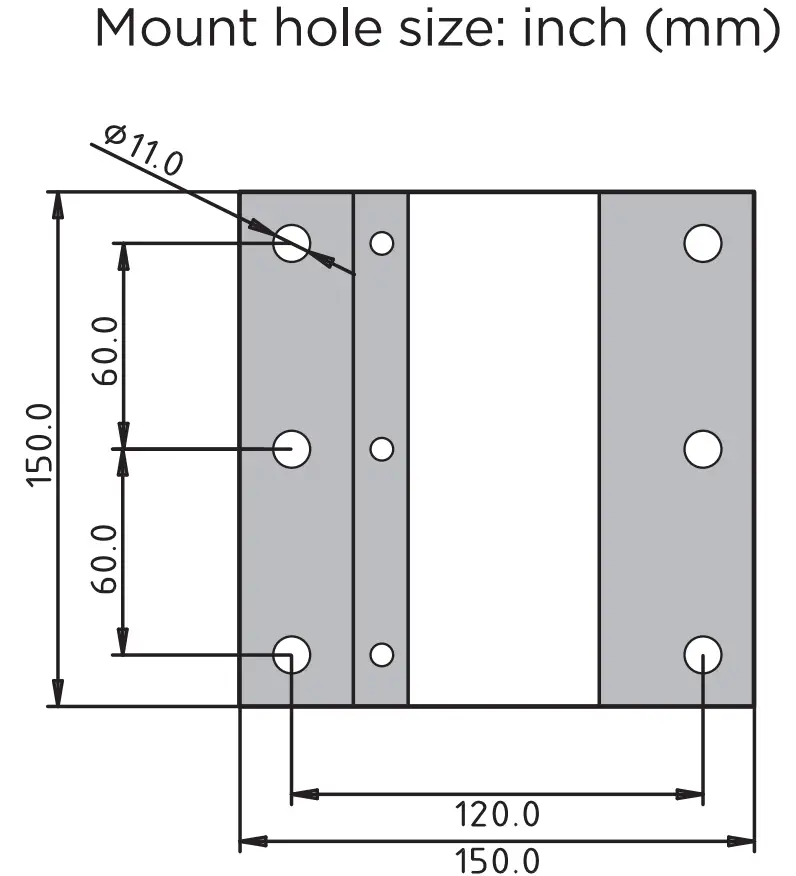
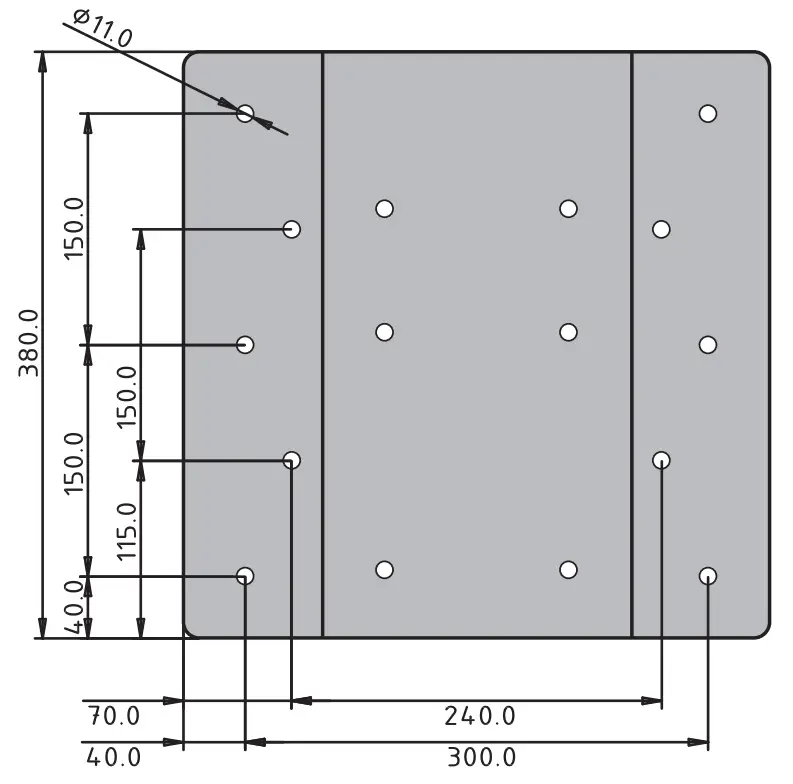
- The mount has pre-drilled holes for use with 3/8-16 (M10) type hardware (recommended). Use as many of the mounting holes as possible.
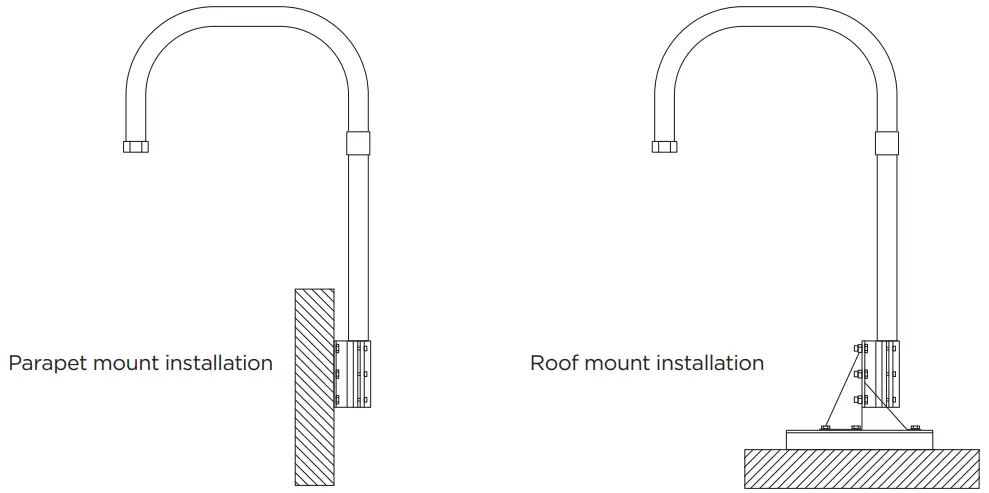
- Multiple fastening positions facilitate mounting flexibility. For a roof or parapet installation, mount the camera using a minimum of five fastenerson each side of the mounting plate.
- Adding a sealant around the bolt holes between the mount and mounting surface can prevent damage from water leakage
- Be sure that the mount is installed in a location that can support the load.All mounting hardware must have a minimum pullout strength of 600 lb (272 kg) per bolt.
- When mounting to wood, use screws long enough to penetrate at least 2.5” (64 mm).
- When mounting to a steel structure, drill holes according to the mounting pattern.
- When mounting to masonry or concrete, use lead anchors or expansion bolts installed according to the manufacturer’s instruction.
- Run all necessary cabling to the location selected for the installation. Pass the cables through the mount’s pole and connect to the camera as needed.
  |
  |
  |


References
[xyz-ips snippet=”download-snippet”]

